
April 19, 2018.
In ►the ninth part of the Olympus photographic gear review we have talk about the quality of the photographs and everything related to it. We also looked at the construction and controls of the device. Now let's take a brief look at some of the camera's features; my goal, of course, is not to replace the operating manual or handbook, so it will really be just the choice of the most basic ones. You can also download three photographs freely in this part, 80 Mpx resolution and RAW (.orf). You will then be able to try out, what I briefly describe here and, based on your own sharpening and oversampling, to make your own judgment as to how much this function is useful for you.
AUTOFOCUS.
It is not very important to me, so only briefly. The sensor is also capable of phase detection. If you choose to automatically select a focus point, the camera will display only one, even if it uses more, which is somewhat awkward and unnecessarily simplified. Both Canon and Nikon display all the points used, and to a certain extent also show the depth of field partially.
Sometimes the camera is wrong when autofocusing. It has happened to me a few times when I selected only one focus point and placed it where I wanted to focus. However, the device arbitrarily focused on another place that seemed more like it and the place I had chosen was left out of focus. Nevertheless, in image preview showed used focus point the spot designated by me. This would be hard to understand even with the camera for beginners, but I do not understand it at a professional device.
CONTINUOS PHOTOGRAPHING.
The strong side of E-1 II. For me ten frames per second is maximum that I need, but device is capable up to sixty. Although so many pictures do not fit into the buffer so it will not photograph at that speed for that second, but for some special purposes this feature may be very interesting. You can set the camera to capture e.g. five frames at this speed only, then, of course, the buffer will not fill up and you can expose repeatedly.
PRECAPTURING.
The serial capturing is closely related to an interesting feature called ProCapture, a something like precapturing. It's designed to capture fast actions, when we can not press the shutter button in time. A good example is a thunderstorm, respectively photographing lightnings. At night, we set a long time, and expose so many times, that we can capture lightning. In a day light, when long exposure times can not be used, we have to help differently. Either a very strong neutral gray filter, for example Lee Filters Big Stopper, or, if we have Olympus OM-D E-M1 Mark II, we can use ProCapture.
The point is, that the camera saves photographs just when the shutter is pressed halfway down and save it still and still for a minute. So we set the burst frequency, such as ten frames per second, and compose the image where we expect the lightning. We press the shutter button halfway and the camera starts photographing at ten frames per second and still overwrites. When we see the flash, we press the shutter button to the second (final) position, the camera creates another ten images and done. In 99% of cases, the flash is so short, that even in a more swift reaction we just press the shutter release button late. However, because we started taking pictures just a second before using ProCapture, we have lightning photographies in a bright day. Feature can also be useful in other fast activities in the wild, such as flying birds, out of water popping fishes etc.
IN BODY IMAGE STABILISATION – IBIS.
It seems to be quite effective, however, I have not noticed any significant difference over the stabilization in the lens. I have already written about the significantly higher energy consumption when using it in ►the previous part.
80 MPX PHOTOGRAPHIES.
My Fine Art and often professional works are mostly large-format photographs, so I was very interested in the functionality, that moves sensor about half of a pixel eight times and merge in camera 80 Mpx image. Photograph is in raw, not .jpg, as it often happens with similar functions (50 Mpx jpg is created automatically as a second file). In fact, the image does not differ from the normal .orf until you look at the dimensions. They really are 10 368 x 7776 px. So, really for less than 1600 EUR can we buy a camera, that will compete against digital backs?
Rather no, it depends on the situation. If we take close-up pictures of objects, whose surface structure is not too obvious to the eye or not very noticeable, the results are relatively good. The problem occurs in nature, landscape, etc., where the interpolation of partial frames is causing blurring of fine details and sharpening does not help anymore. Manufacturer recommends downsample 80 Mpx images approx. to 50 Mpx. Details appear to be coming apparently, but still it is interpolation of interpolation of interpolated (Bayer, 80 Mpx merge, downsampling) image. You need to use a tripod, it should be windless, people, birds or animals can not move ... this is practically a scanning, in three channels at once and with the above-mentioned interpolations.
Let's look at the sample images now. Crops are 100% size at 150 dpi. All photographies has been created with Olympus M. Zuiko digital ED 12 - 40 mm 1:2.8 Pro lens. The first two photographies were introduced in ►the ninth part as an example of inaccurate automatic white balance. You can try this adjustment using the RAWs below too. Photographies in TIFF has been exported from Lightroom with no more editations, i.e. downsamling to 50 Mpx has been processed while exporting RAW.
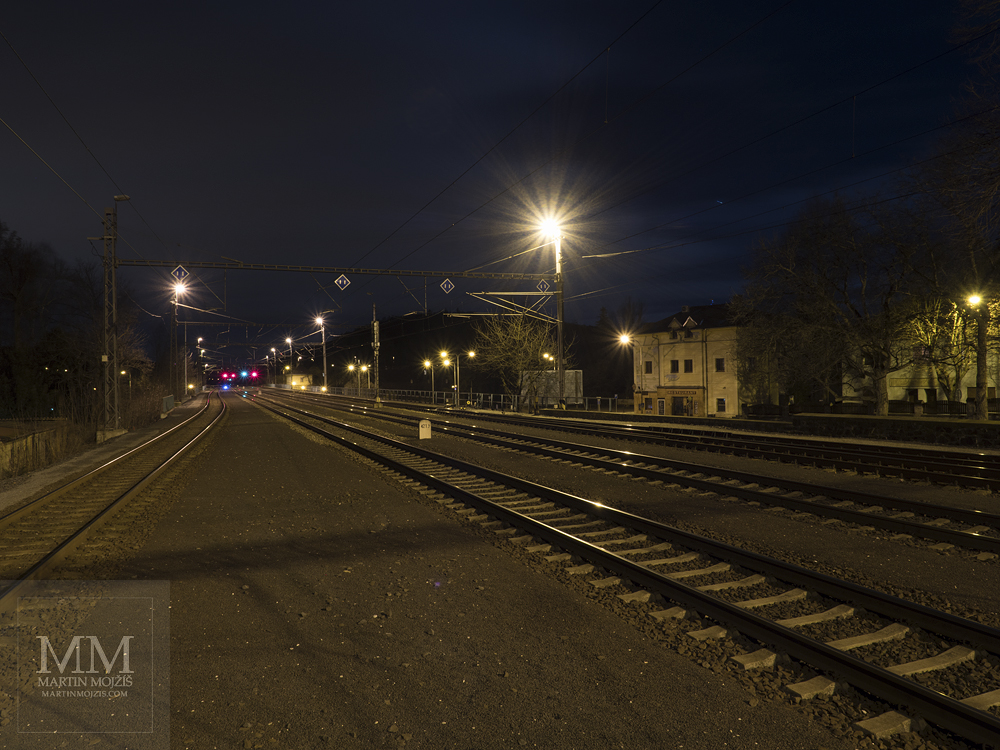 ↑ Non edited photograph.
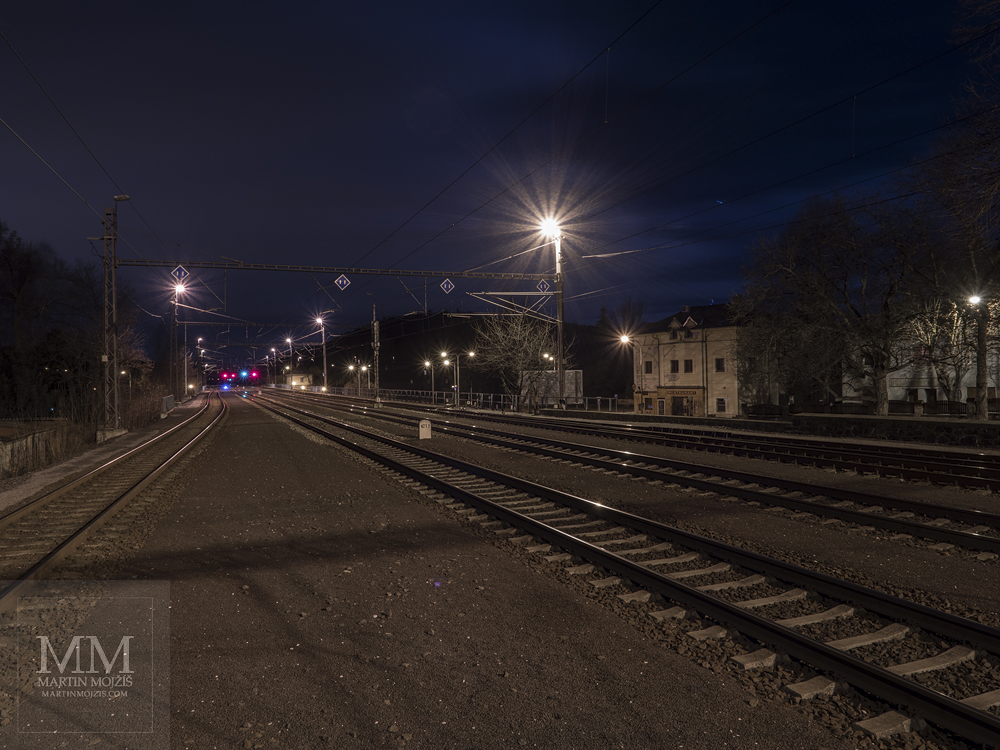 ↑ Photograph after white balance correction.
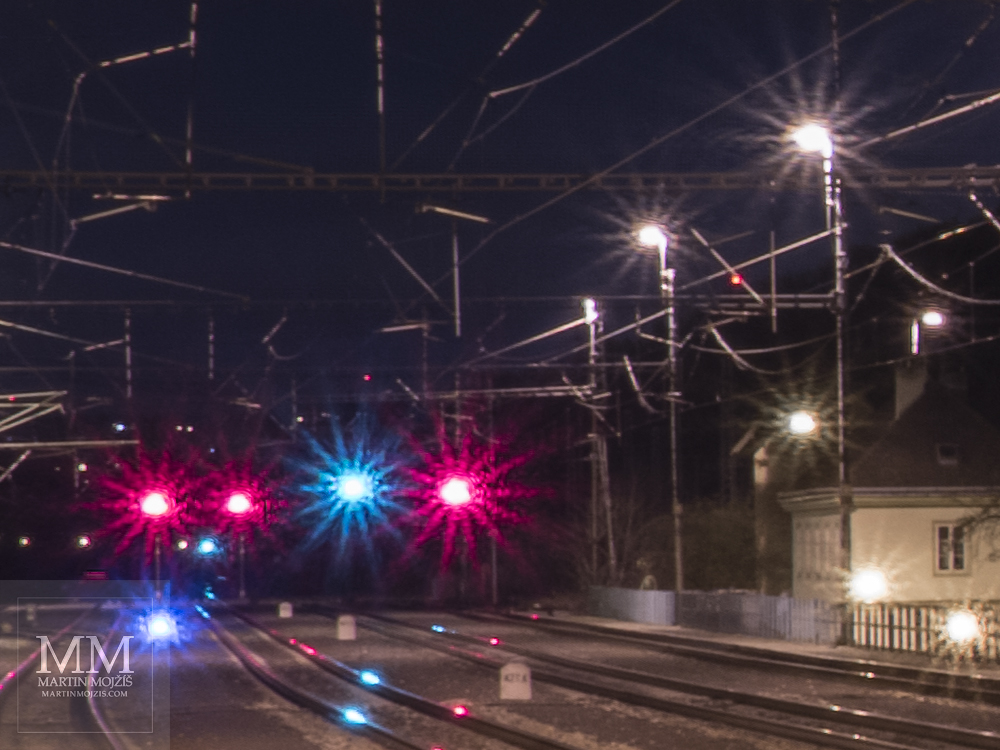 ↑ Crop from 80 Mpx photograph. In addition to the total softening, caused by interpolation, note the particularly vicious imaging of the light sources. It is caused by the movement of the sensor, its different positions relative to the optical axis and the diaphragm blades when capturing partial images.
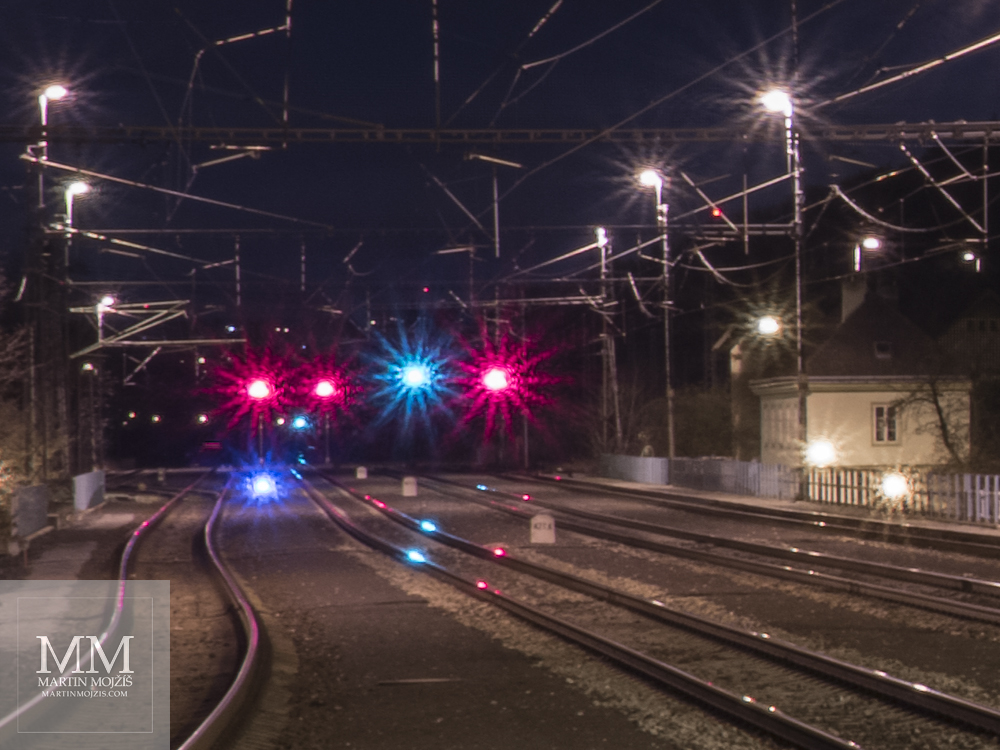 ↑ Crop from 50 Mpx photograph. No big improvement.
►TIFF, 80 Mpx. Adobe RGB 24 bit, 230 MB.
►TIFF, 50 Mpx. Adobe RGB 24 bit, 143 MB.
►RAW (ORF), 80 Mpx, 60 MB.
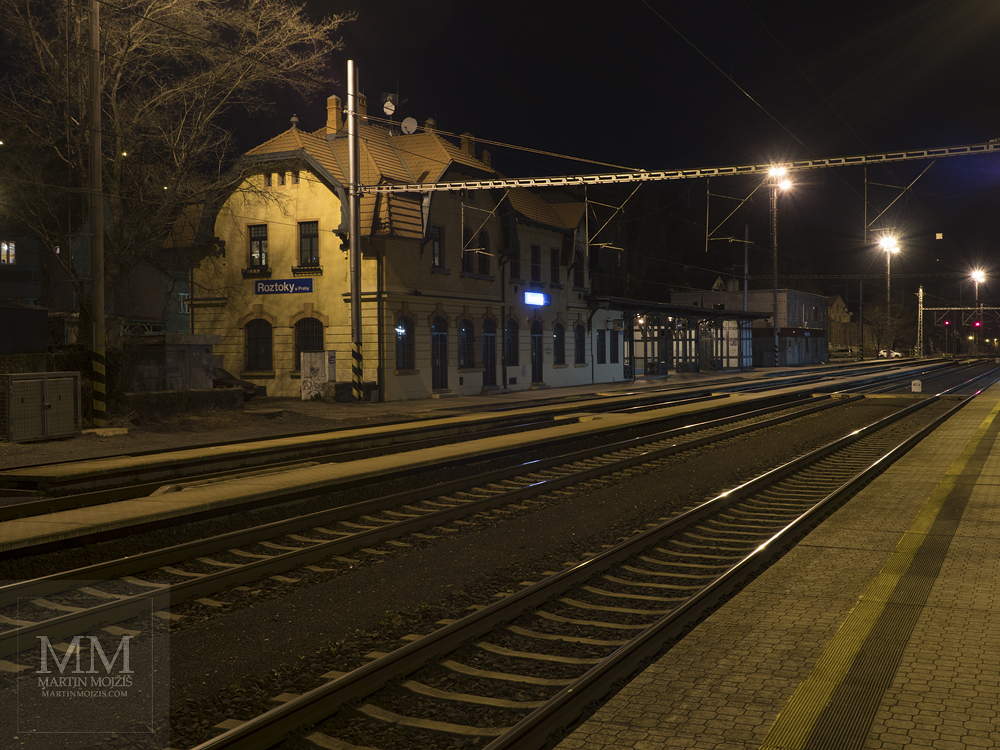 ↑ Non edited photograph.
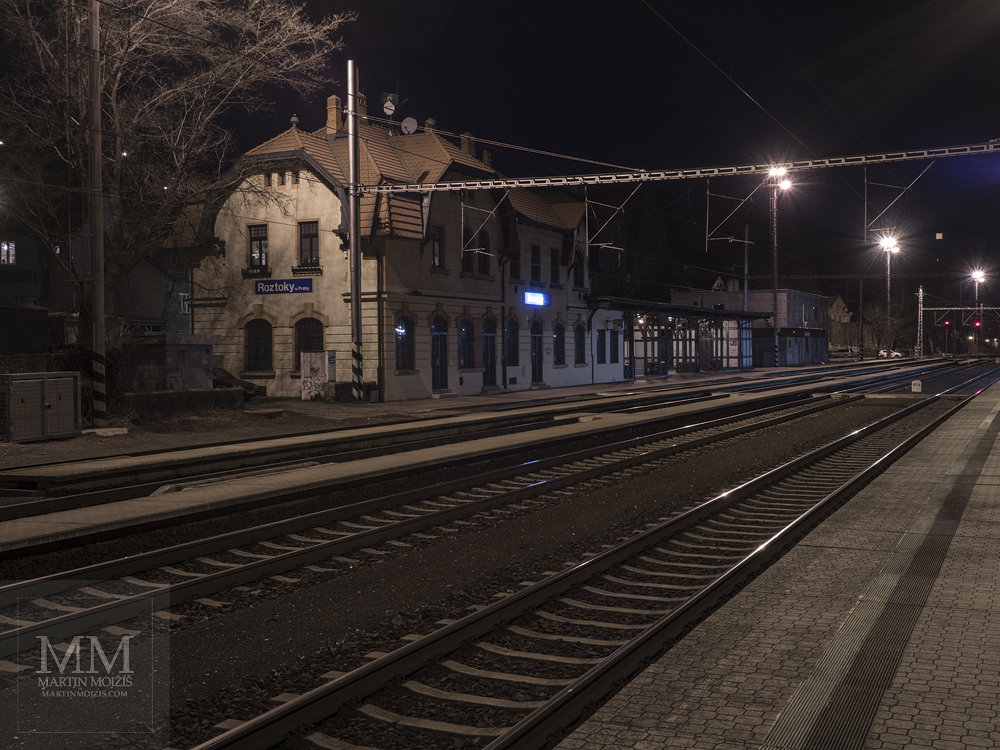 ↑ Photograph after white balance correction.
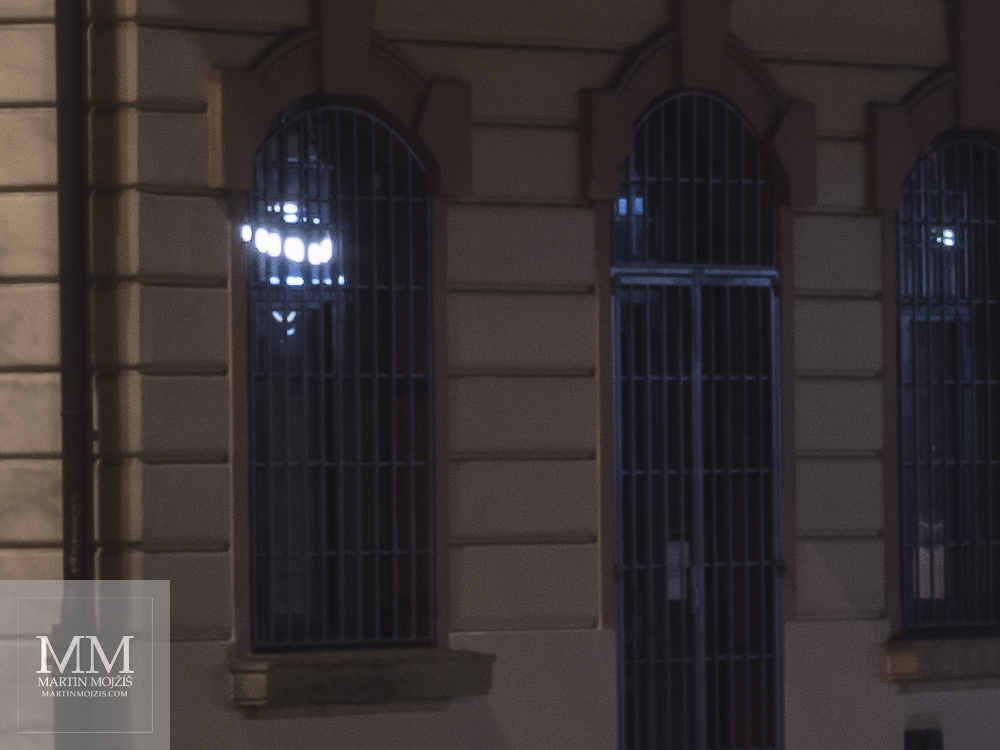 ↑ Crop from 80 Mpx photograph. This looks better, however, all the details are due to interpolation away, the image looks like after too strong noise reduction.
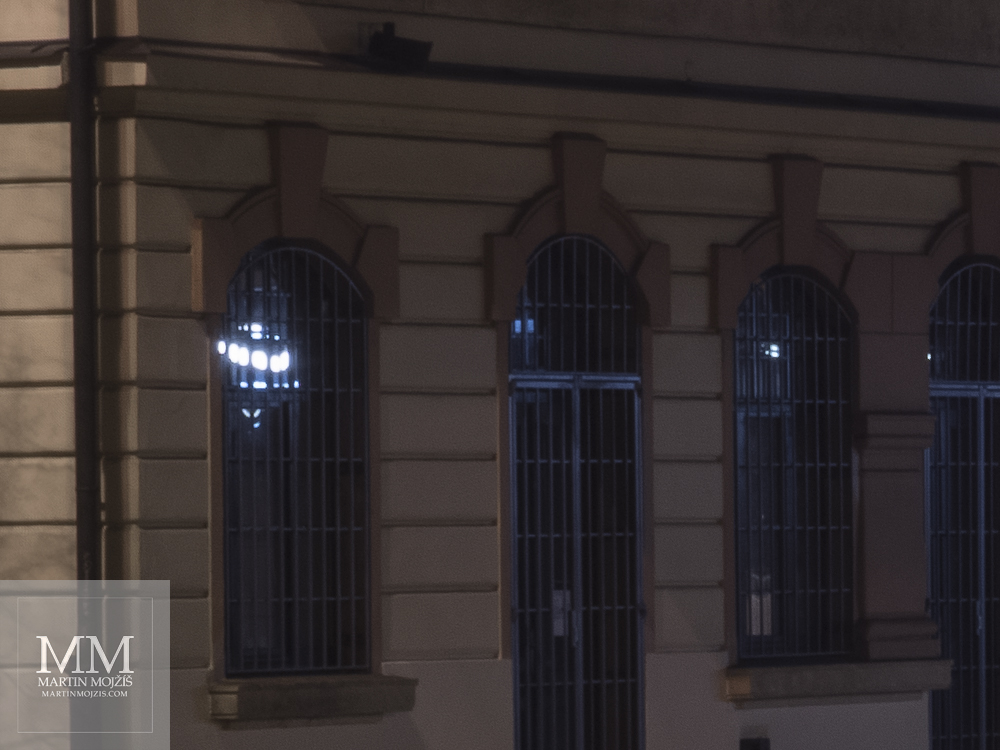 ↑ Crop from 50 Mpx photograph. Only tiny improvement.
►TIFF, 80 Mpx. Adobe RGB 24 bit, 230 MB.
►TIFF, 50 Mpx. Adobe RGB 24 bit, 143 MB.
►RAW (ORF), 80 Mpx, 60 MB.
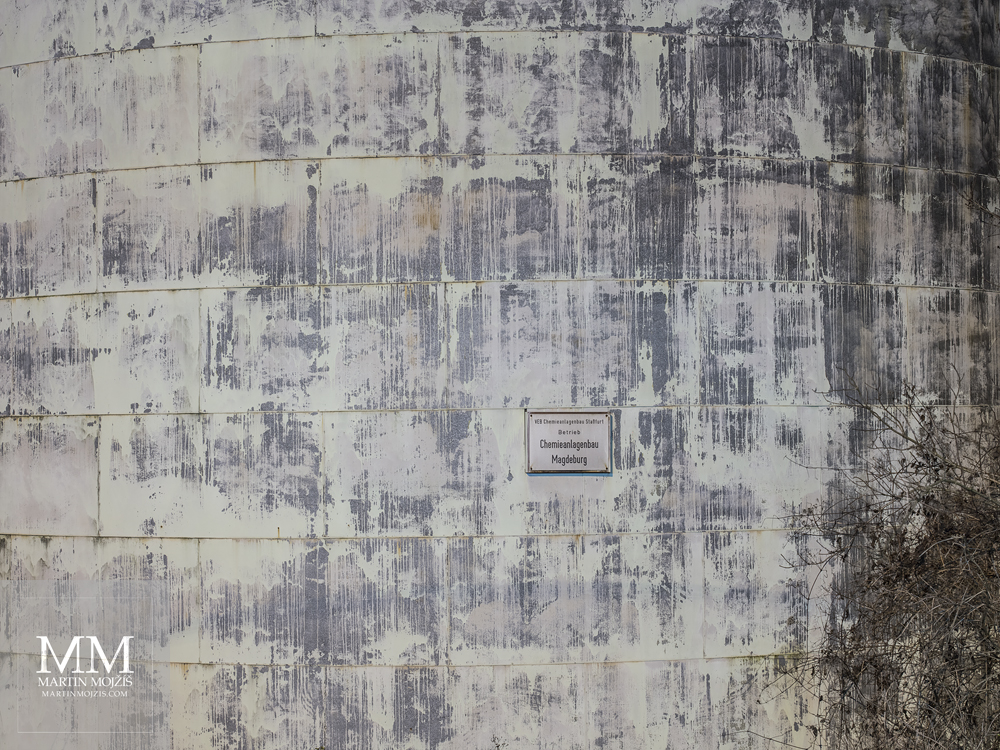 ↑ Non edited photograph.
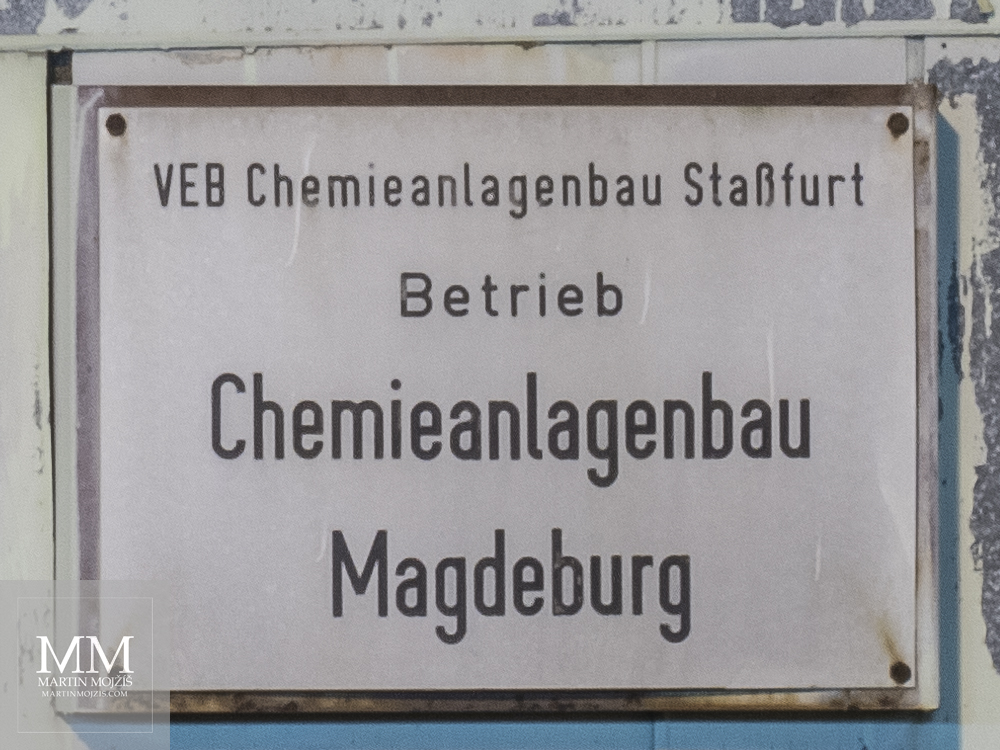 ↑ Crop from 80 Mpx photograph. Again, soften, but notice light contours around the letters. Sharpening in TIFF while creating this preview has been only weak, but even so, it is no longer possible, we find ourselves on the edge of the editing possibilities. Shortly, twice oversampled image.
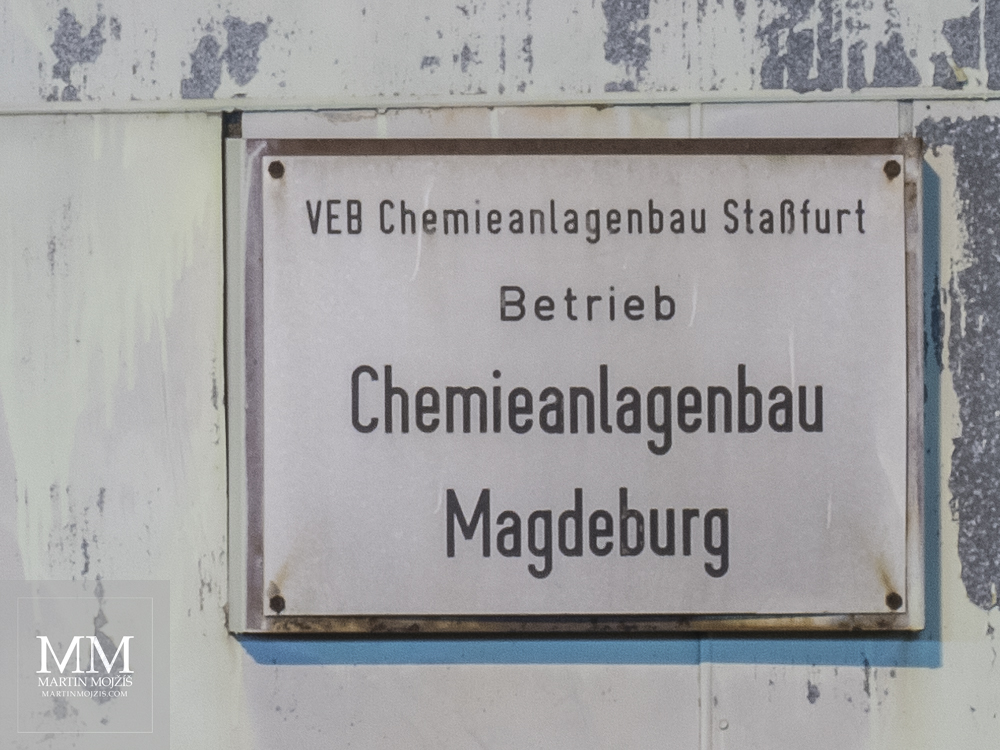 ↑ Crop from 50 Mpx photograph. Halos about letters are visible here also. Photograph has been of course firstly downsampled from primary, in TIFF unsharpened file and just after it sharpened.
►TIFF, 80 Mpx. Adobe RGB 24 bit, 230 MB.
►TIFF, 50 Mpx. Adobe RGB 24 bit, 143 MB.
►RAW (ORF), 80 Mpx, 60 MB.
FINAL CONCLUSION.
Olympus Micro 4/3 photographic gear will be appreciated most by those, who need to walk with it a lot and to create images as discrete as possible. Thus, mainly reporters, animals and birds photographers, street photographers. They all will like fast continuous photographing, smaller lens dimensions, precapture options, etc.
However, if we create large format photographs of landscapes, still life, architecture etc, it does not matter to us in weight and inconspicuity and on the contrary we need the highest quality, then I definitely recommend leaving Olympus to the above-mentioned colleagues and get DSLR with 36 mm sensor and necessary prime lenses.
Finally, I would like to point out, that this entire serie of articles has not been supported or influenced by Olympus. They lent me the gear only for three weeks without any other claims or obligations.
© Martin Mojzis, 2018.
Photographies: © Martin Mojzis, 2018.
►To the beginning of the article.
►Overview of all articles.
►Homepage.
►Site Map.