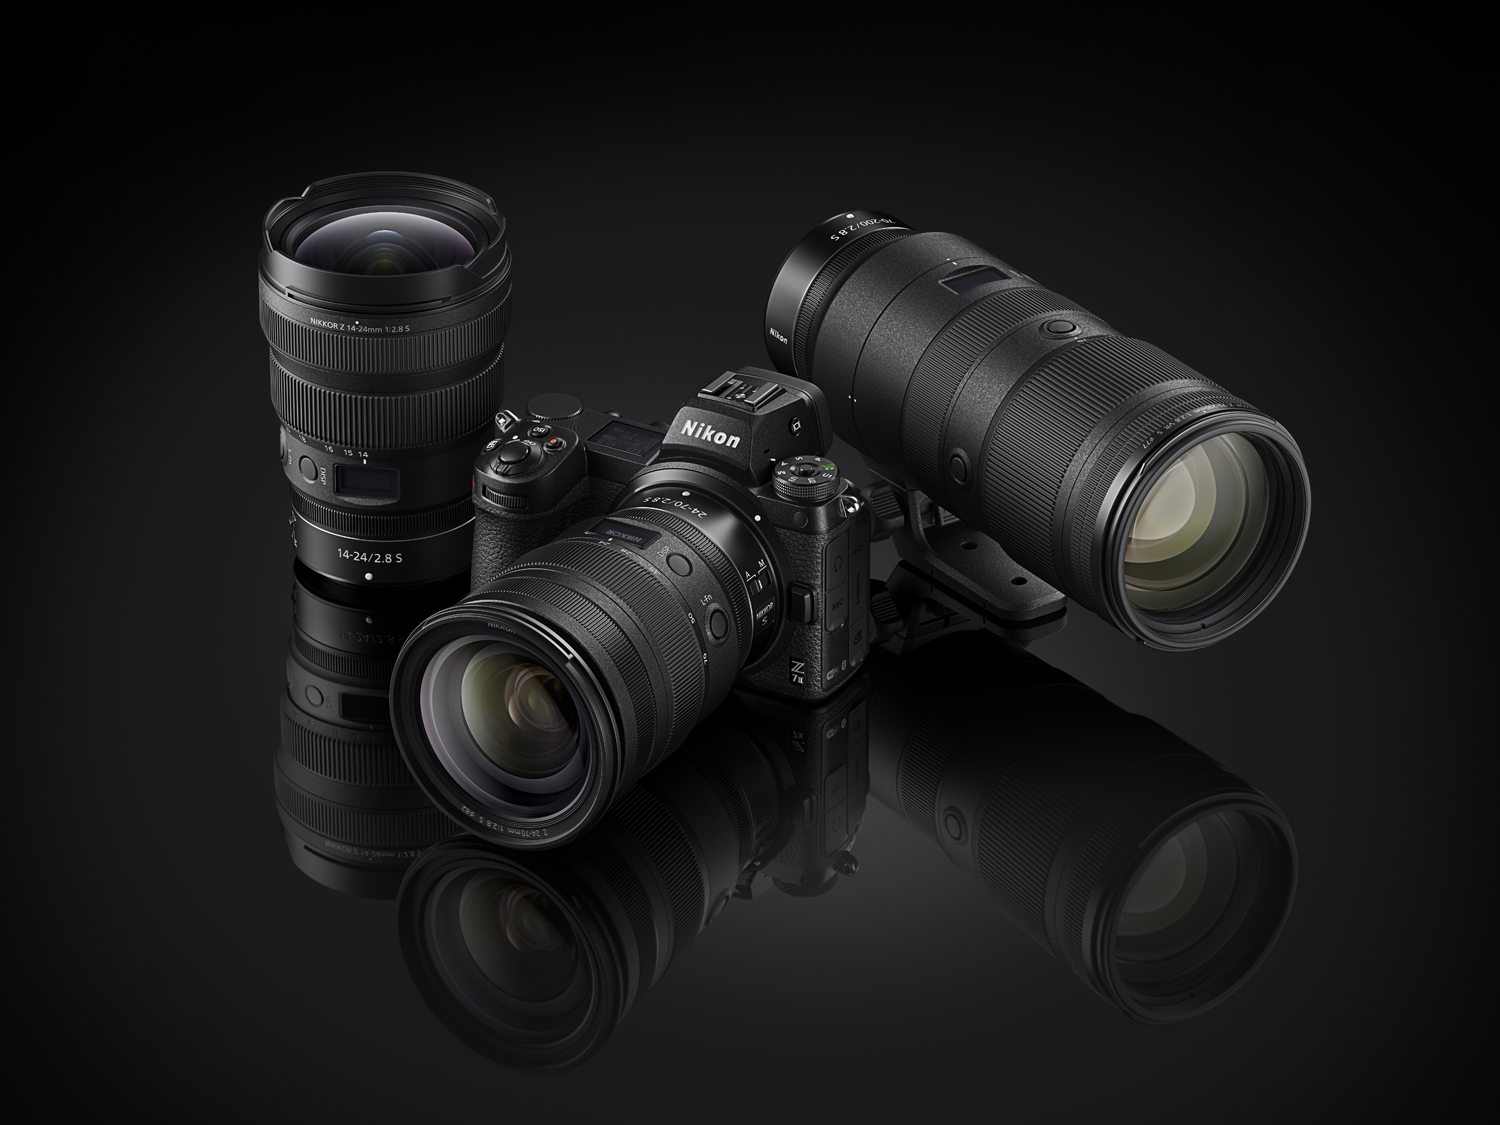
NIKON Z7II.
EXPERIENCE AFTER SEVENTEEN MONTHS OF PHOTOGRAPHY.
May 13, 2023.
It's been less than a year and a half, since I decided to return to the precise drawing of Nikkors and the pleasant, clear control of Nikon cameras.
The Sony A7RII I used before was technically excellent, but the problem was an uncertain future, which is now confirmed. It's not that Sony cameras have stopped being produced or that the quality of the photographs has deteriorated in any way, on the contrary. But Sony was, and still is, primarily a TV and video, entertainment-oriented company, and so the elements for currently fashionable videos are creeping in, sometimes even at the expense of photographic functions.
Just look at the new A7RV, where for functions common to photography and filming, is shamelessly used the movie camera symbol, behind which the small photographic camera shyly hides. So not the other way around, as one might expect from a photographic camera. In the manual, you will first find a description of the two basic information screens for videos, and then, at the very bottom, there is one for creating photographs. I prefer not to talk about the situation when, when setting up the photographic functions, you have to constantly go over and bypass the movie ones, even if you don't need them at all. Everything is topped off by the impossibility of using an "electronic shutter" in Bulb mode (and thus avoiding unwanted vibrations when using long exposure times), but only a mechanical one. You can't even set the "electronic first curtain".
Sony has always had these hidden "specialties", when, for example, during continuous photographing without warning, the quality of images fundamentally decreased (from lossless compressed RAWs became unusable lossy compressed, in another situation from 14 bits to 12, etc.), however, for the 2023 model such a lack is truly incomprehensible.
But enough about Sony, let's move on to Nikon Z technology, specifically the Nikon Z7II, which has been my main camera for seventeen months now.
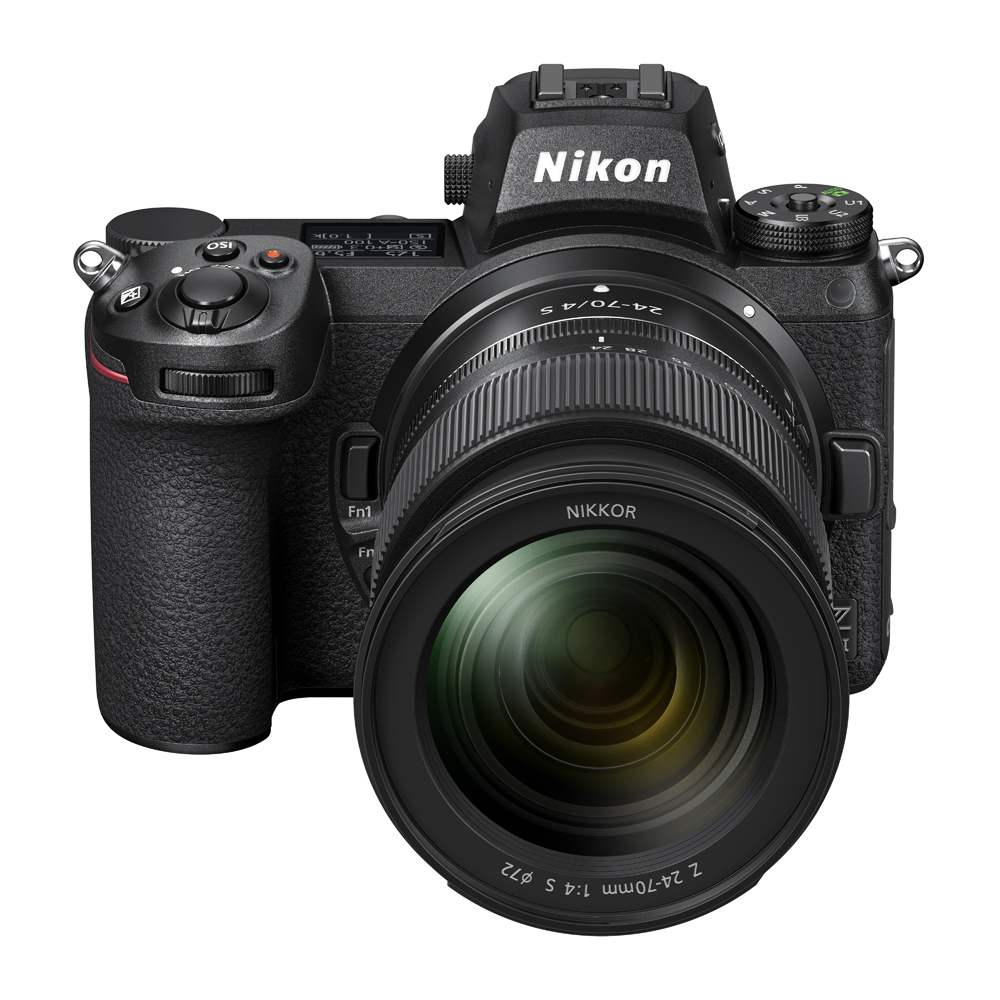
The Nikon Z7II was first introduced on October 14, 2020. It is a professional photographic camera with an electronic viewfinder and a 36 mm image sensor with the size of a cinema film frame (36 x 24 mm) and a resolution of 45.7 million pixels.
QUALITY AND CHARACTER OF THE PHOTOGRAPHS.
Or the main and most important thing. I will present individual photographs, including samples in 100% size, in detail in the articles about Nikkor Z lenses, because they have the greatest influence on the result. In general, it can be said, that the quality and character of the Nikon Z7II exceeded my expectations. The images are breathtakingly rendered, at ISO 64 sensitivity up to incredibly smooth and clean, but not artificially smoothed.
Photographs have an excellent dynamic range, shadows can often be very strongly brightened without any distracting streaks and other artifacts. You have to be more careful in the lights, however, there is enough space to repair ev. errors or increasing the dynamic range. So much for the moment, at least in brief, we will talk more in the articles about lenses by individual sample photographs.
So let's now take a step-by-step look at the Nikon Z7II camera.
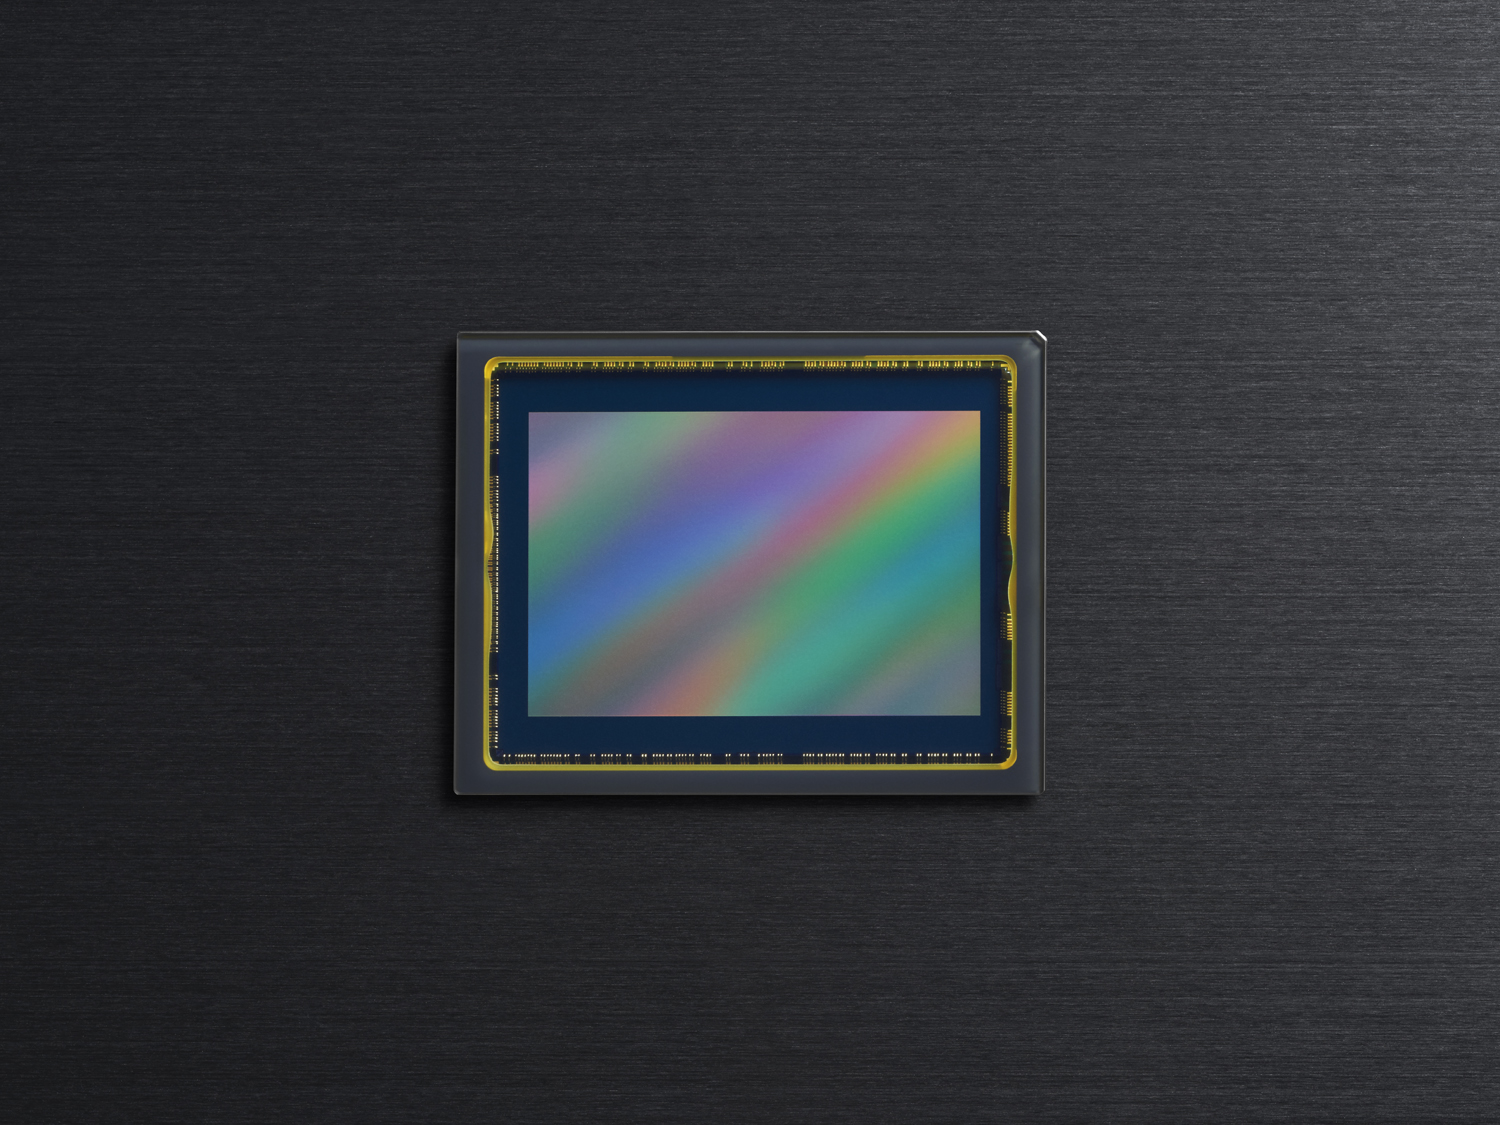
IMAGE SENSOR.
The heart of the Nikon Z7II is a 36 mm image sensor the size of a film frame (36 x 24 mm) and with a resolution of 45.4 million pixels - 8256 x 5504. The manufacturer states 45.7, the sensor contains almost 47 million pixels in total. There is no AA filter in front of the sensor. It is a so-called BSI (Back Side Illuminated) type. As it might seem wrongly (and it is often stated that way), no special light really shines on the sensor inside the camera body. It is only an expression of the fact, that the classic design of the image sensor is reversed in such a way, that the wire network, that normally lies between the optical sensors, is moved to the other side of the sensor and thus does not cause false light reflections and shielding (in the optical, not electronic sense) of individual sensors. Such a sensor has better optical properties, but is more demanding to manufacture. Nowadays, however, this type of sensor can already be considered standard for professional digital cameras.
The sensors are manufactured by the Japanese company Sony. It is apparently a trade secret, how much Nikon influenced the design, but it should be a custom-made sensor, that is not in Sony's offer and can only be found in Nikon cameras.
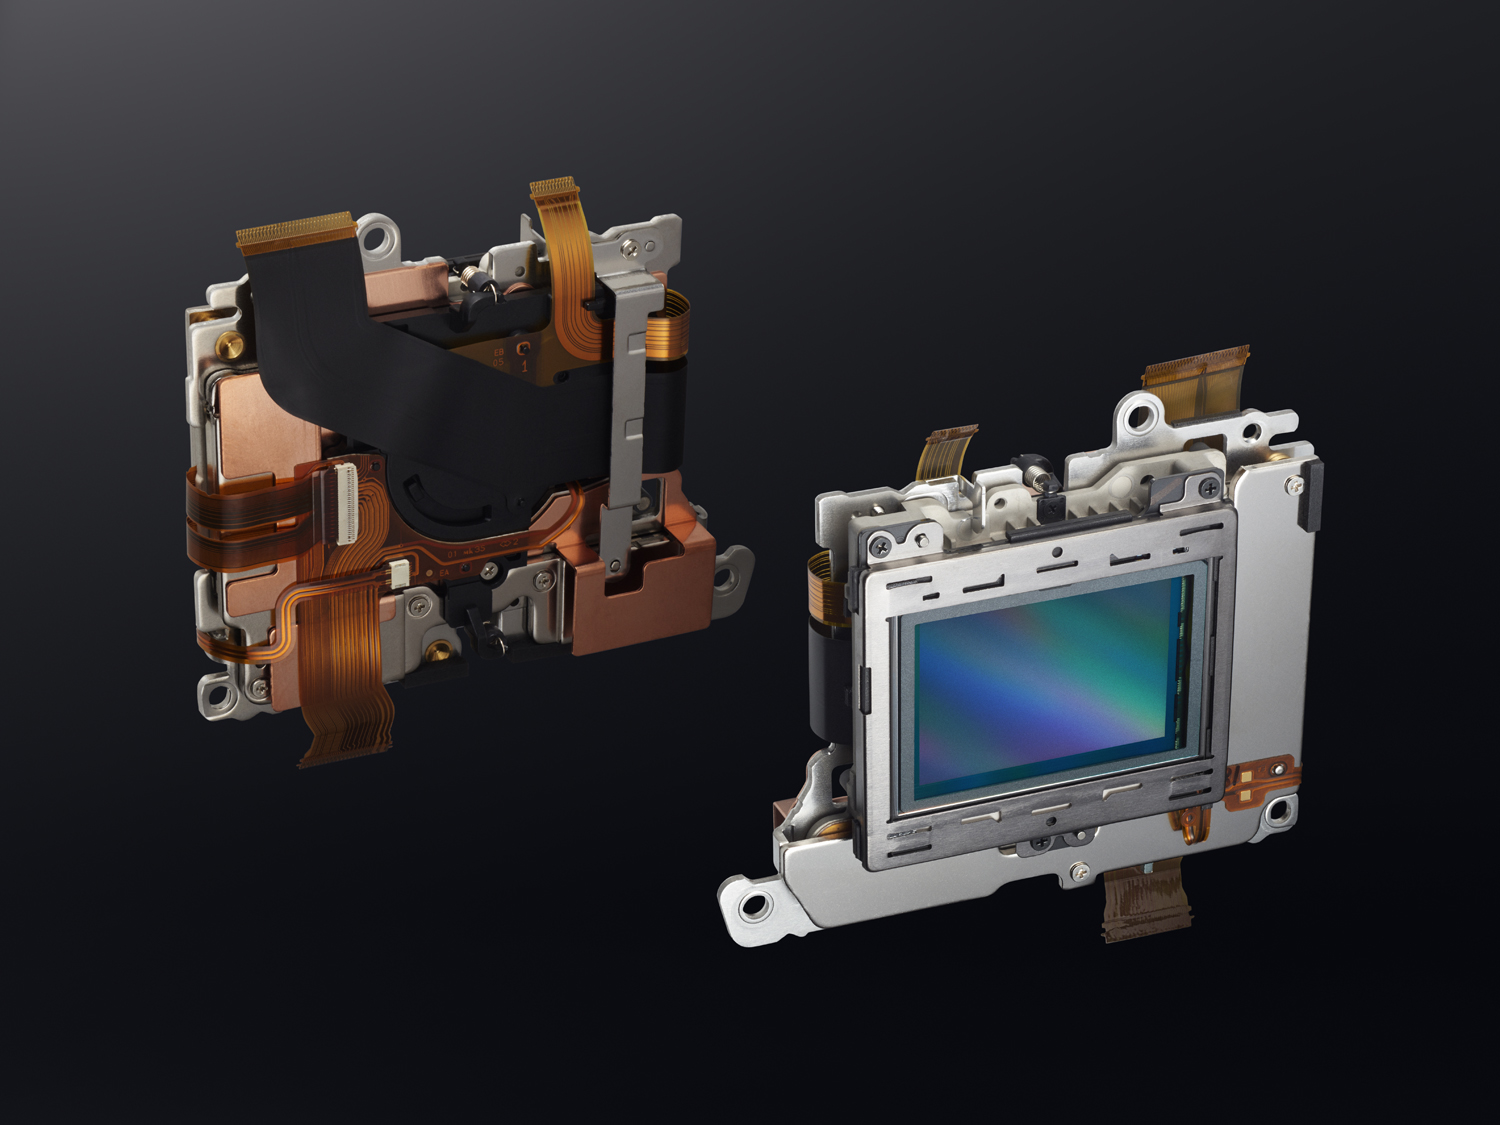
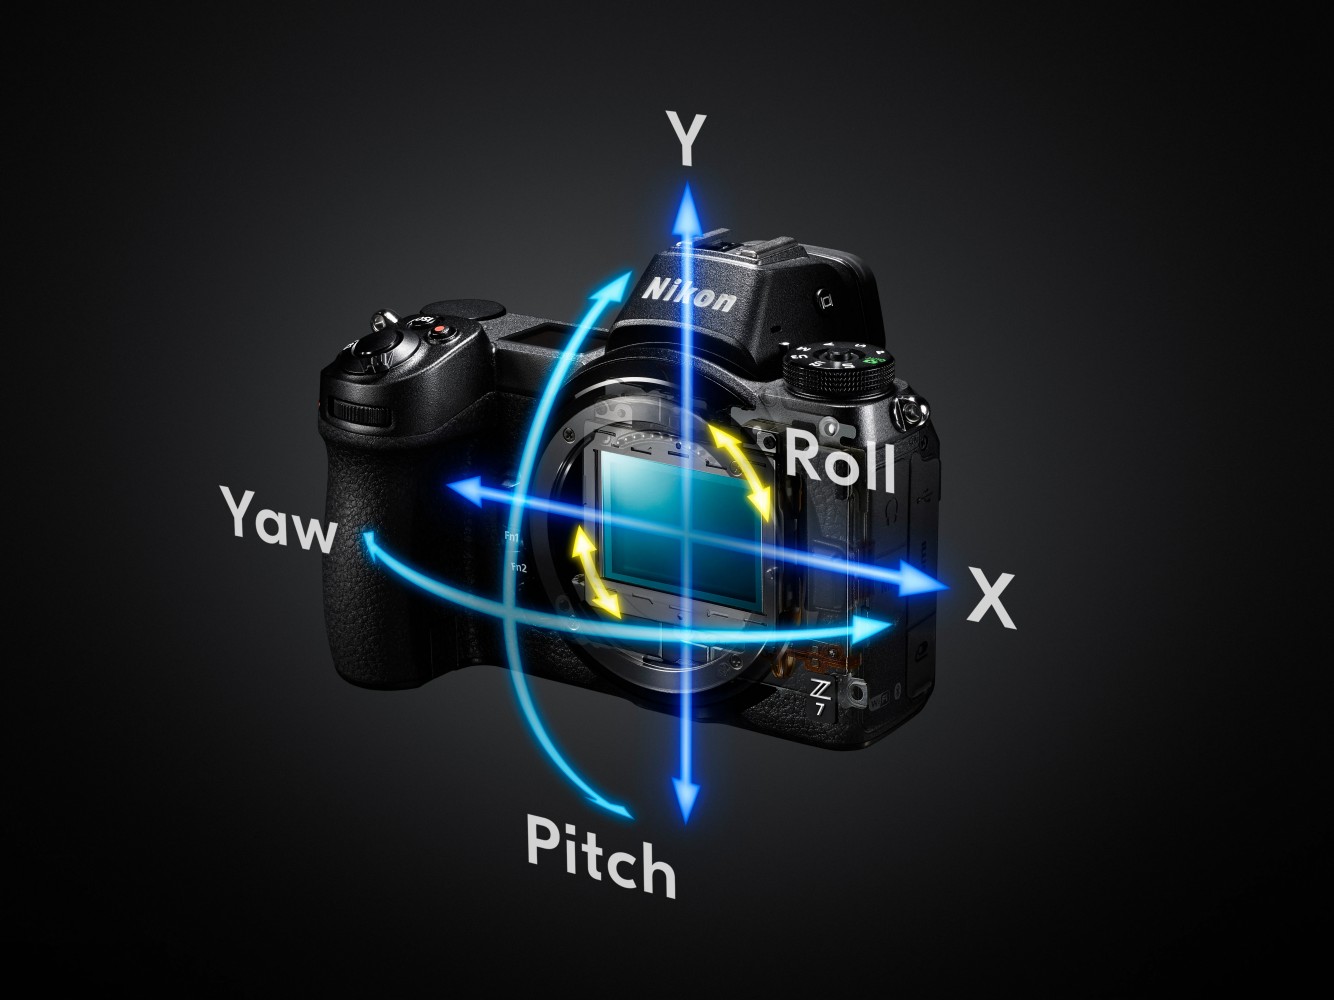
IMAGE SENSOR STABILIZATION.
The sensor is mechanically stabilized in five axes, in three when using the Nikon F-mount lens adapter. According to my experience, the manufacturer's claim about extending "holdable" exposure times up to 5x is true in most cases. Stabilization is therefore very effective, but even so, the optical capabilities of the lenses can be fully utilized and the sharpest images can only be achieved with a solid and well-established tripod.
THE IMAGE SENSOR CLEANING.
Any particles of dust are removed using high-frequency vibrations of the sensor. The cleaning is very effective, yet completely silent.
ASPECT PROPORTIONS OF PHOTOGRAPHS.
The following aspect ratios of the photographs can be set:
- FX (36 x 24 mm, entire sensor, field size of 36 mm film, so-called cinema film),
- DX (24 x 16 mm, APS-C film frame size),
- 5:4 (30 x 24 mm, noble aspect ratio used, for example, with flat films for large-format cameras),
- 1:1 (24 x 24 mm, square format),
- 16:9 (36 x 20 mm).
All cropping is done immediately (or it is captured or saved only within the given field), the image has the above-mentioned aspect ratio, so it is not a (less satisfactory to me) method of simply inserting a cropping path into the entire field. Also, the image preview in the viewfinder or on the rear monitor is already in the given aspect ratio, no distracting masking etc. is used.
PHOTOGRAPHS STORAGE FORMATS.
Photographs can be saved in RAW format (14 or 12 bits, uncompressed, lossless or lossy compressed). I only use 14 bits uncompressed. JPG is also available (unnecessarily). On the contrary, TIFF is fundamentally missing, while previous professional Nikons always had it. This is a completely unnecessary and pointless step backwards, which I will explain in more detail below.
GIVE US TIFF BACK.
Not too long ago, Adobe decided to start forcing customers to first upload their photographs to some servers owned by who knows who, otherwise they won't be able to edit them at all (interestingly, if the remote data storage (cloud) you're using isn't physically yours, you know, who really owns it, who really runs it and has access to it?) Later, Adobe tried to double the subscription prices. Neither of the two attempts worked, however, even last year I received a message, what everything would be taken off from my subscription, but its price would not be reduced. Fortunately, I don't need any of that. I prefer not to even talk about Capture One and their stupid damage to the proven control of the program.
JPG (JPEG) is a lossy compressed image file, that creates unwanted artifacts and discards valuable image information. It is completely useless for serious work, either as a source format, let alone edited, final photographs.
In this situation, TIFF is a salvation and a certainty. I remember, when I was photographing with the Olympus E-1. RAW was in its infancy then, I guess Lightroom didn't exist yet, computers were slow and tired ... TIFF was a simple and clean solution. Yes, there are no such editing options, you have to take this into account and create several exposure variants in difficult lighting situations, etc., but after all, we do that in RAW as well.
So – give us back TIFF. I really don't want to buy a new camera because of this, where it will appear as a miraculous, new feature "surprisingly". Of course, a firmware update is enough. And finally stop throwing away useful things from professional technology, because professional means that it feeds us, so that we then have something to feed you. And if you want to give something away, please, here is the complete video. Put that in movie cameras designed for that, strangely enough, no one is constantly adding new and new photographic functions there, how come? Thank you.
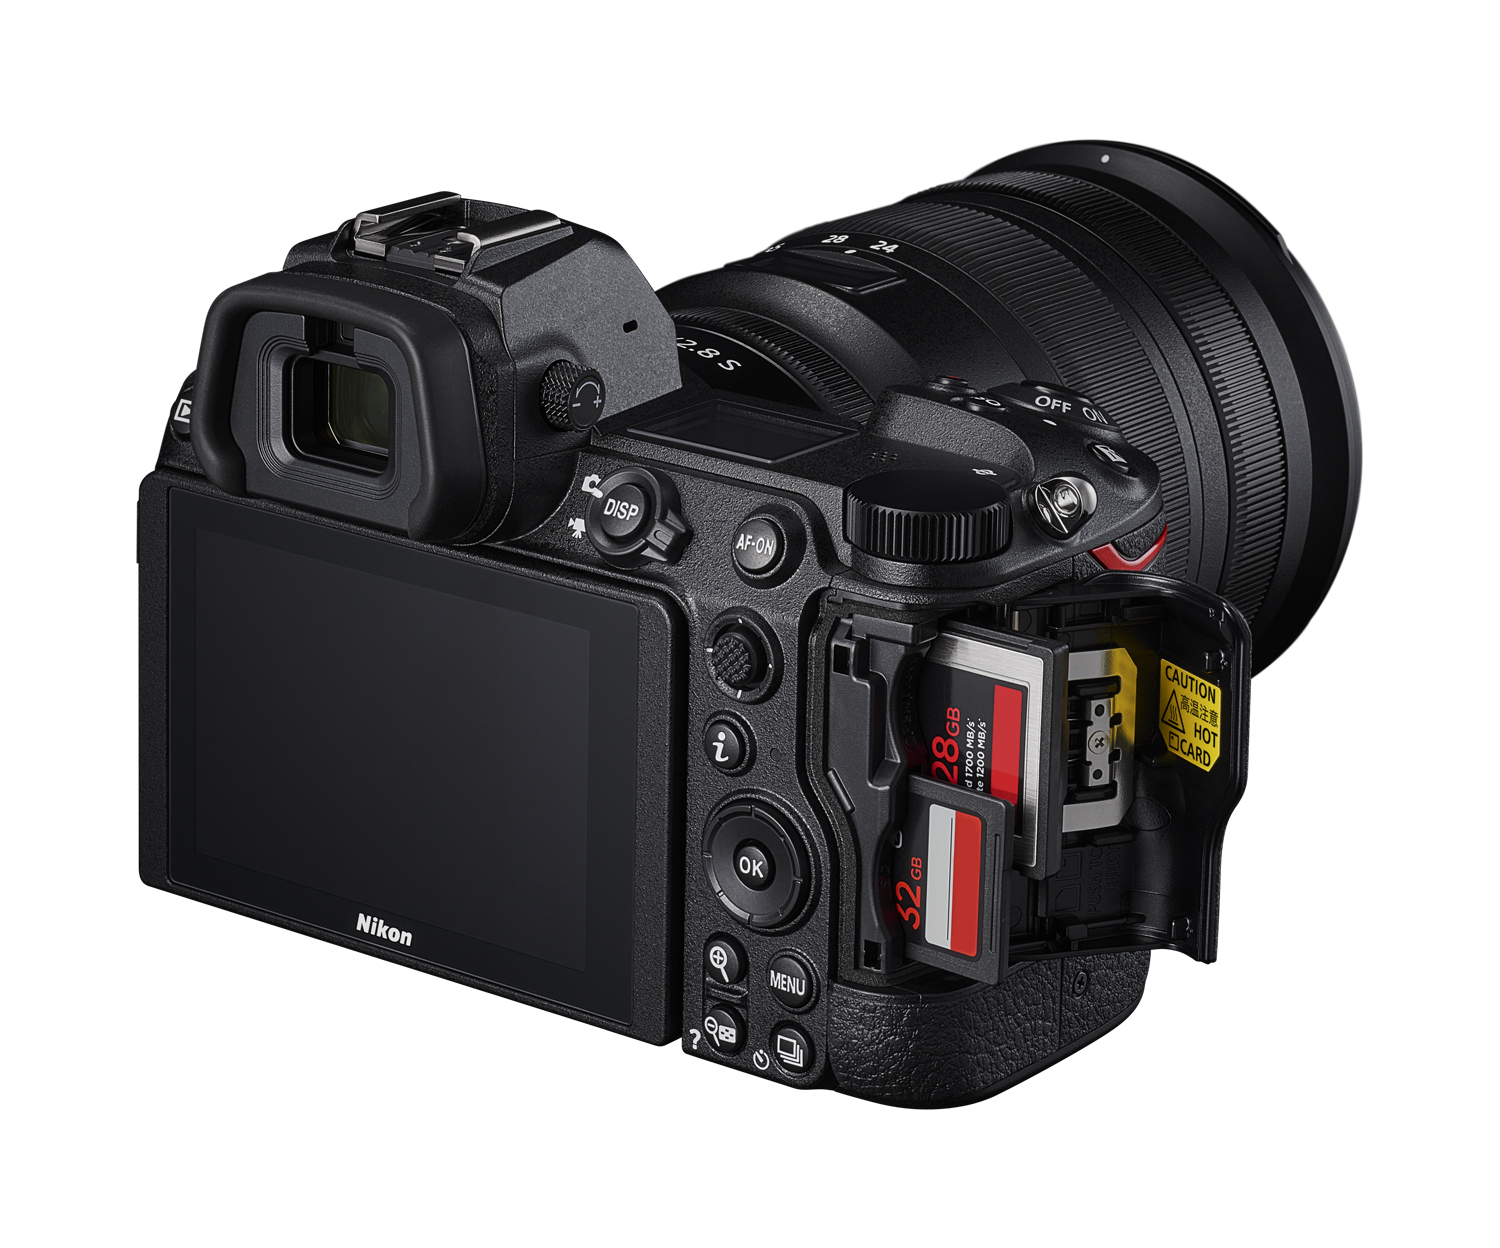
MEMORY CARDS.
Photographs can be stored on two memory cards, however, you cannot use two of the same type, but only one SD and one CFexpress type B or XQD. So I use SD, I don't want to pay almost $400 for a memory card and a reader, especially considering, how much these prices are artificially inflated. However, this leaves the camera somewhat without the option of backing up to a second card, which is not entirely to my liking. I will probably buy CFexpress in the future, apart from the possibility of backups mainly because the card is physically a bit bigger, SD cards have always seemed too small to me, I preferred to use Compact Flash.
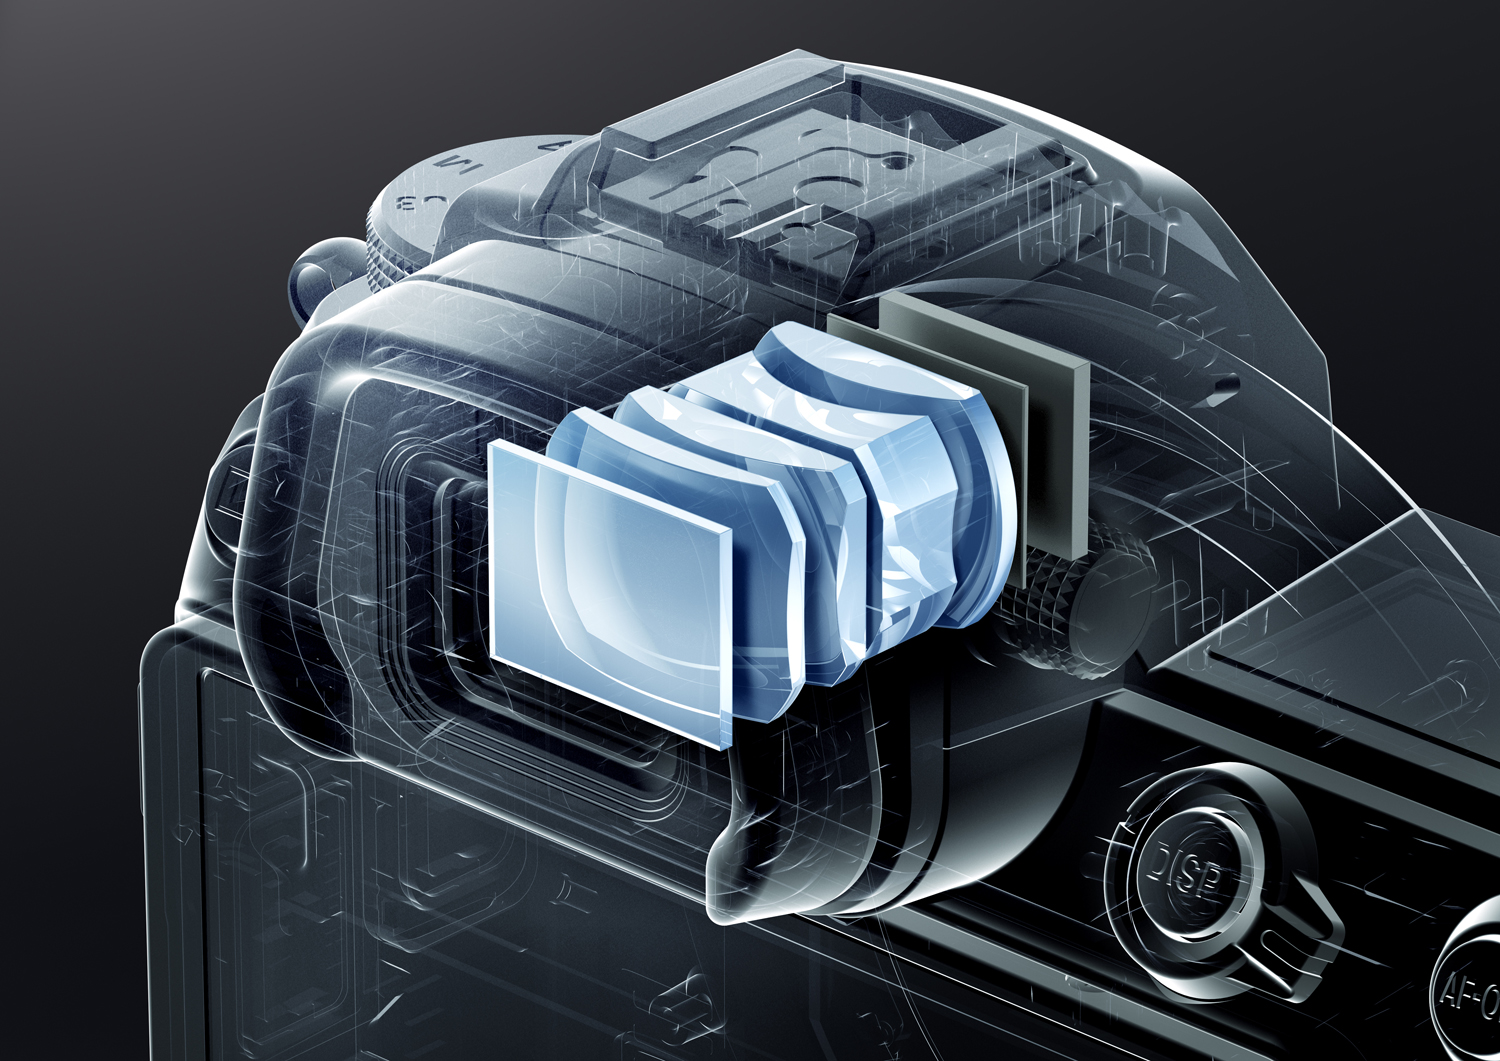
VIEWFINDER.
The viewfinder is an electronic, OLED monitor with a diagonal of 1.27 cm and a resolution of 3.69 million pixels. Color balance and brightness can be adjusted either automatically or manually in eleven levels. The viewfinder displays a 100% field and its magnification is 0.8x (when using a lens with a focal length of 50 mm, focused at infinity). The distance from the center of the front viewfinder lens to the back plane of the eyepiece is 21 mm. As for the eyecup, it is (as with almost all cameras) relatively shallow, so it is better to buy another one deeper. Which, of course, you shouldn't do, if you're looking through the viewfinder with glasses. Of course, the deeper eyecup pleasantly shade the side light and the resulting view is reminiscent of watching a movie in a cinema hall, however, in order to see the large picture in its entirety, you have to really press your eye to the eyecup, otherwise you won't be able to see all the edges and corners at the same time.
The viewfinder has a dioptric setting of -4.0 to +2.0 dpt and of course also a proximity sensor, that turns the viewfinder or rear monitor on and off, various options and combinations can be set.
Due to the already sufficient resolution, looking into the viewfinder is very pleasant. We can choose from a number of display options. If we set some of the buttons correctly, all information can be turned off by pressing it (including basic exposure data, which usually cannot be turned off), which is often very useful during composition. I used the AF-ON button for this, which is located next to the rear wheel and I would not use it for its original purpose.
The impossibility of turning on the flashing of overexposed areas of the image before exposure is somewhat inconvenient, although it can be done after switching to taking movies. And if I searched well (and didn't find), it's the same with the reportage Z9.
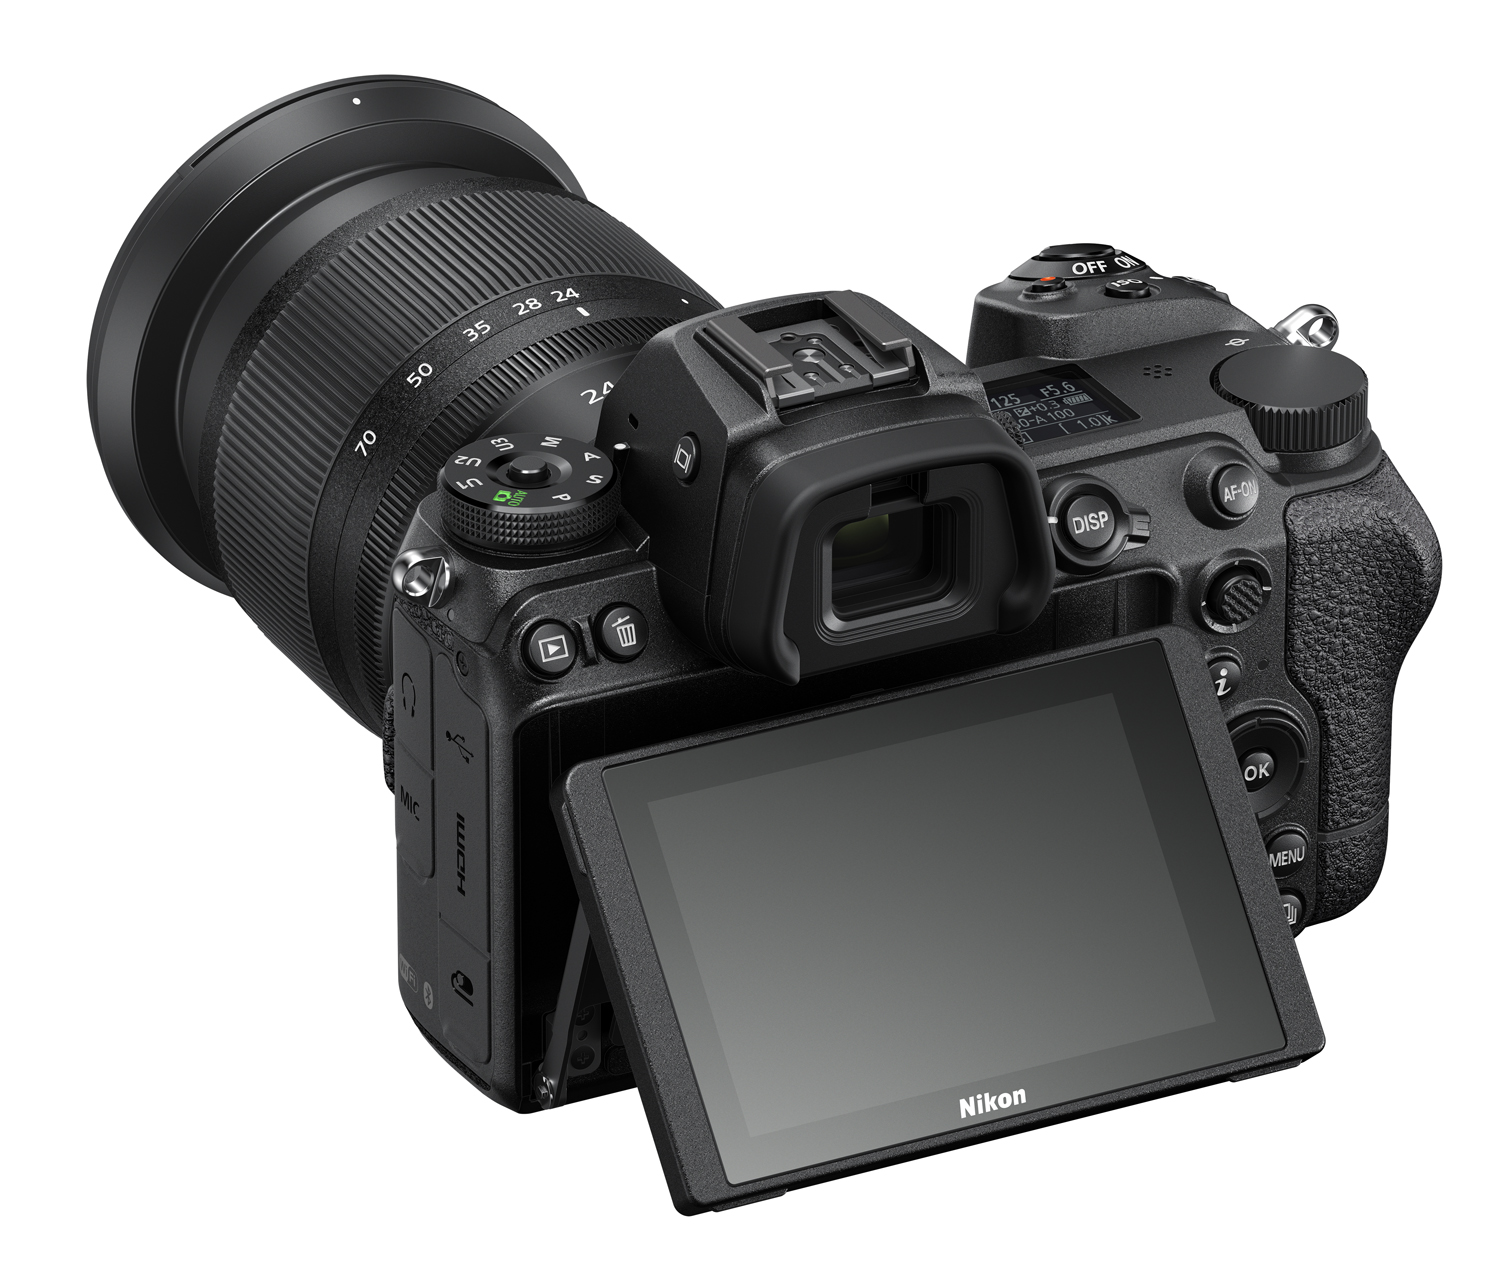
REAR MONITOR.
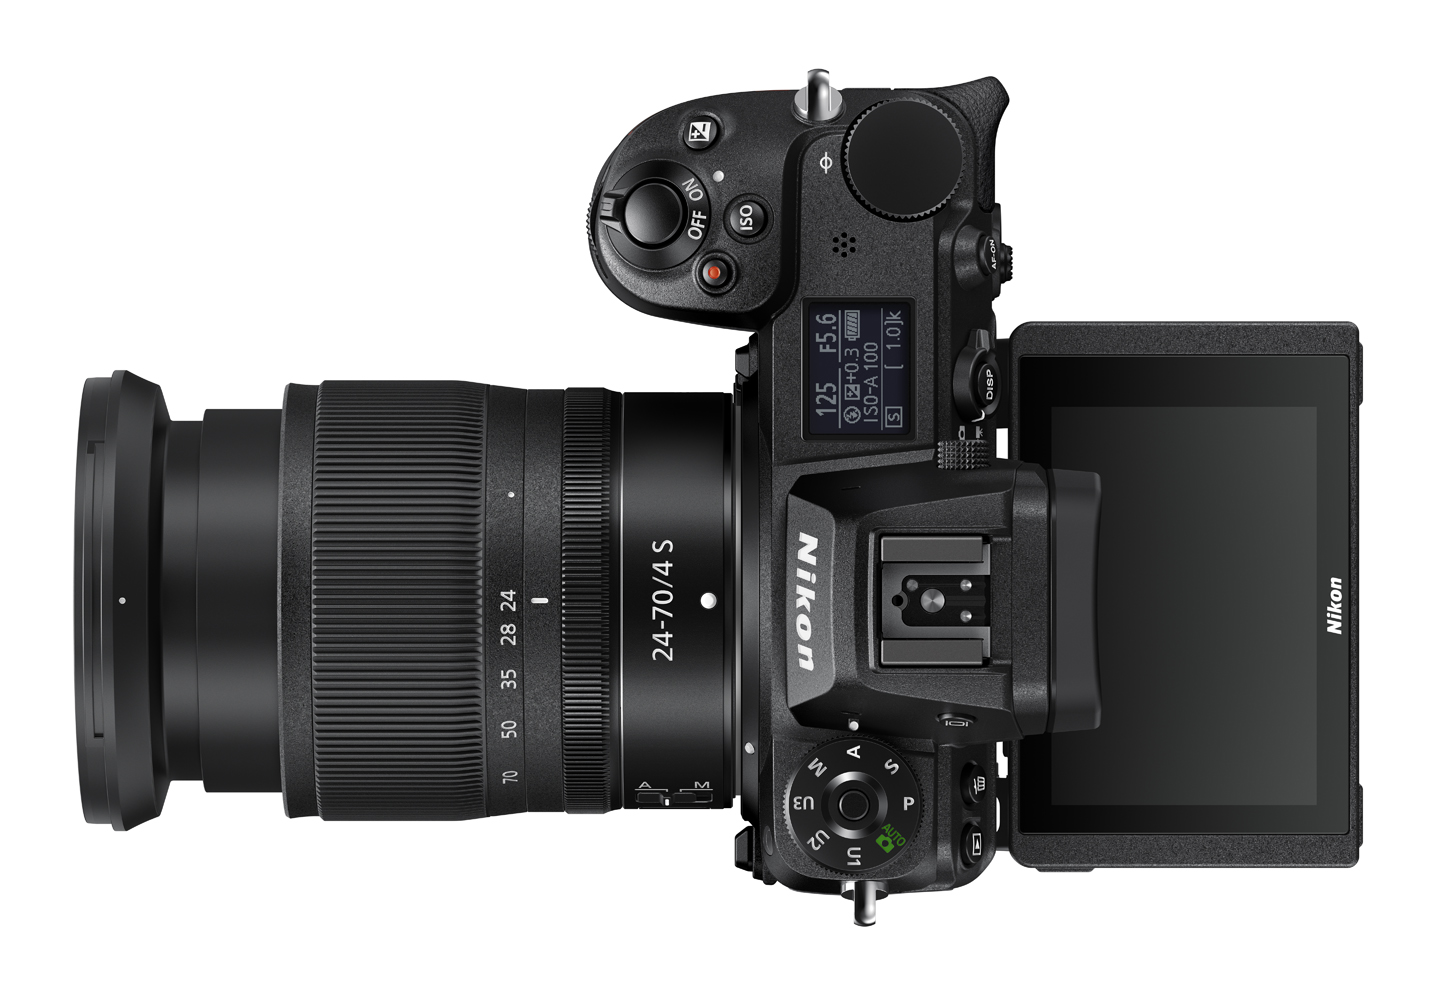
Its diagonal is 8 cm (3.2 inches), the resolution is 2.1 million pixels. It is a TFT type with viewing angles of 170 degrees. I don't use touch controls on cameras, so I turn them off straight away. The monitor partially protrudes from the rear part and has no rim, which is good for cleaning, but that makes the surface of the monitor more vulnerable, despite the very prominent deep eyecup. Therefore, it is a good idea to protect the monitor by sticking a protective glass. As with the viewfinder, the color balance and brightness can be adjusted, here only manually, again in eleven levels.
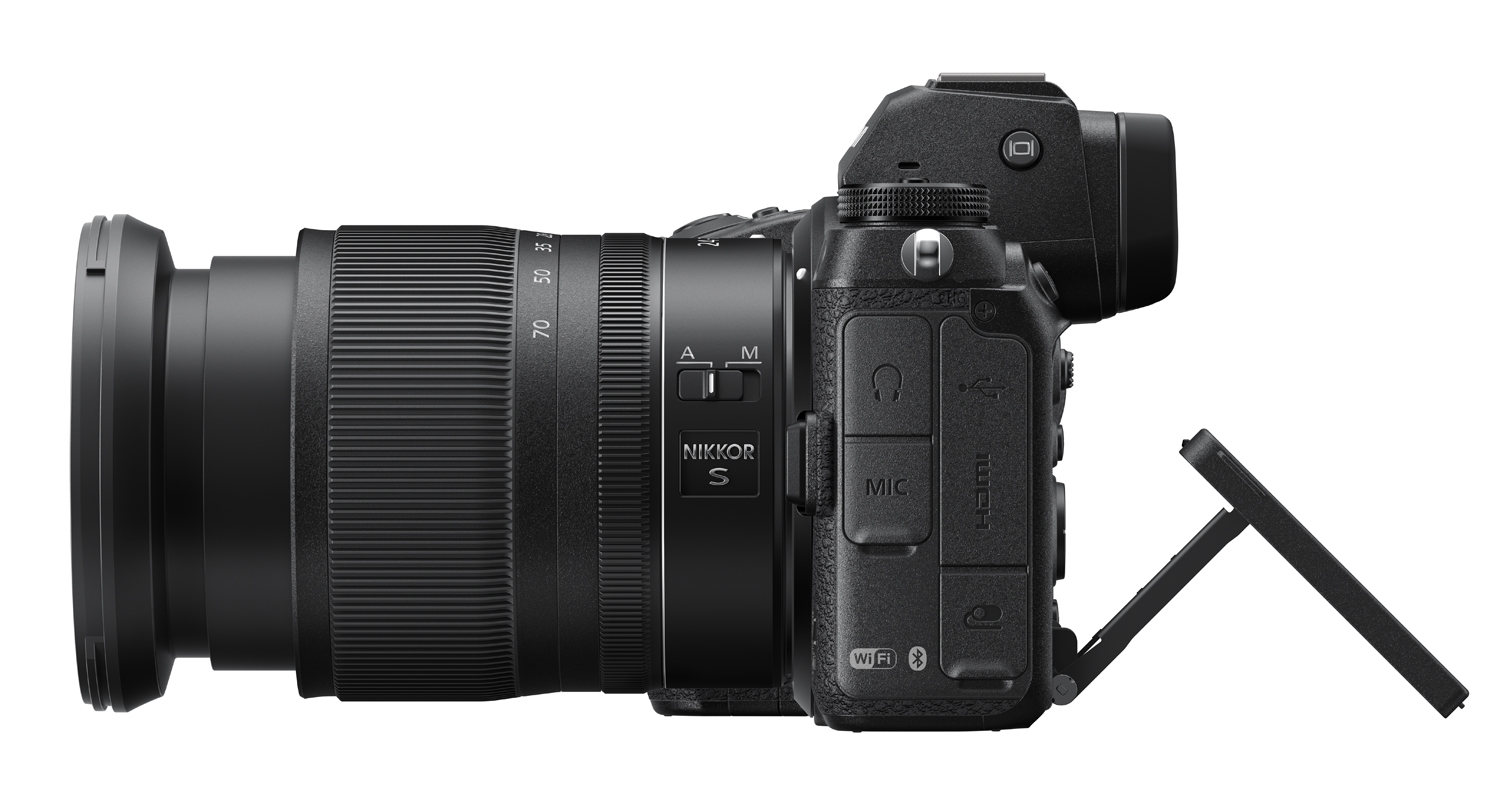
The monitor can be tilted up and down. The attachment is relatively robust, unlike for example the Sony A7RII, where it seemed (perhaps only apparently) relatively fragile, here I have no worries that I would damage it in any way. Just like the viewfinder, the rear monitor is also very pleasant to look at, graphically everything is tasteful, decent and clear, but that is almost always with Nikon.

SHUTTER, EXPOSURE TIMES AND IMAGE SENSOR PROTECTION.
Unlike the Nikon Z9, which no longer has a mechanical shutter, the Z7II does. Electronically controlled, with vertical movement in the focusing plane. It is possible to use the so-called electronic front curtain, i.e. the mechanical shutter is open before the exposure, the beginning of the exposure is started by reading data from the sensor and ends by closing the mechanical shutter. Of course, it is also possible to use a completely "electronic shutter", i.e., the mechanical shutter is always open and the exposure is made only by reading the data. The exposure times that can be set start from 1/8000 second up to 15 minutes (you have to turn it on in the menus first, otherwise there is a standard 30 seconds). It is essentially a so-called Bulb timer, which I first had in ►Canon 5DSR. Of course, you can also use the classic Bulb mode, i.e. if you hold down the shutter button (I recommend wired or wireless), the shutter is open. There is also a Time mode, where the shutter opens with one press of the trigger and closes with the second. In both modes of long exposures, i.e. Bulb and Time, we can use the "electronic shutter" without restrictions.
As you can see, the possibilities of working with exposure times are really comprehensive and here I am completely satisfied ... pardon, I would be, except for one small thing. After the start of the exposure, the countdown of the remaining number of seconds is displayed only on the upper display, the rear monitor remains switched off. Which is a great pity, because if we have the camera placed at eye level on a tripod, we simply cannot see the upper display. On the other hand, it is good, that at least somewhere it is shown how much time is still left. It's not at all hasty or anything wrong, but I'm always happy to be able to check what the device is doing at any time.
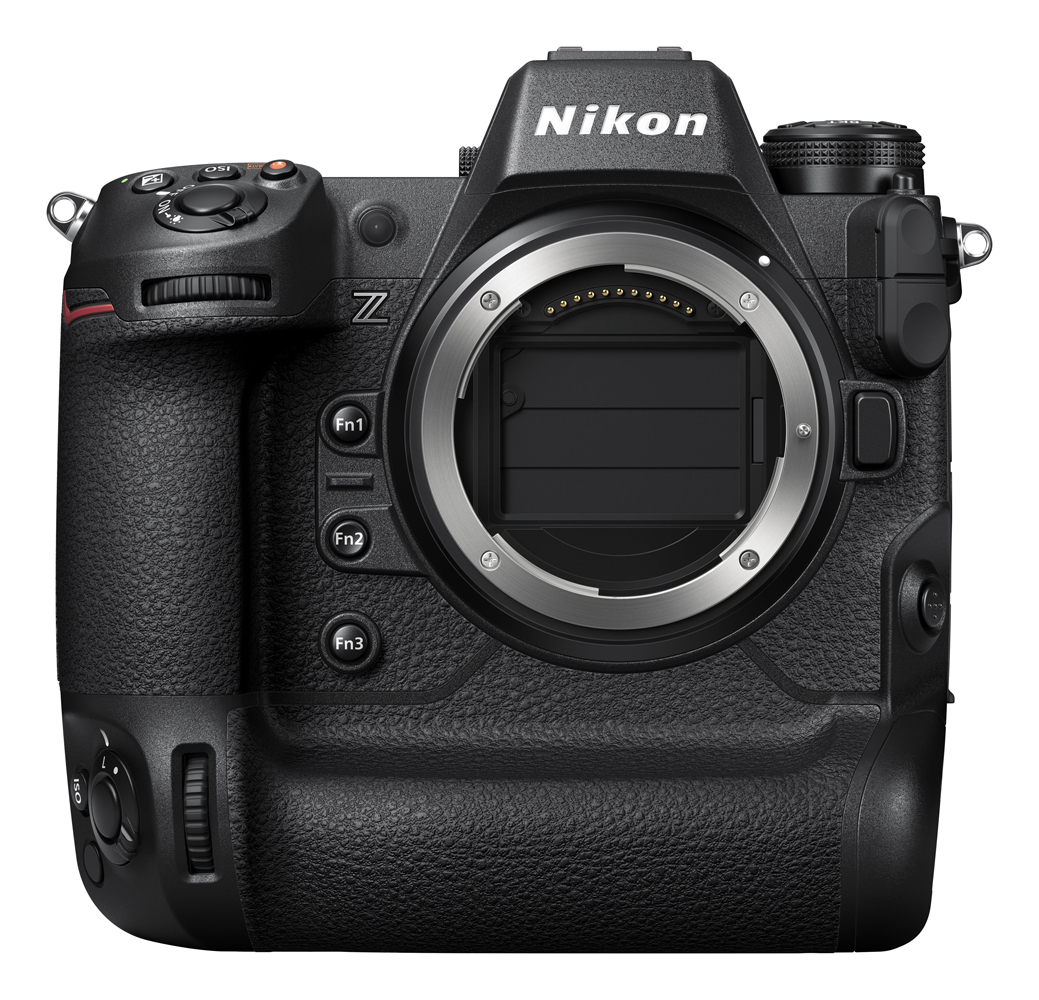
Unfortunately, the Nikon Z7II cannot be set to close the shutter when changing lenses and thus protect the sensor from dust. There isn't even an shield like the Nikon Z9, given the presence of a mechanical shutter, it wouldn't even fit here.
METHODS OF IMAGING.
It is possible to photograph single images or use continuous photographing at a speed of up to 14 frames per second. I don't use it. What interests me much more is the self-timer. Not that I would devote myself to immortalizing my person, but to prevent the device from shaking after pressing the shutter. The setting options are very detailed here. We have four time intervals available – 2, 5, 10 or 20 seconds. Furthermore, we can choose not only the number of images that will be created, 1 - 9, but also the intervals between them, 0.5, 1, 2 and 3 seconds. This is especially useful for bracketing. As is traditional with Nikon, the self-timer also turns off after turning off the camera and it is necessary to turn it on again.
But there is another function that prevents camera vibrations, and that is Delayed shutter release. We set the time that elapses between pressing the shutter button and the start of the exposure. Options are Off, 0.2, 0.5, 1, 2, and 3 seconds. This function, if selected, remains on all the time, even after the camera is turned off and on again. It should be remembered (and that's why I like the automatic turning off of the self-timer at all), because I've witnessed several times with myself or with friends, when we forgot about the delayed shutter release and suddenly wanted something (e.g. an come running animal, an arriving train, etc.) quickly to take a photograph from the hand, while instead of starting the exposure, the timer just happily started. For this reason too, I prefer to use the self-timer, but above all because I am most comfortable with the 5-second interval, which the Delayed shutter release function does not offer.
MEASUREMENT OF EXPOSURE DATA (PHOTOMETRY).
Measurement modes.
Measurement takes place directly in the image sensor through the lens (TTL). We have available matrice measurement (Matrix), measurement with an emphasized center (75% importance is given to the data from a circle with a diameter of 12 mm in the center of the field, but depending on the situation this ratio can change in favor of the surrounding areas, it can also be set in advance), point metering (a circle with a diameter of 4 mm, approximately 1.5% of the field, connected to the selected focus point) and also metering oriented to the highest brightnesses, when should not be overexposure even if the other areas should remain completely dark. If the light source takes up most of the frame, it is. In the case of wide-angle images, e.g. in a room with illuminated spotlights on the ceiling, the lights will be overexposed, but less so than, e.g., when using matrice metering. In terms of measurement accuracy, Nikon devices have always been among the best, and the Z7II is no exception.
Exposure modes.
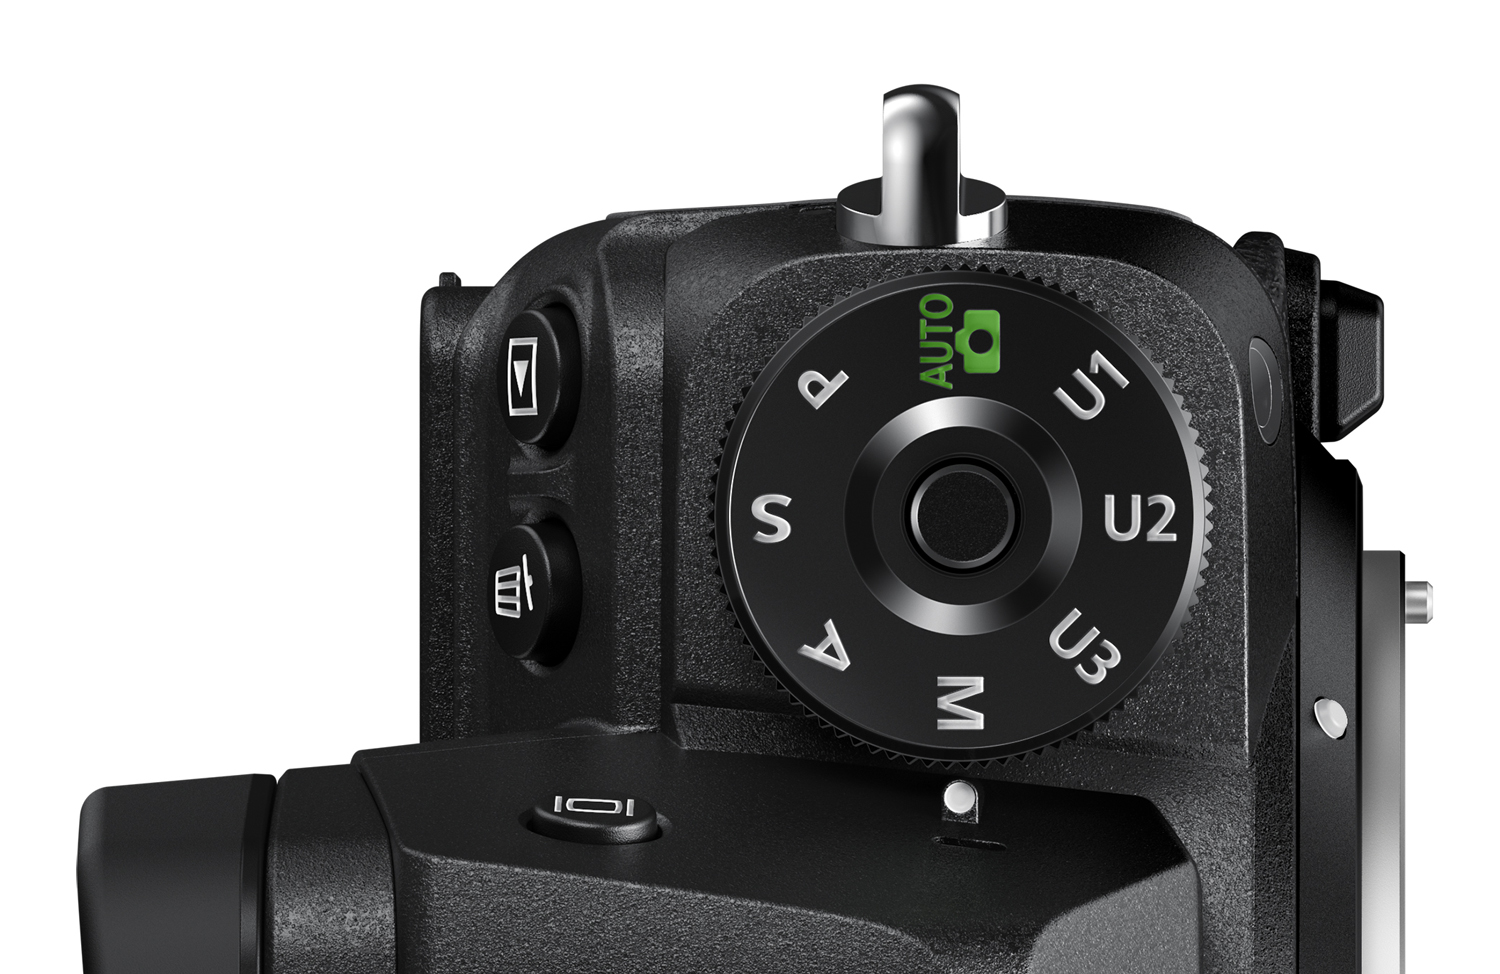
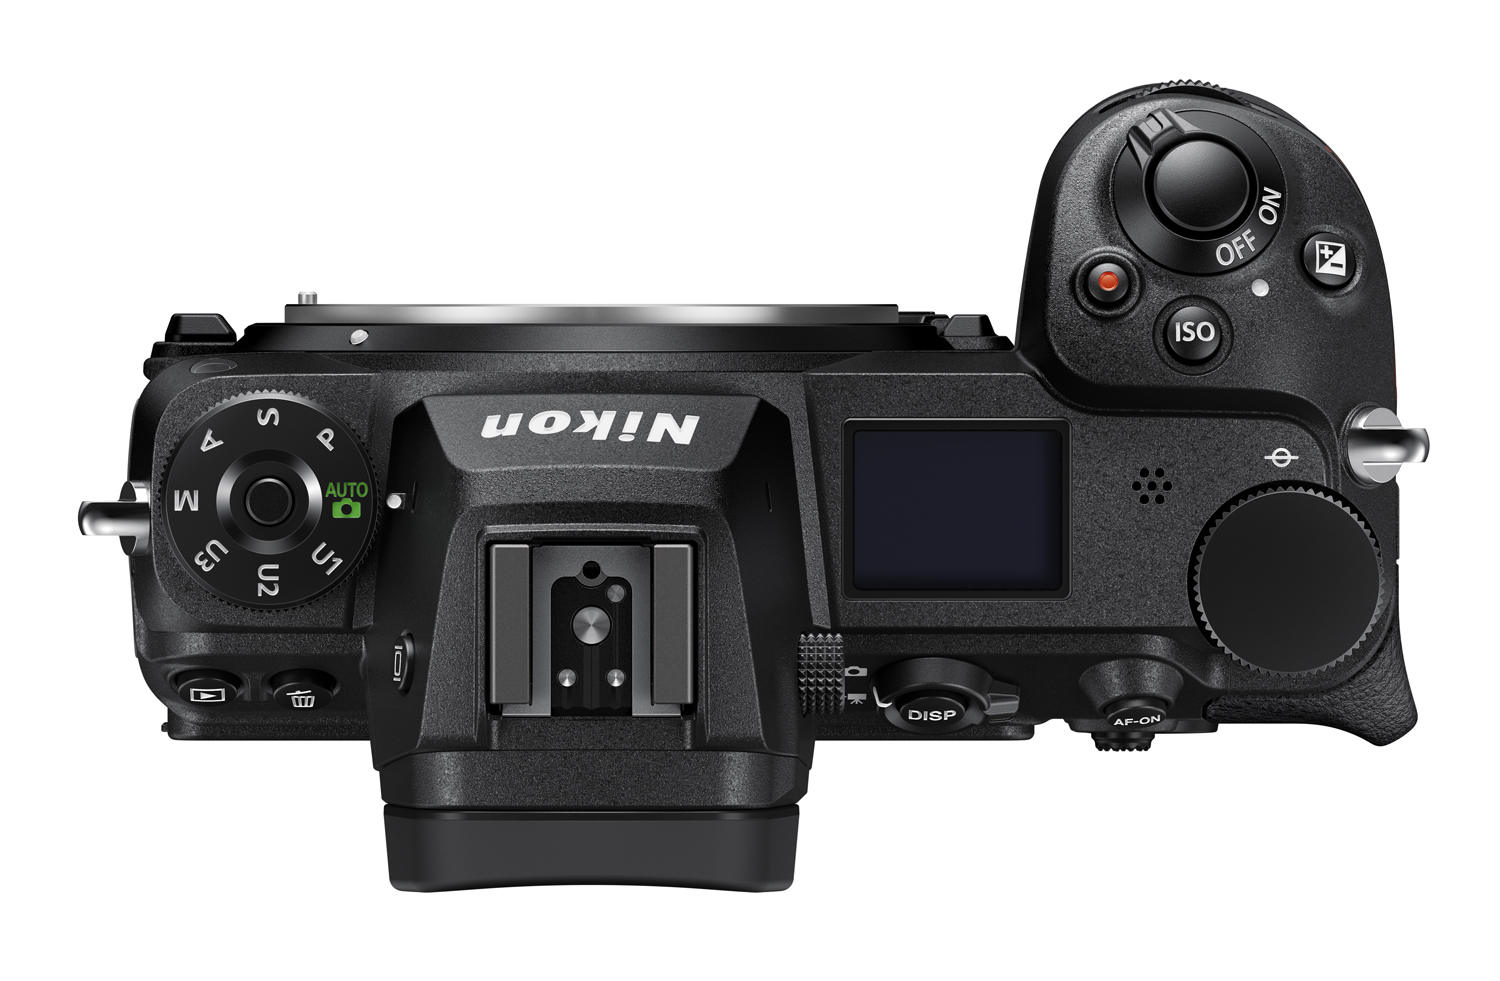
There are four, P (Program), S (Shutter priority), A (Aperture priority) and M (Manual). There is also a green mode of complete automaticity. The individual modes are set with the locked wheel on the left of the viewfinder, to unlock it you need to press and hold the button in the middle. I used to prefer the method used for example with the Fujifilm X-H1. Here, the locking button works similarly to a ballpoint pen, with one press it unlocks the wheel, with the second it locks it again. However, the wheel locking on the Z7II suits me even more, as the button and wheel have a very pleasant operation and shape and are easy to handle. On the wheel we also find positions U1, U2 and U3, where we can save various custom settings. I haven't even tried them yet. Controlling the entire device suits me so much, that any setting makes me happy, so I have no reason to deprive myself of this joy. Years of photographing with various Nikon cameras are simply recognizable here.
Exposure compensation.
It is possible in the range of -5 to +5 exposure stops, otherwise of course my favorite M mode gives complete and utter freedom.
Sensor sensitivity.
The sensor has a basic sensitivity of ISO 64, the highest is 25 600. Both limits can be moved to 32 - 102 400. The sensitivity can be set both manually and automatically with various presets. I recommend always using the basic sensitivity of 64, the quality of the photographs is breathtaking, the images are perfectly (but not artificially) smooth, clean, beautiful. It is necessary to add, that the brightness and color noise is relatively low due to the high resolution of the image sensor, of course it depends a lot on both the lighting conditions and the processing of photographs in RAW format. However, with black and white photographs, I don't mind even more pronounced noise, it looks like film grain and contributes to a larger spatial impression of the photographs.
NEW NIKON Z-MOUNT.
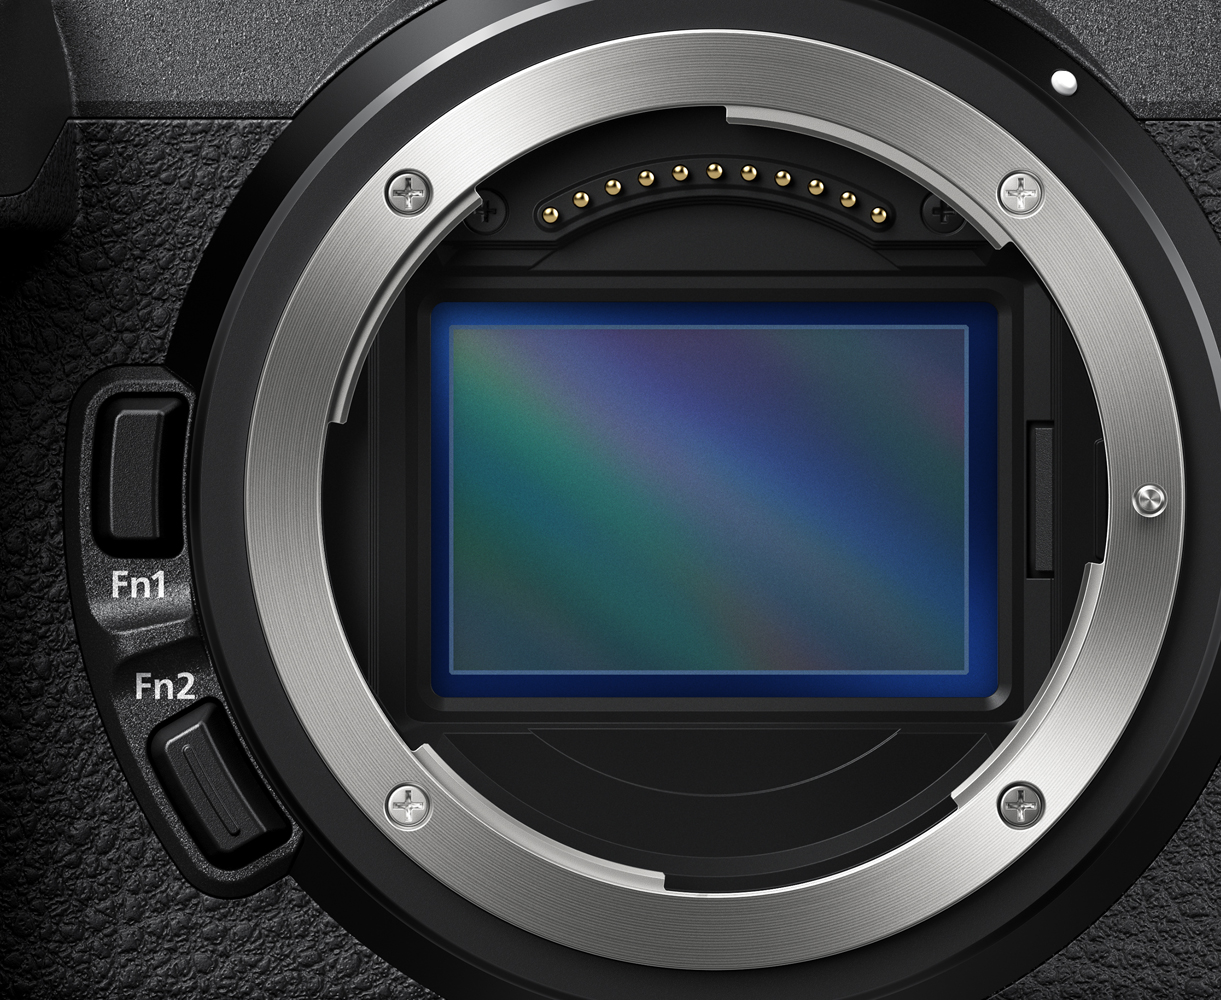
Nikon recently celebrated 100 years, and its F-mount has become a true photographic legend during that time. It was created for 36 mm film cameras, later with image sensors of both cine-frame size (FX) and APS-C film frame (DX). Its diameter of 44 mm was completely satisfactory for SLR cameras, as the image plane is relatively far from the mount and it is therefore not necessary to excessively refract the paths of light particles approaching the rear element of the lens.
However, the situation is different for cameras with an electronic viewfinder. The sensor can be brought much closer to the rear element of the lens, thereby minimizing the influence of the change in the environment through which the light particles must pass (refraction). Nikon chose to place the front of the image sensor just 16 mm from the rear elements of the lenses. 1.6 cm, 0.63", very close indeed. With the original F-mount (of course we would all very much welcome its preservation), however, this would require the paths of the light rays coming out of the rear element of the lens to be bent very significantly, which always entails the risk of unwanted bending phenomena (the aforementioned refraction, diffraction, etc.) That is also, why Nikon decided to create a completely new mount, the diameter of which will be 11 mm larger than the F-mount.
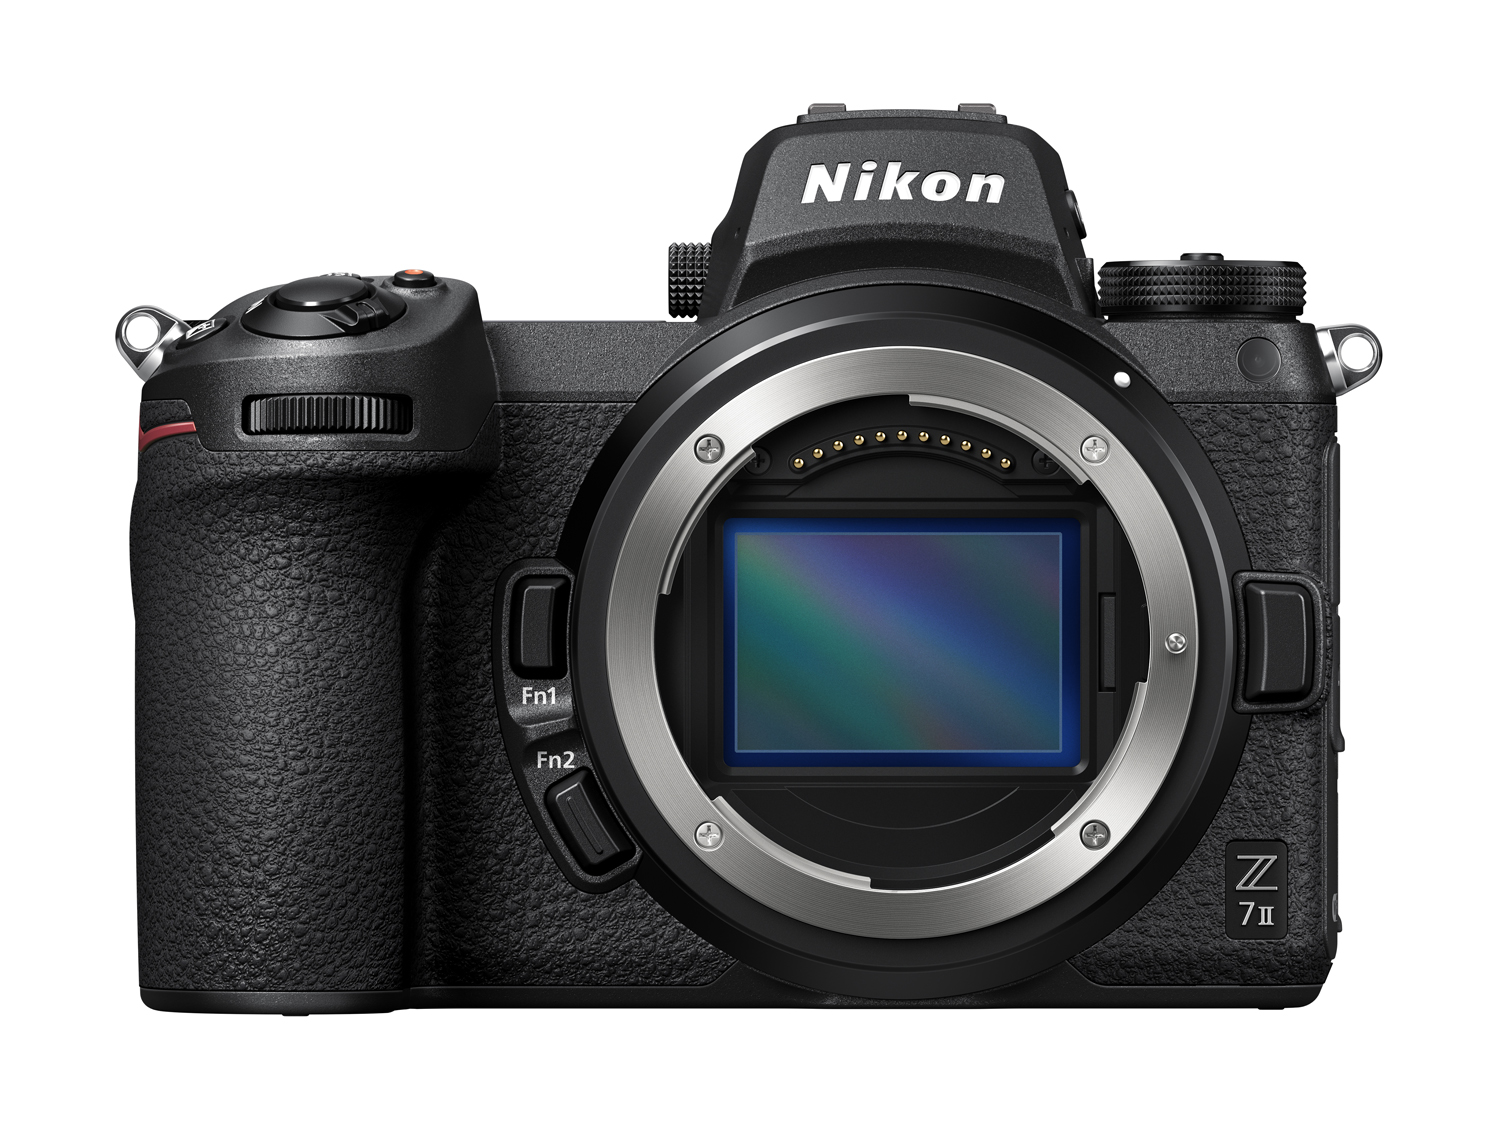
The new mount, called Z, therefore has an inner diameter of 55 mm. Interestingly (and I don't know, if it was by design or just a coincidence) the largest 36 mm camera mount to date was the Canon EF, which replaced the previous FD in 1987. It has a diameter of 54 mm, the same as the new mount for new cameras with electronic viewfinder, RF. Personally, I do not believe that it was a question of measuring, who has an extra millimeter in diameter, but only the result of a compromise between the largest possible opening and at the same time maintaining small body dimensions. However, even now the ring around the mount protrudes slightly above the camera body in the upper part.
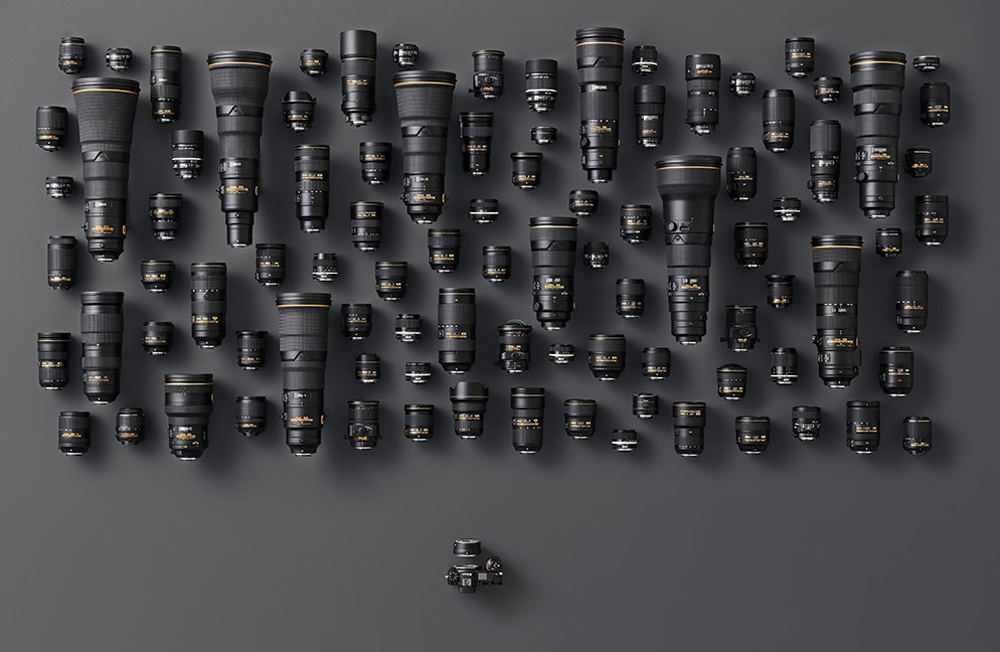
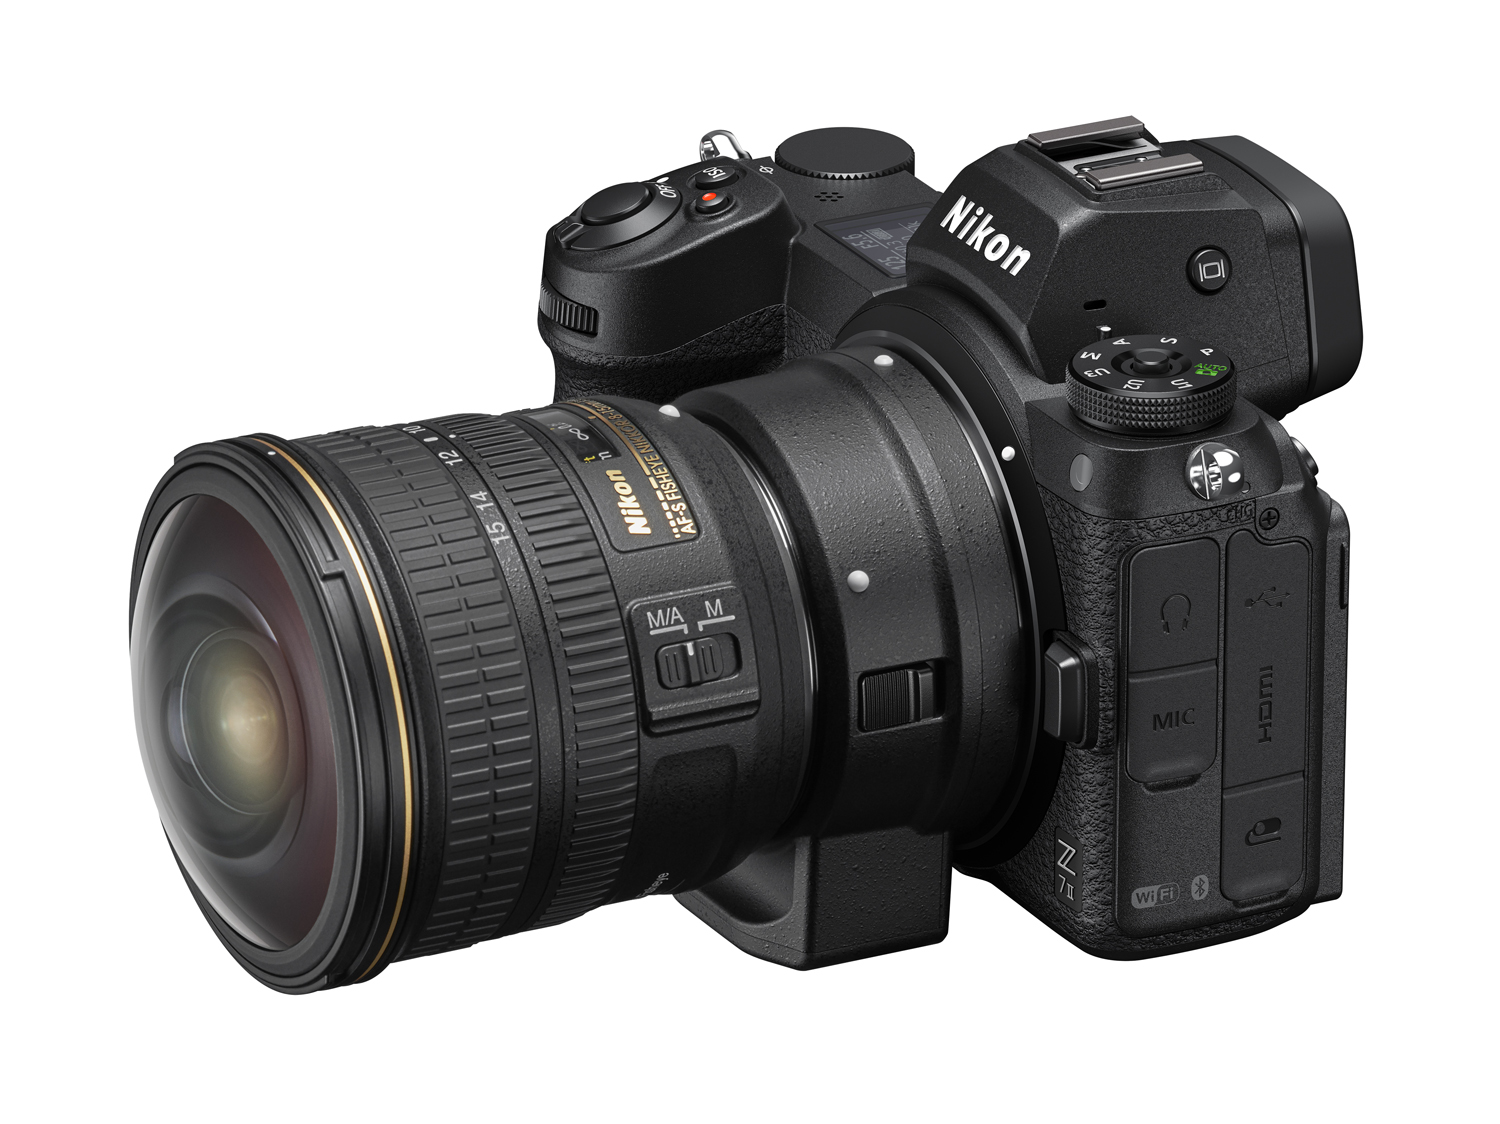
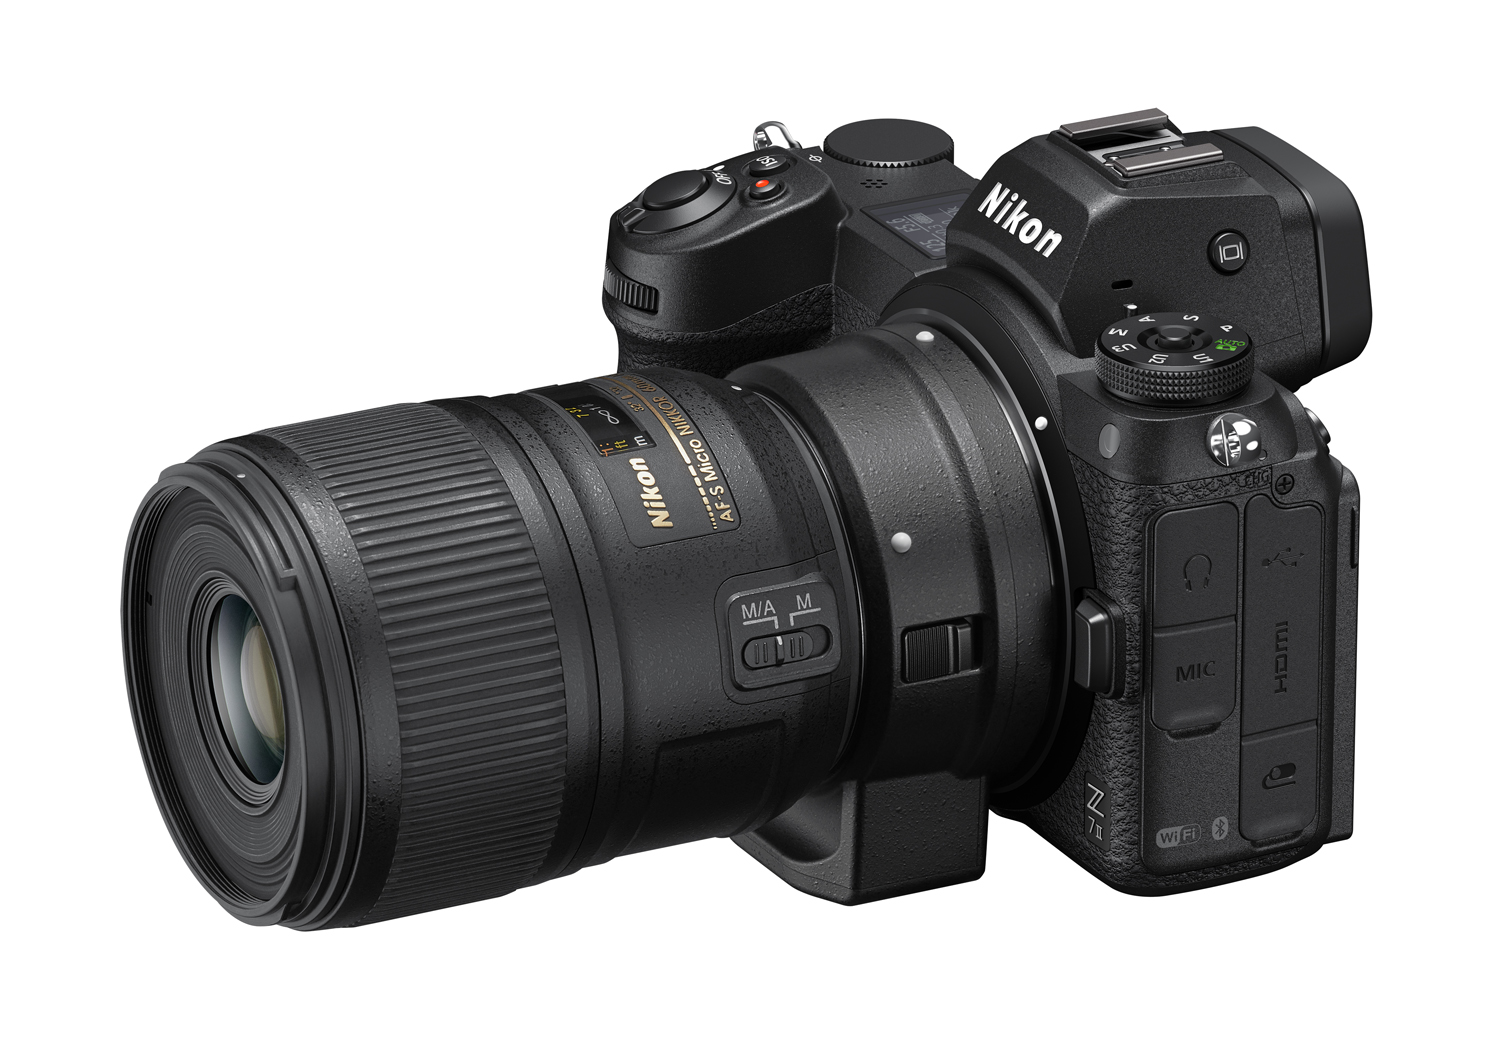
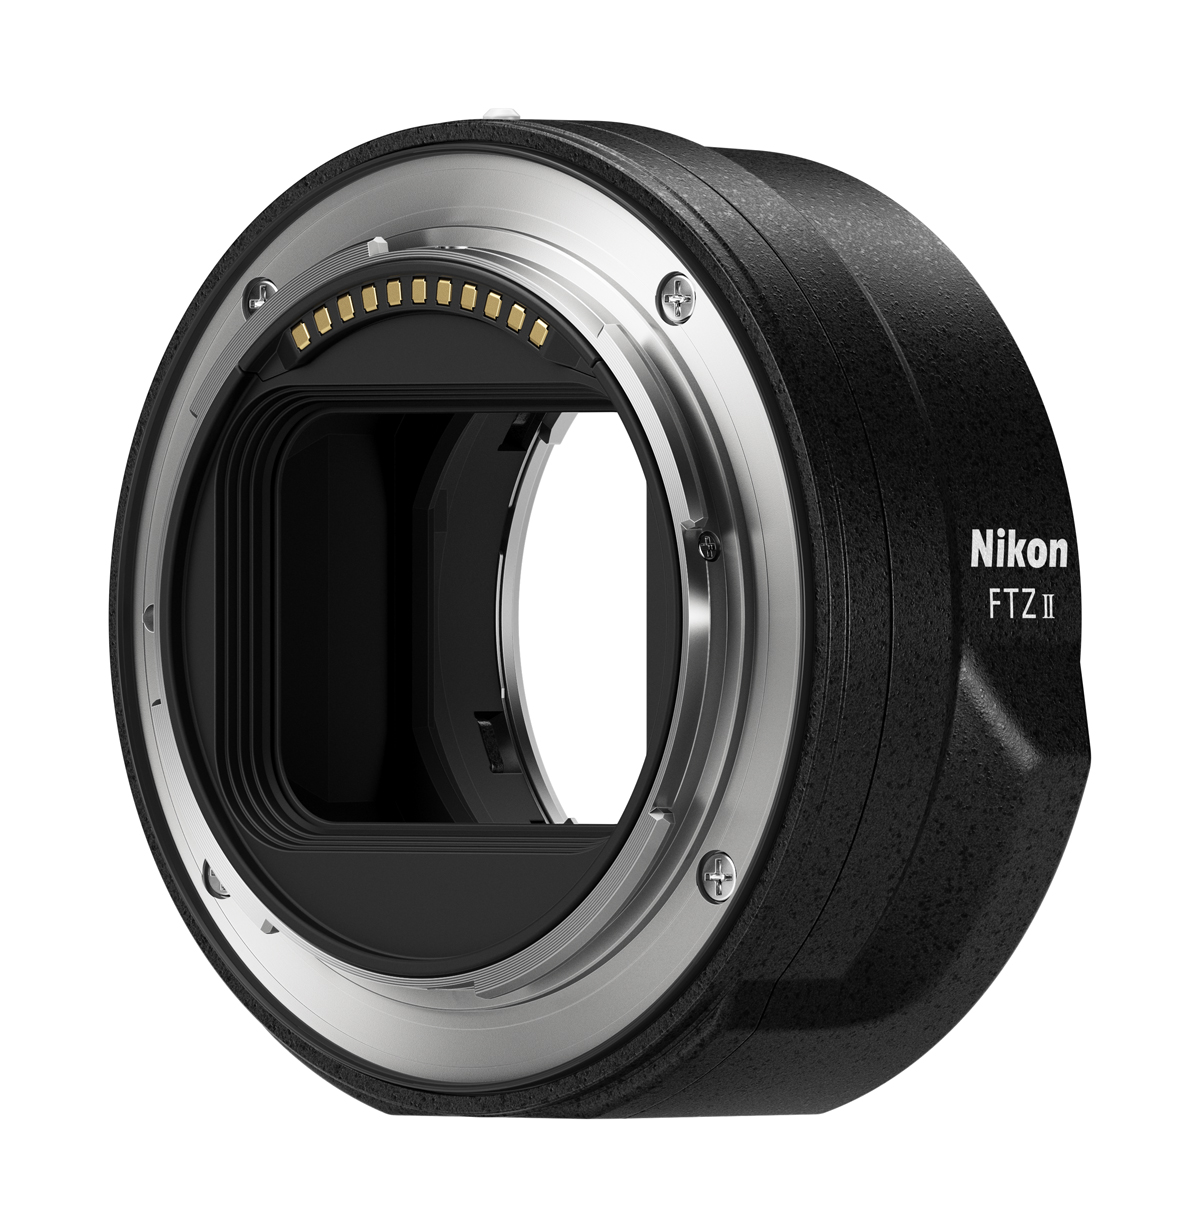
Almost all F-mount lenses can be attached using the adapter.
FOCUSING.
As I've stated many times before (and nothing has changed), autofocus is not very important to my work. On the contrary, I use manual focusing more and more, it is a real joy in a high-quality viewfinder with the possibility of high magnification.
Nevertheless, the Nikon Z7II is excellently equipped in this area as well. It uses a combination of phase and contrast detection, has 493 focus points and allows many different focus modes. From pin point focusing, when a really tiny square is evaluated, which can be moved very precisely, to full-area measurement, when the camera itself (and very well) selects the places to focus. I already wrote about it in an article, if we repeatedly press the shutter button, the camera in this mode will almost always focus a little elsewhere, so it is easy to choose whether we prefer the center of the image, the background, the foreground ...
One more note comes to mind about the previously mentioned manual focus. If we turn off the camera (or it turns off by itself after the specified time), the focusing group of elements is set to the basic position, and it is therefore necessary to focus again after turning camera on. But in the menus, you can turn on the Save focus position function, which will ensure, that the camera saves the focus position and restores it when turned on (or does not move the elements at all, I'm not sure). In any case, it is a very accurate and reliable method, which is useful, for example, when photographing on a cloudy night, when it can be difficult to focus correctly.
USING SYSTEM FLASH.
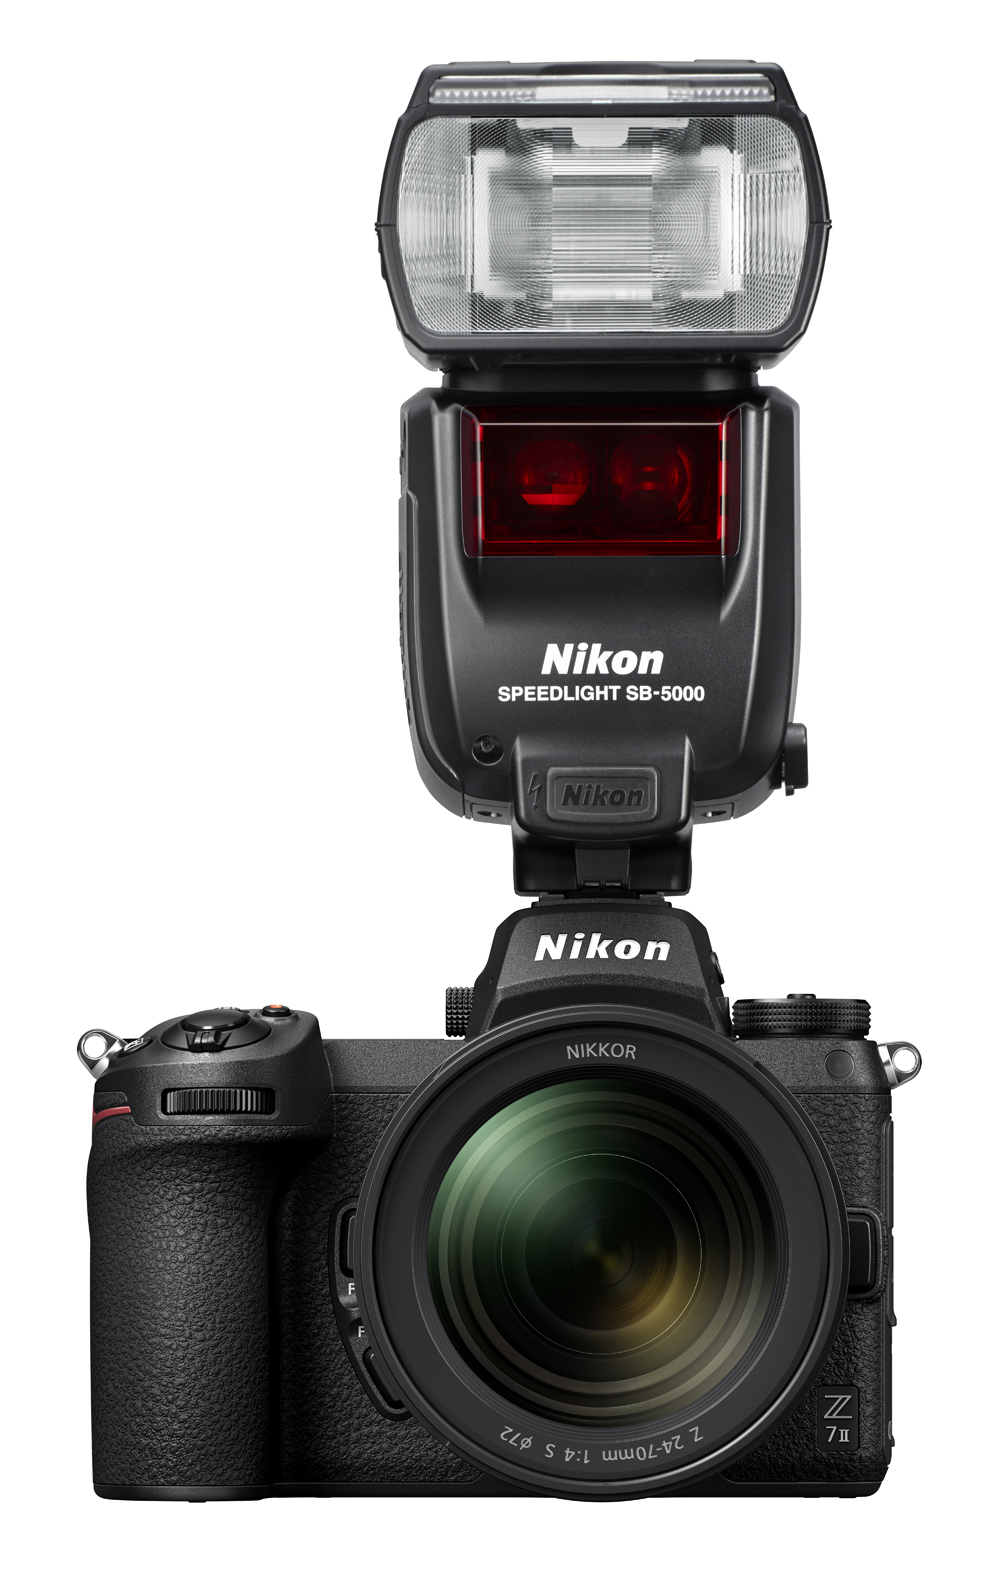
There has been no change here, which is not entirely good. The camera communicates with the flash using the existing i-TTL protocol, either directly or with the option of wireless optical or radio sync, that's fine of course. But the actual attachment of the flash to the camera body would really deserve improvement.
With Canon flashes, the entire mounting feet is pulled into the hot shoe by means of a circular lever and is securely held there, while at the same time being completely surrounded by a rubber seal. Similarly, only without the seal, it is also same with the Sigma EF-630 flash for Nikon.
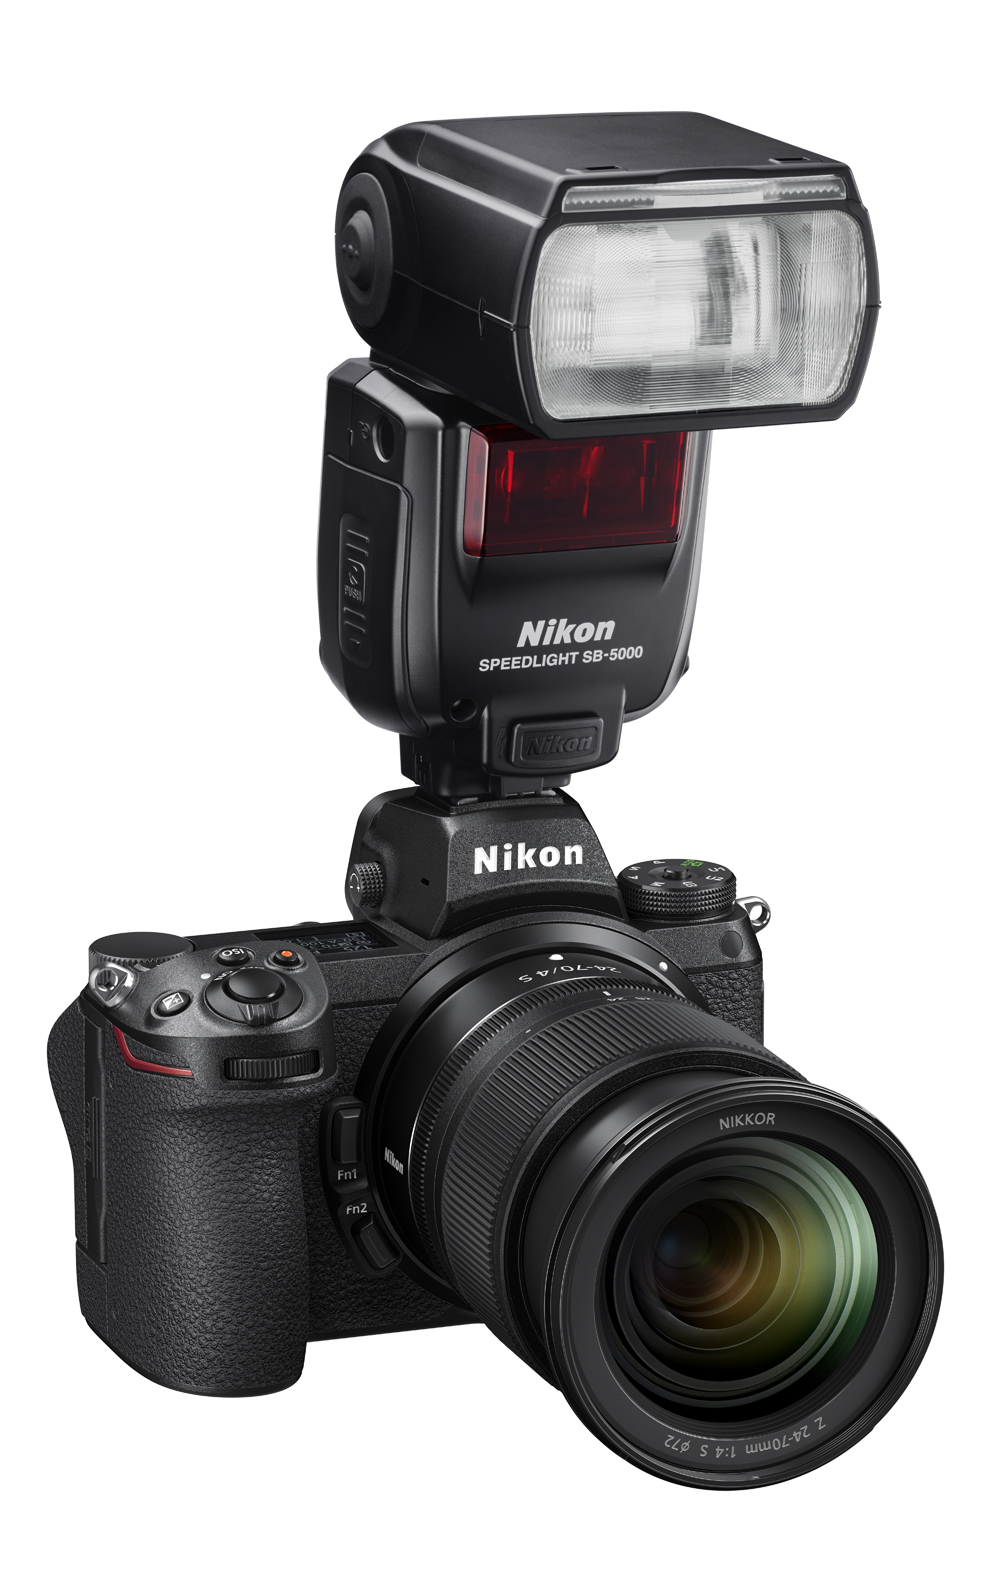
However, with original Nikon flashes, when the lever is turned, only a thin metal pin from the mounting feet slides into the hole in the hot shoe. However, the flash is not pushed to the hot shoe in any way, so it is held only by the thin springs of the hot shoe, which is why it wobbles and if careless, it can even be pulled out from the hot shoe (with Canon, you would rather break the flash, than leave the hot shoe without first releasing it). In addition, the connection between the mounting feet and the hot shoe is not sealed against water, dust, sand, etc. by Nikon. The supplied external rubber seals are perhaps effective, but rather clumsy. Here, the entire fastening would really need to be improved. Of course, while maintaining the possibility of unlimited use of previous types of flashes.
BATTERY.
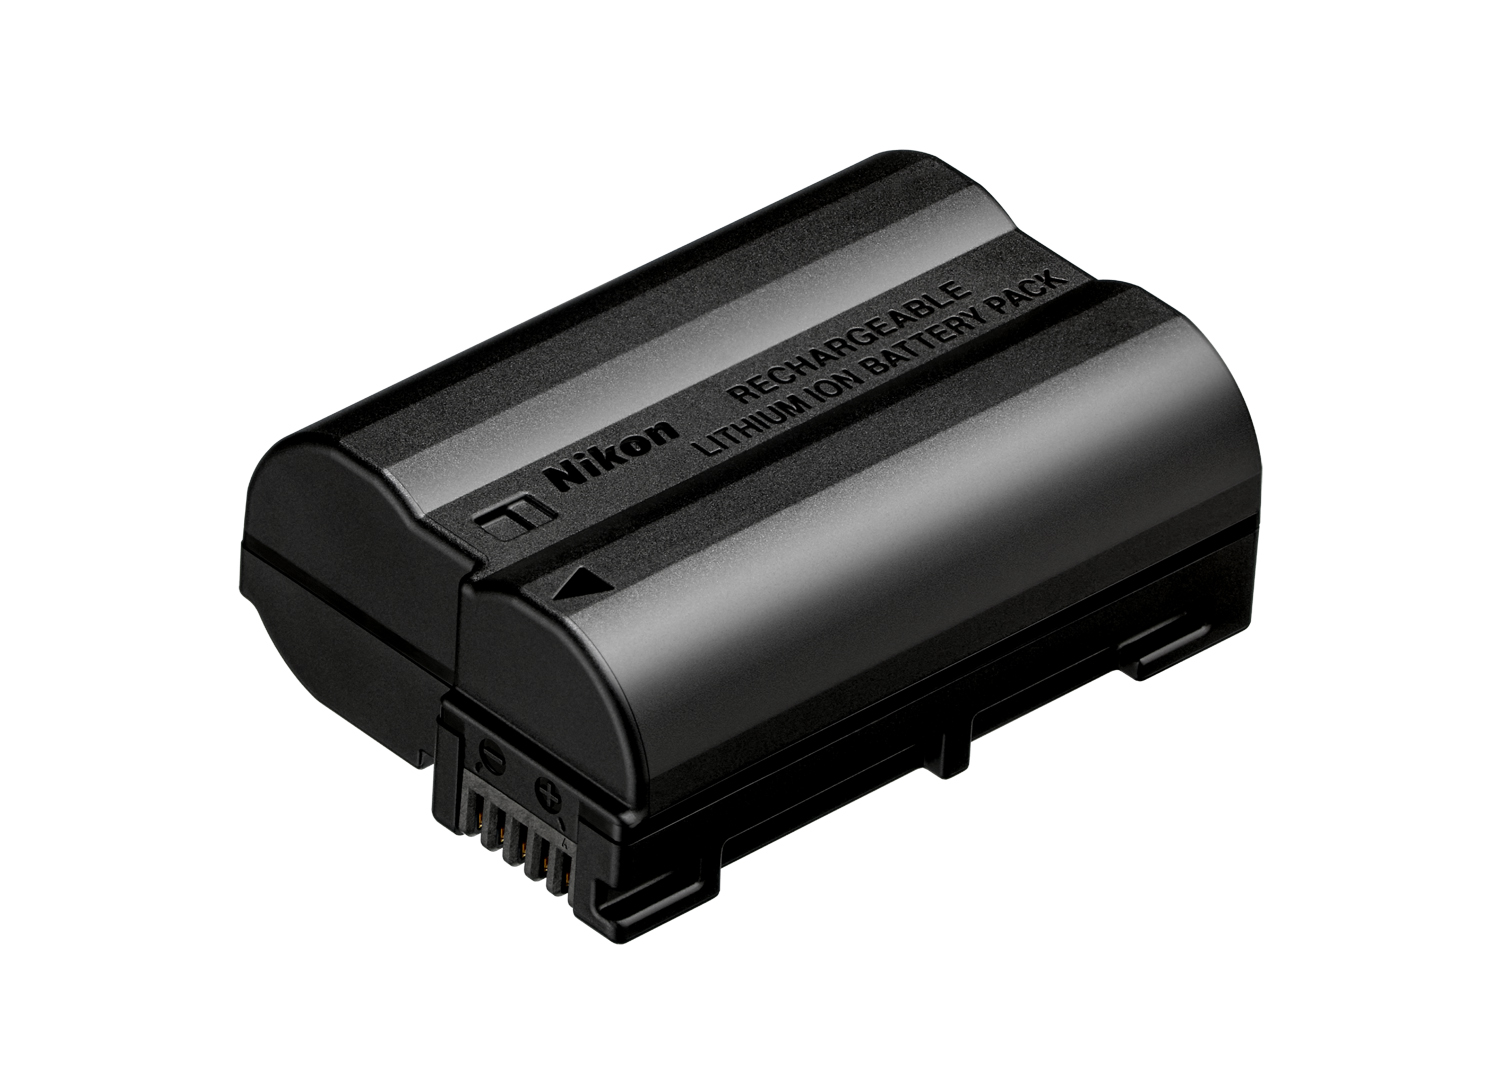
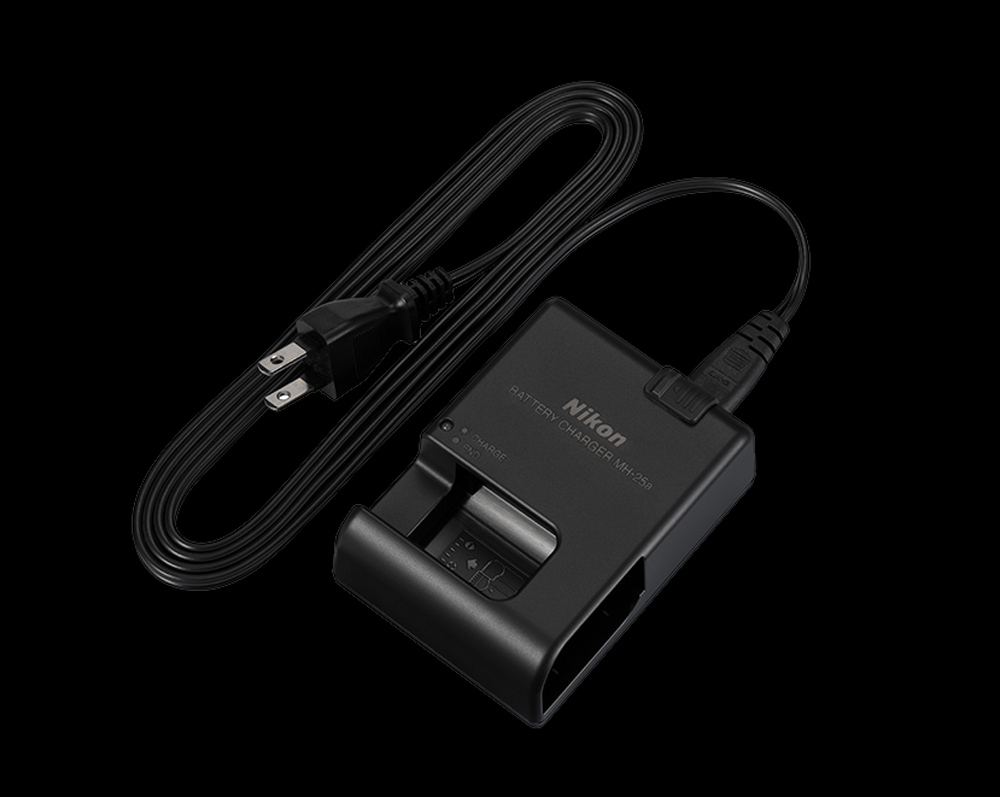
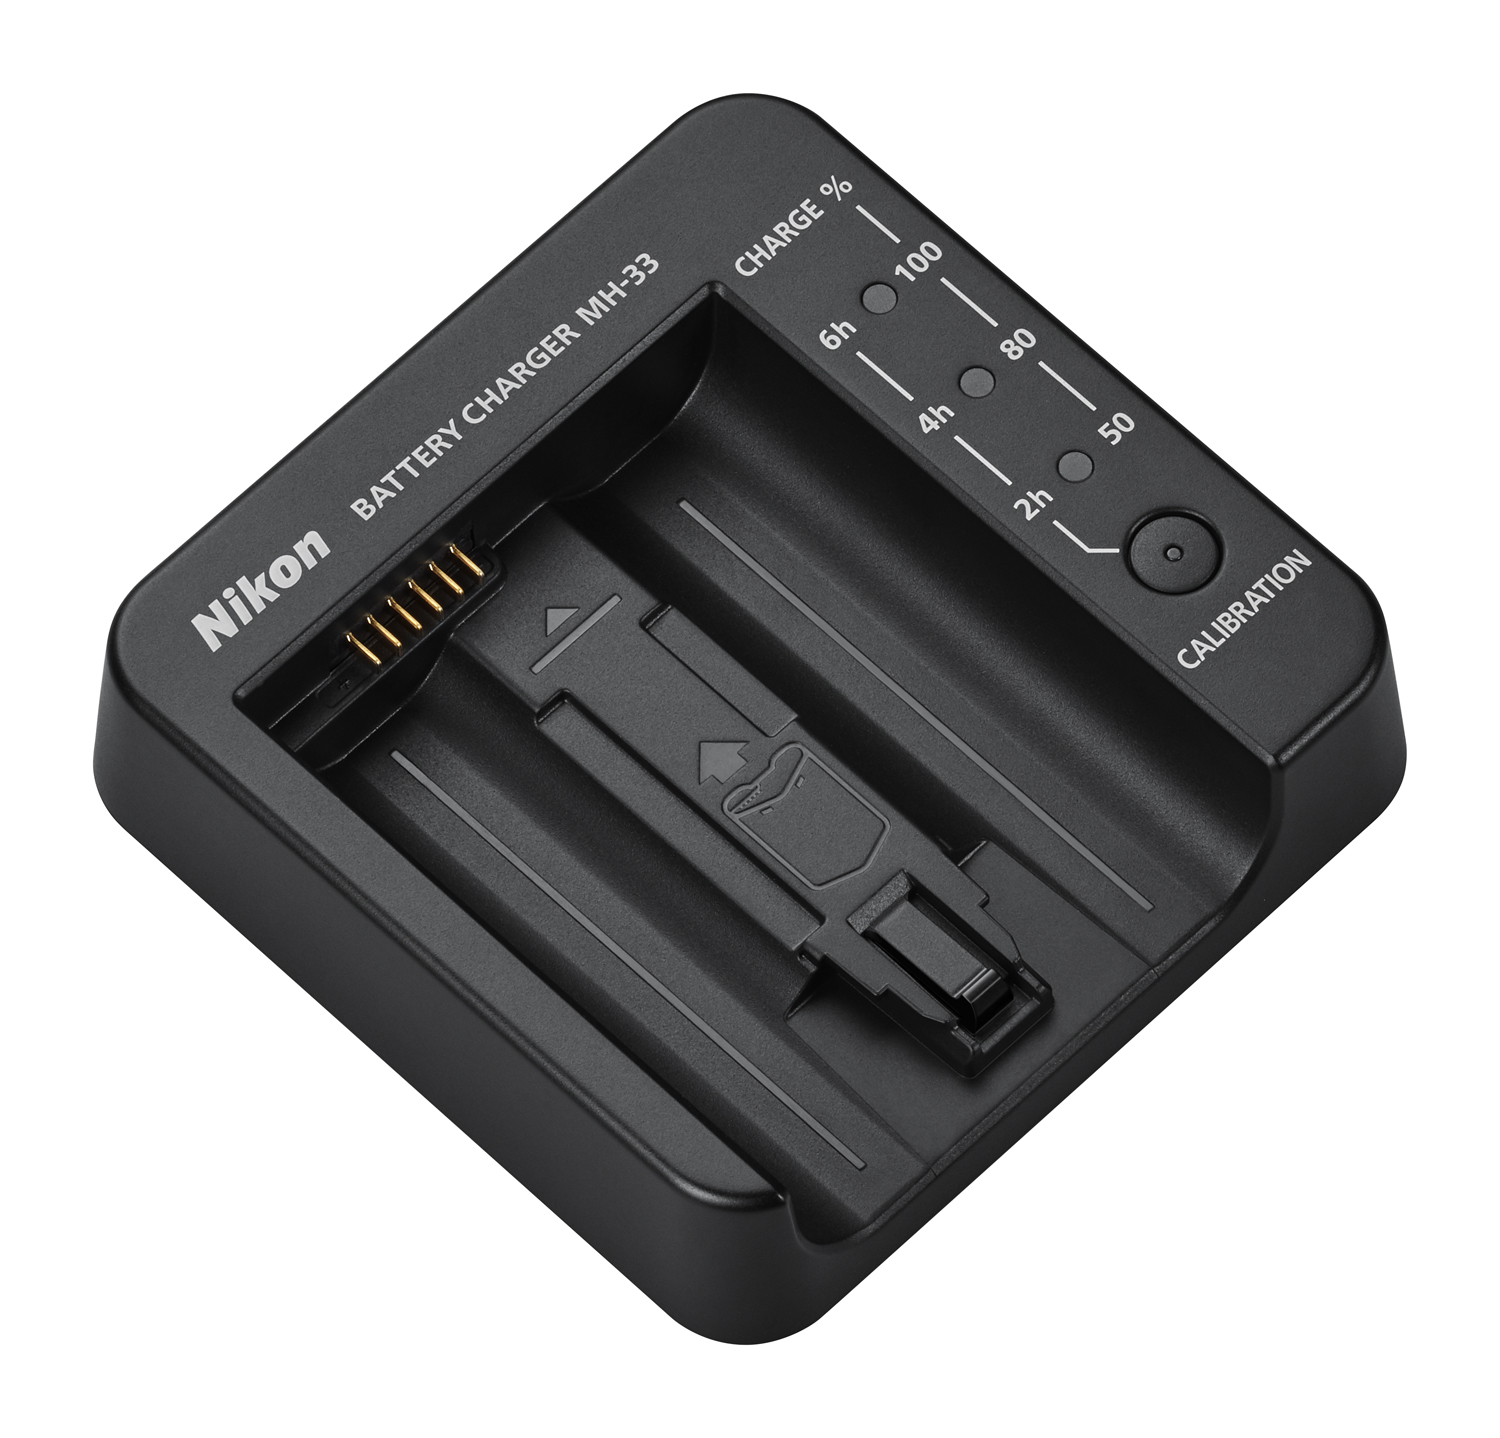
The camera is powered by an EN-EL 15c battery. It is good, that we can also use older batteries, for example EN-EL 15, which powers, for example, Nikon D800. 15c differs in the possibility of recharging in the body of the camera via the USB-C connector and a slightly larger capacity. The charger is the (already classic) Nikon MH-25A, the already mentioned D800 has the same one (in appearance). There is no more detailed indicator of battery charge, the charger diode simply flashes during charging and lights up after completion. Of course, it's not a major flaw, but nowadays some kind of innovation would be nice. Perhaps similar to the Nikon MH-33 battery charger.
The battery lasts a very long time, I can get by with three without any worries. I bought the original Nikon. They are expensive, but you can still rely more on them to power a complex, precise device correctly for a long time and not damage it in any way.
HOLDING AND OPERATING THE CAMERA.
At the introduction, I must mention two things that have an effect here:
- I do not use an additional battery holder (vertical grip),
- I still have the tripod L plate attached to the camera.
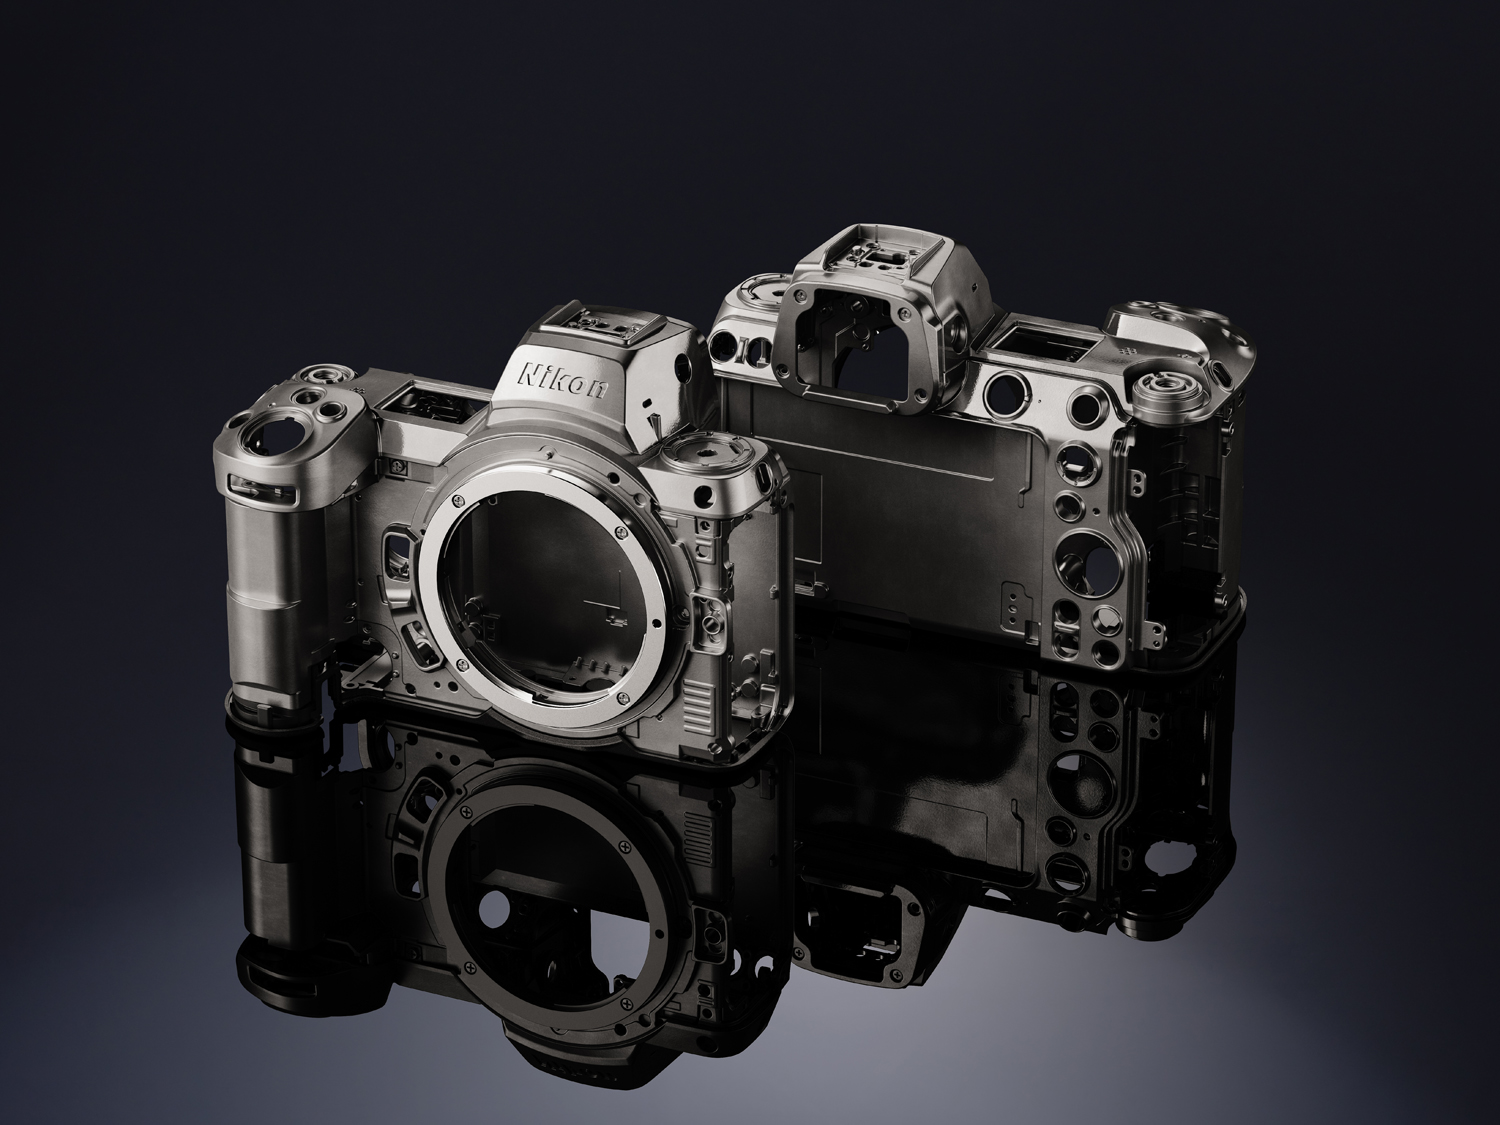
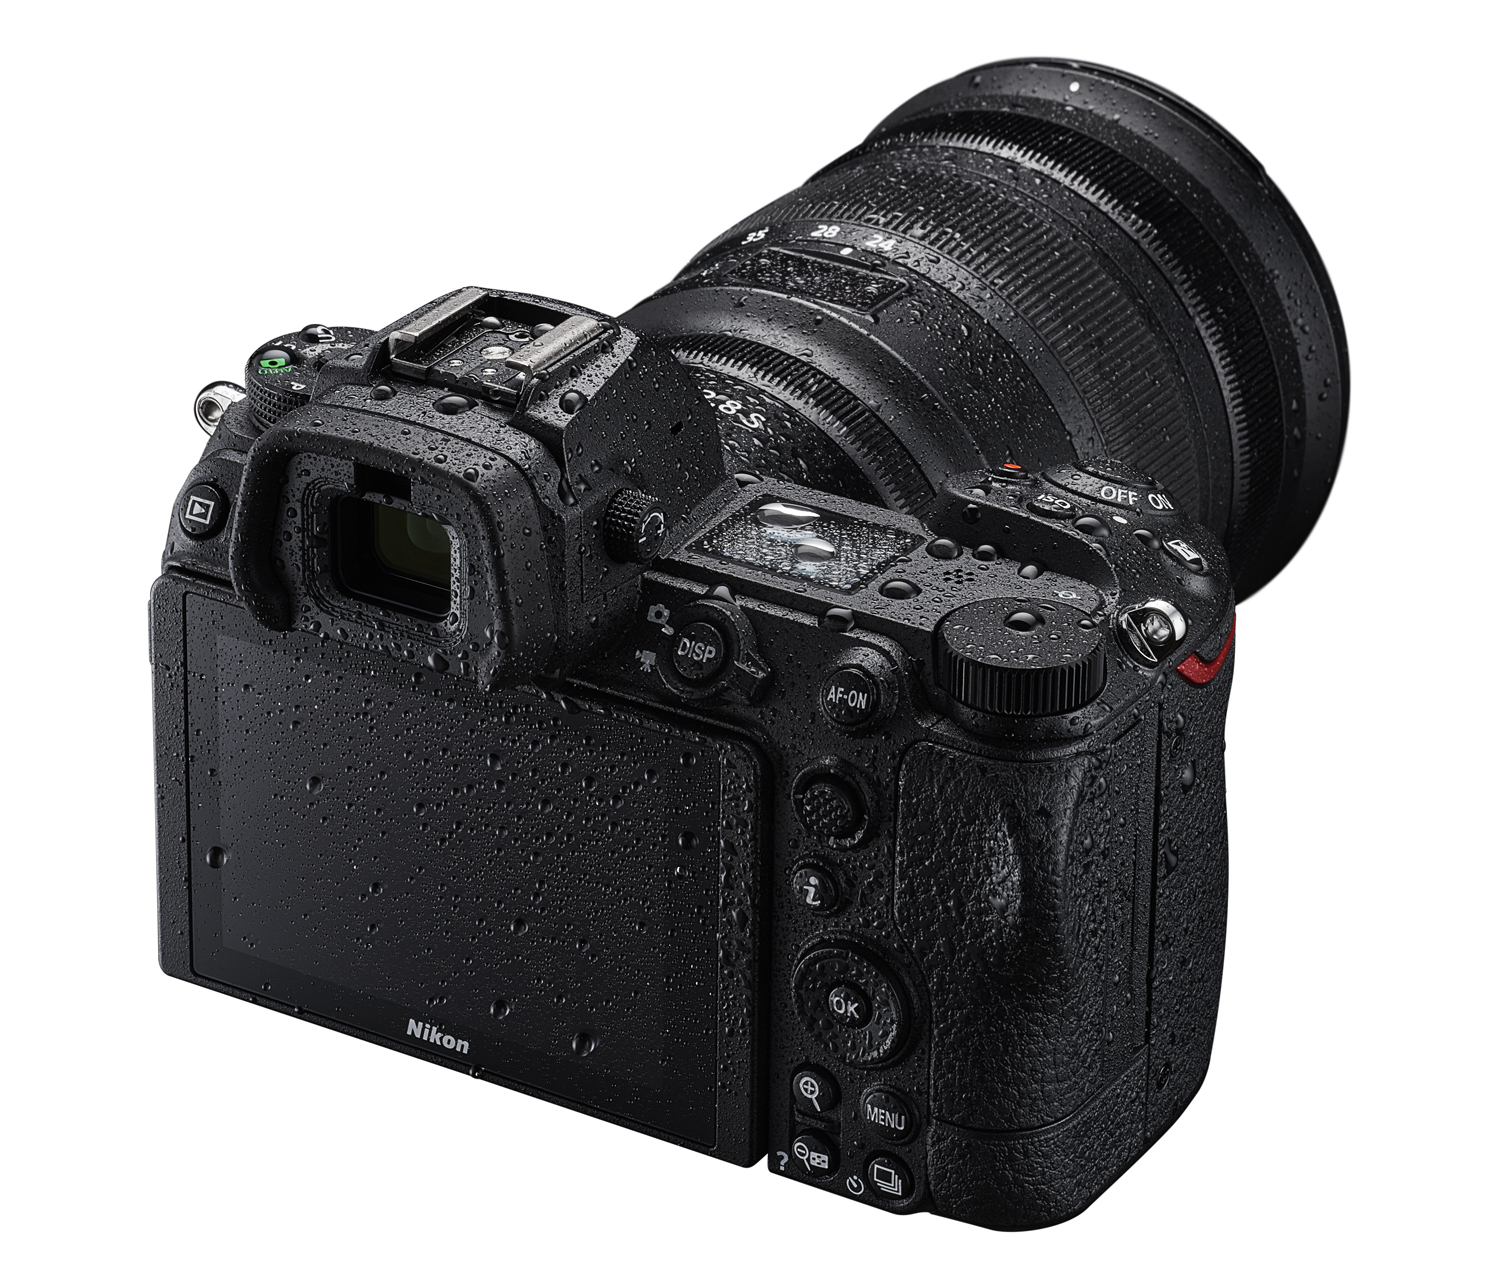
The camera body is made of magnesium alloy. It is quite small, my hands are probably medium-sized, I don't know exactly. The right part protruding forward, inside which the battery is, has a very pleasant shape, and the surface of the device, i.e. the classic, sticky rubber like on all Nikons – very good. My little finger is about halfway down the bottom edge. In every case, a battery holder would definitely help the right hand, the grip would be more relaxed and secure. However, I don't want to make the camera body unnecessarily large, in addition, I would no longer be able to use the universal L plate as I do now, but I would have to buy a special one directly for the Z7II. Together with the price of the holder it is quite expensive, and both things are hardly reflected in the quality of my photographs. However, I'm not ruling them out, I'll see.
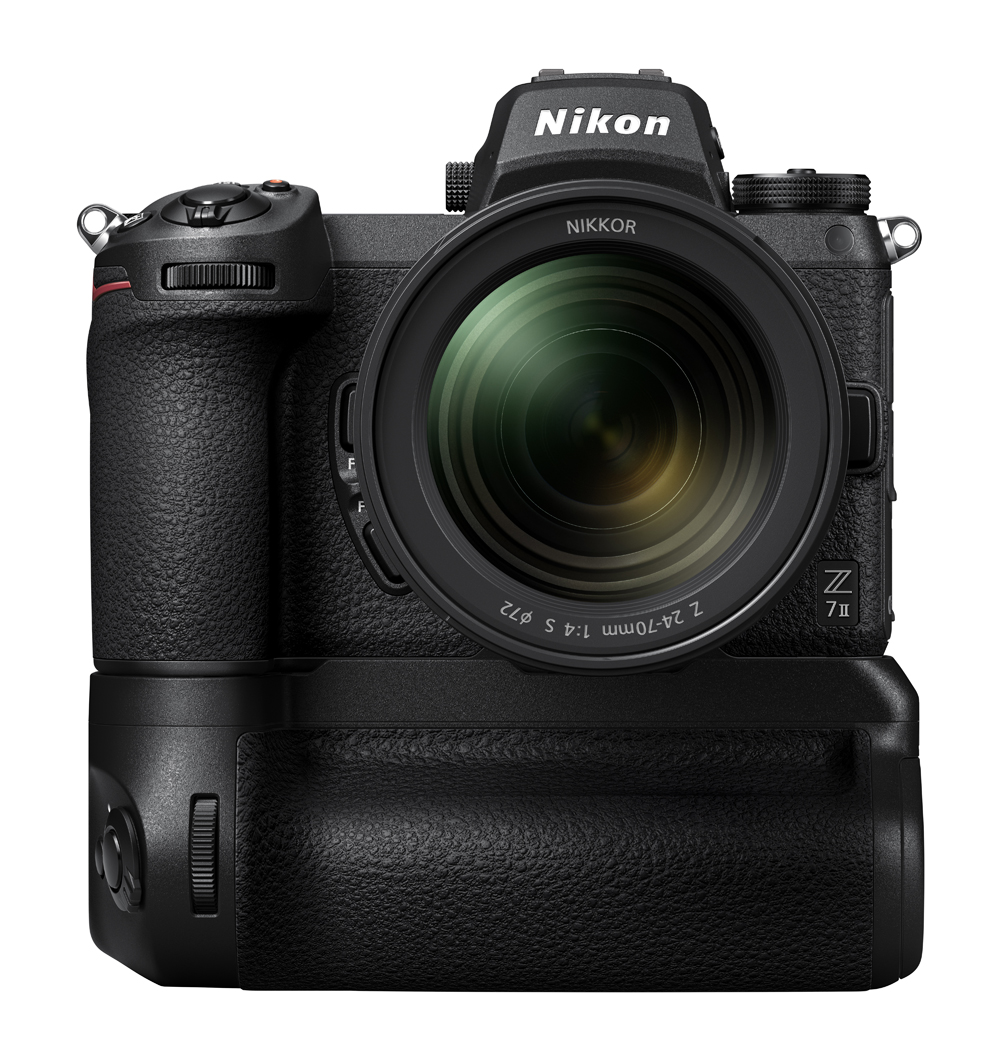
The still attached tripod L plate has several advantages. First, the camera will expand, because in order to open the battery box, it is necessary to fasten the plate shifted so that its vertical part, used in portrait photography, is about a centimeter away from the camera. This expands the device by less than two centimeters and makes it easier to hold. Another advantage is the ability to hold the camera with the left hand directly at the vertical part of the plate, which is useful in some situations. The plate also protects the camera from the left and bottom very well. I don't use the connectors, so covering them doesn't bother me at all, besides, the plate can be easily loosened and turned or completely removed at any time.
Operating controls.
The shutter release button has a light action until half-press, after which it becomes more rigid. Here I would welcome a lighter and above all shorter stroke, after all it is a device intended for experienced photographers. As a benchmark, I would choose the so-called Fujifilm leaf shutter release button, used for example in the X-H1. Here, on the other hand, you have to get used to its easy going for a while. However, to make no mistake, I don't mind the shutter release button on the Z7II at all, I get used to it quickly and it works very well.
Switching the device on and off is traditionally done via a ring around the shutter release button. There is no position for turning on the backlight of the display, ev. display and the rear monitor at the same time, because the upper display and the rear monitor are always backlit on the Z7II (the upper display can also be turned off completely in the menus if we are not using it).
Next to the shutter release button on the left is a useless red button for turning on movie recording. I corrected it, as always, with a black marker. It is good, that the button can also be assigned meaningful functions, I have here turn on and off the composition grid. Just a small note - for those who are used to many different, fine and precise grids in Olympus (OM-System) devices, one single, moreover, not very fine Nikon composition grid will seem rather embarrassingly small.
There is an ISO button in front of the shutter release button to adjust the sensitivity of the sensor. Of course, it still has its function, it is used very well. I have it set so that I don't have to hold the buttons, just press it, let go and then adjust with the wheels. It is very pleasant to be able to set the sensitivity value with the rear wheel and to switch between automatic and manual settings with the front wheel.
To the right of the shutter release button is a button to adjust the exposure compensation. Since I use the front wheel for it in A mode, I only use it when I need automatic sensor sensitivity in M mode.
The rear wheel is metallic and is not covered from above. Apparently it first appeared with the Nikon D5600 DSLR. The advantage is the possibility to place the thumb on the edge of the wheel and thus achieve a better grip. However, the wheel has lost a small tilt, which is very practical and helps when turning.
The front wheel is also metallic, slightly narrower than the rear and again now positioned horizontally. The metal is more pleasant to the touch than the plastic, maybe only the indentations could be a little more pronounced.
The upper display has already been discussed. Compared to DSLR cameras, it is smaller, but we can find everything important on it.
There is a wheel for dioptric adjustment of the viewfinder on the right side of the electronic viewfinder cover. The cover has holes for microphones on both sides, another pointlessness for the photographer. On the left is a button for different ways of turning on the viewfinder and the rear monitor.
The previously mentioned wheel for choosing exposure modes has its place on the far left.
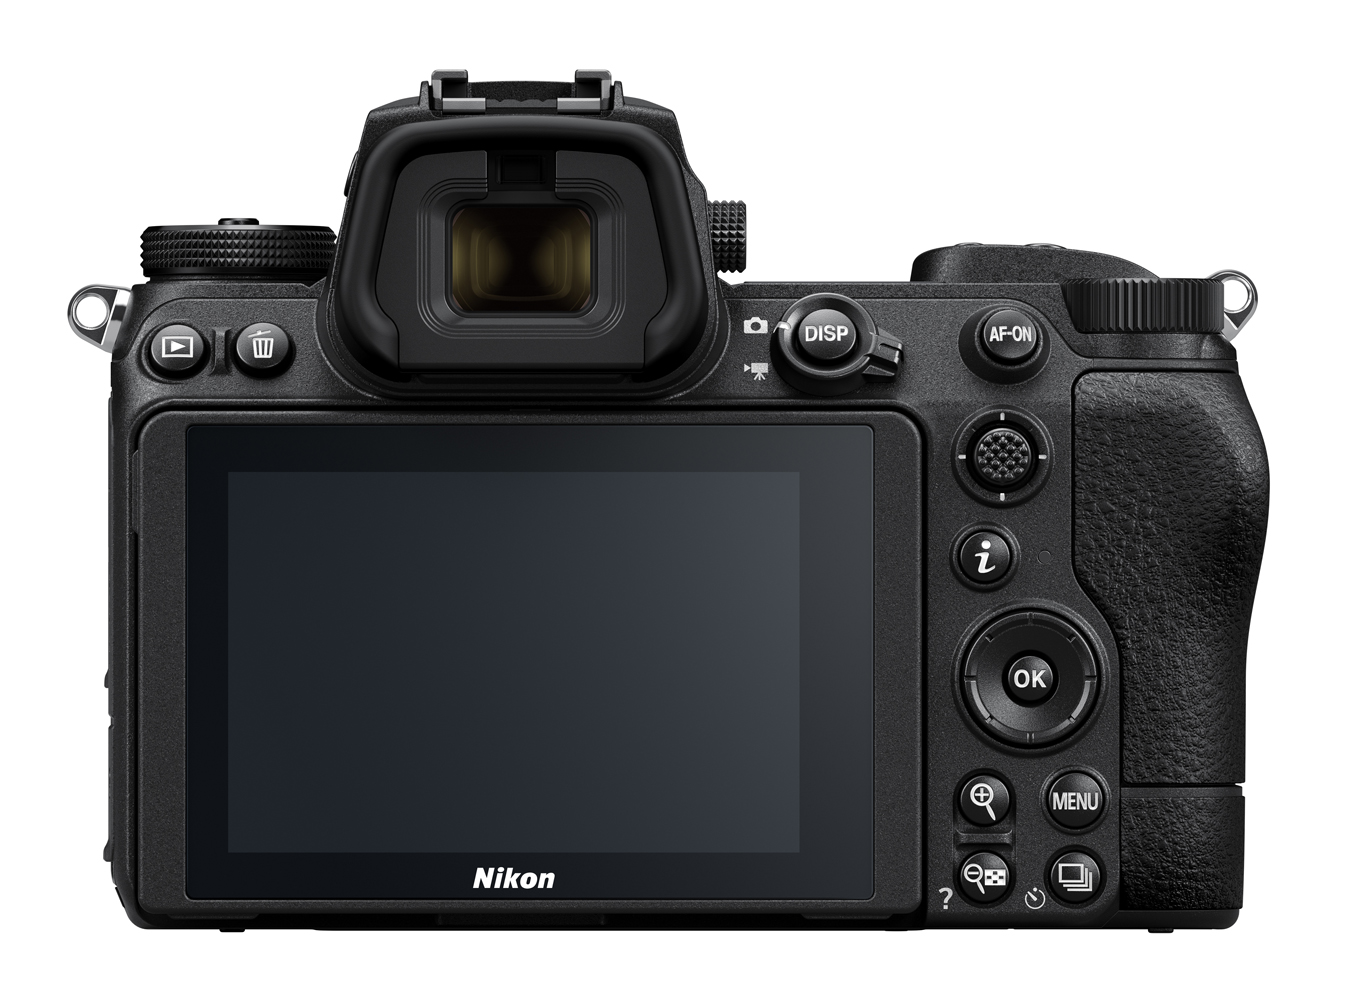
Below it, on the back side at the top, we find the Viewing and Deleting buttons. Viewing is located here a little unfortunately, it would be better to have it within reach of the right thumb. For lenses with an L-Fn button, the image review function can be assigned to this button, this is how I set it up with the Nikkor Z 70 – 200 mm F 2.8 VR S.
On the right of the viewfinder is again an unnecessary photographic camera/movie camera switch. The tried-and-true black adhesive tape helped to cover the excess symbol of making movies. With the button in the middle, we change various combinations of data displayed in the viewfinder and on the rear monitor.
Further to the right, on the left of the rear wheel, is the already mentioned AF-ON button.
Below it is a knurled stick for setting the focus points. It can also be pressed, which can be used for other functions, I personally like placing the focus point in the center of the image field, while I sometimes use it (the point) in this way also during composition, if the previously mentioned, not very fine compositional grid does not suit me.
Under the stick is the i button, very practical and often used. We use it to select a series of symbols, through which we set various things that we choose in advance, there can be up to twelve of them. What worked for me was Silent photography, Split-screen display (Nikon D810 had this for the first time, the function allows you to split the monitor in half and compare opposite parts of the photograph, great, for example, when photographing architecture). There is also Flash mode, Flash compensation, Release mode and Focus mode. In the bottom row, I have White balance, Auto bracketing, Metering, Memory cards information, Vibration reduction and finally Focus Mode. Individual items can be selected from a relatively large number of functions, their order in the menu table is then completely arbitrary.
Next to the i button is a green diode, that lights up when reading or writing to the memory card(s).
Further down, we find a circular, eight-way dial Multi selector with an OK button in the middle. It is used to view photographs, move them in an enlarged view, browse and select menus, select focus areas, etc. It's just a pity that, unlike some other cameras, you cannot set any functions with the default four positions (left, right, up and down), e.g. turning on and off the histogram, level, etc.
At the very bottom are four circular buttons. Those on the left are marked with the magnifying glass and symbols + and -, i.e. zooming in and out not only in the photographs when viewing, but also in the image preview in the viewfinder or on the rear monitor, which is often very useful when focusing. And not only manually, you can easily check the accuracy of the automatic focus as well. The zoom out button also has a question mark on it - it will open a quick help when viewing the menus, very handy at first. At the top right is the Menu button and below it the Photographing mode options button – individual images, continuous photographing (slow, fast, fast extended) and the already mentioned self-timer options.
LOWER PART OF THE BODY.
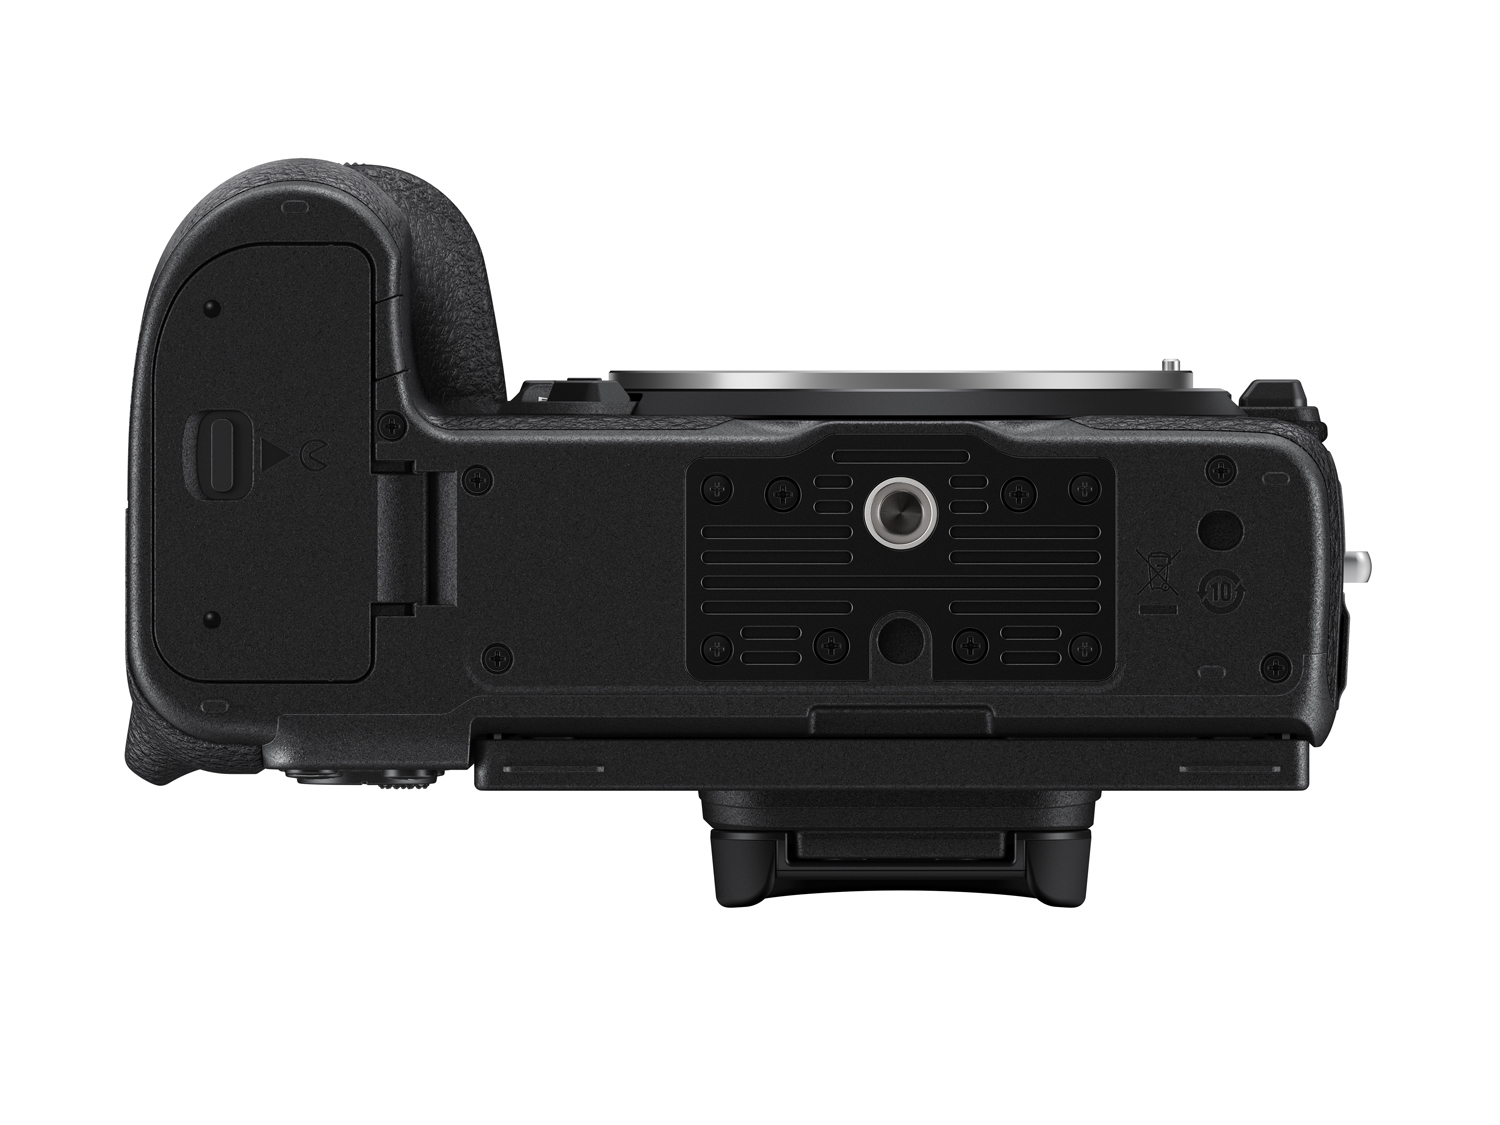
In the lower part of the body we find the door of the battery compartment and an element with a thread for a tripod and an auxiliary opposite hole, an excellent but not very widespread thing, known more from medium format cameras. Prevents unintentional rotation of the tripod plate in case of accidental loosening or heavy load.
DIMENSIONS AND WEIGHT.
The Nikon Z7II measures 134 × 100.5 × 69.5 mm (5.3 × 4.0 × 2.8 in.). Body weight is approximately 615 g/1 lb 5.7 oz, with battery and memory card approximately 705 g/1 lb 8.9 oz.
BODY RESISTANCE.
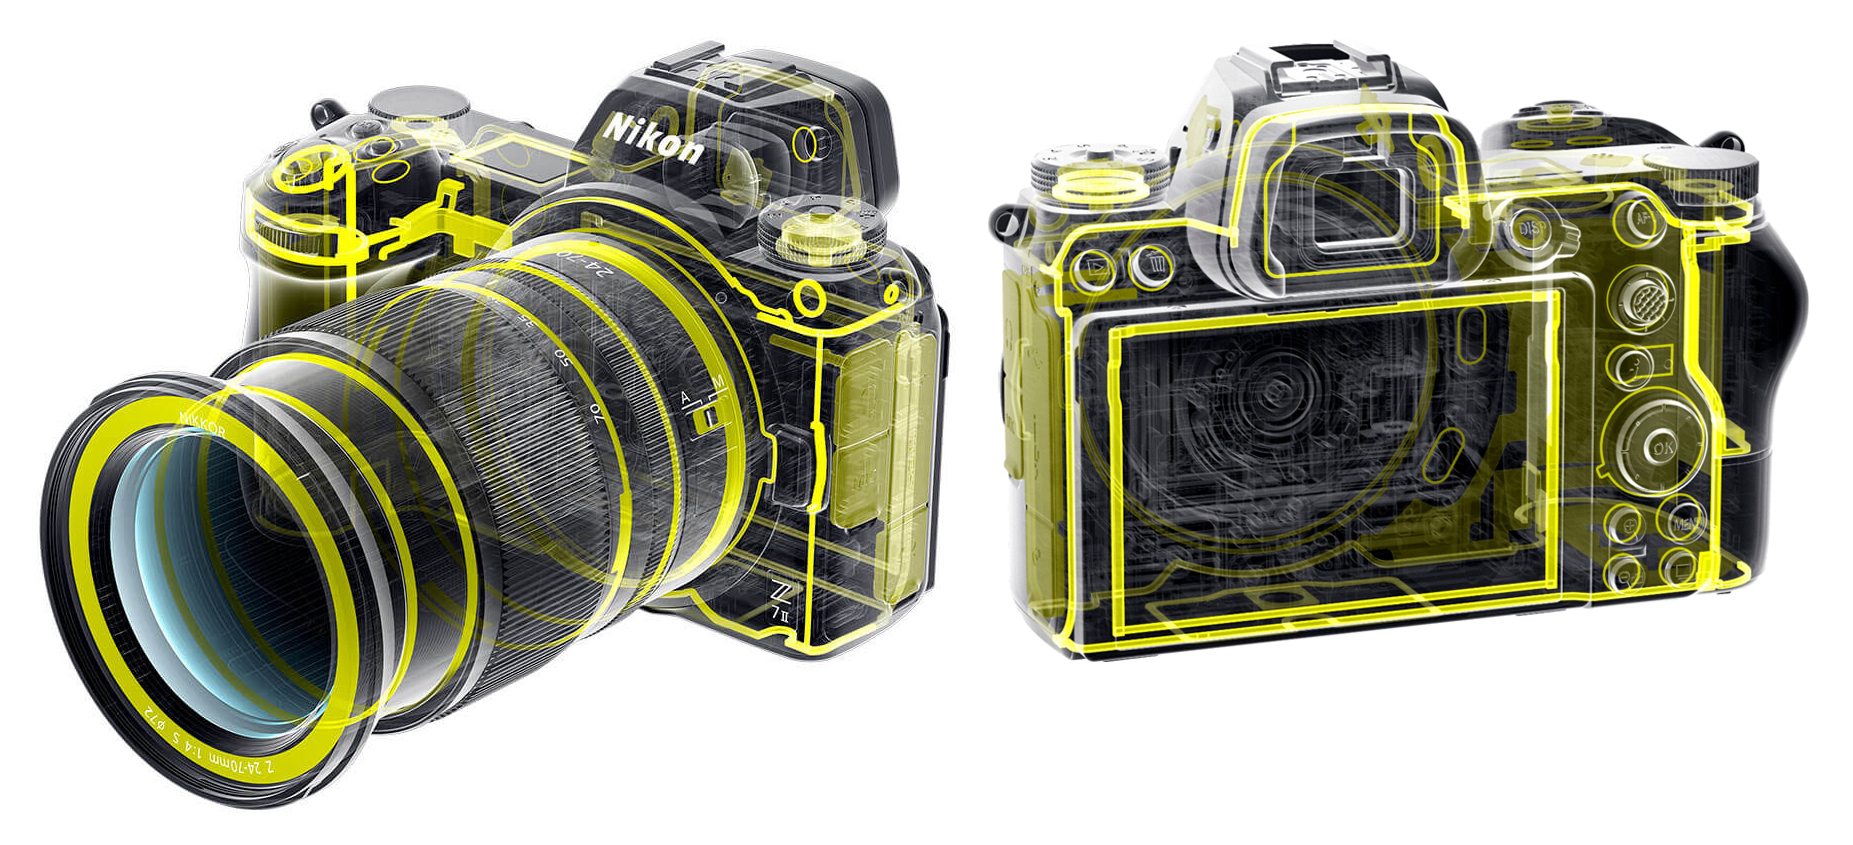
The body is protected by a system of seals against the penetration of dust, sand and moisture.
MENU.
Again, it is good that it has remained almost the same for many years. I would just like to be able to turn off or at least hide the movie recording tab. I'm a photographer, not a cameraman, so I don't need it and it just gets in the way unnecessarily.
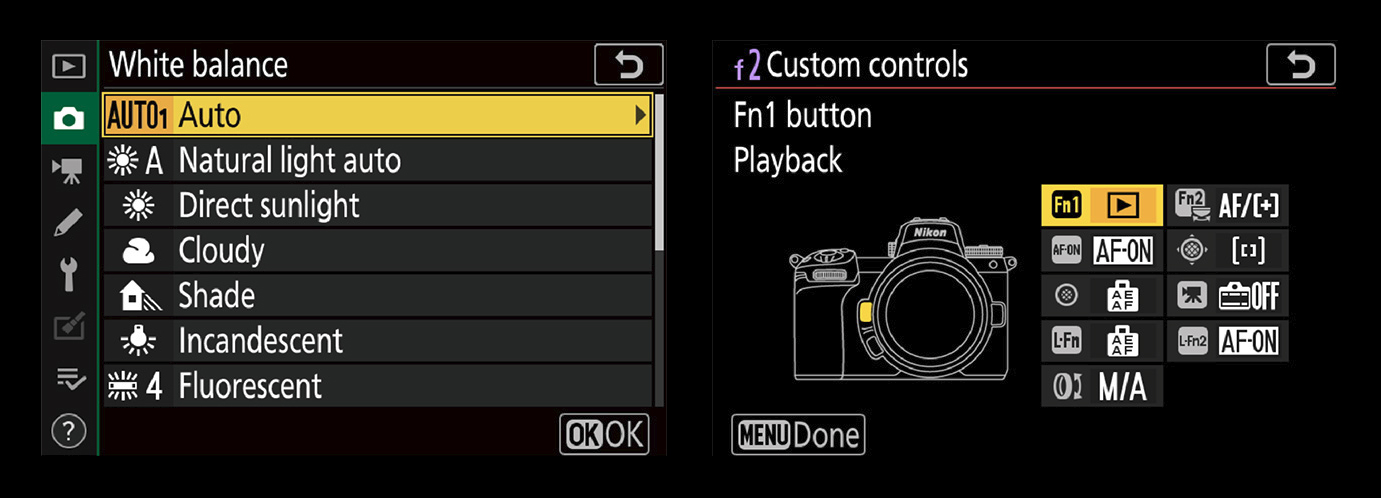
The menu appear tasteful and clear. The ability to create your own menu tab is essential. Here we choose and sort everything we need, and we hardly need to open the other tabs.
FINAL SUMMARY.
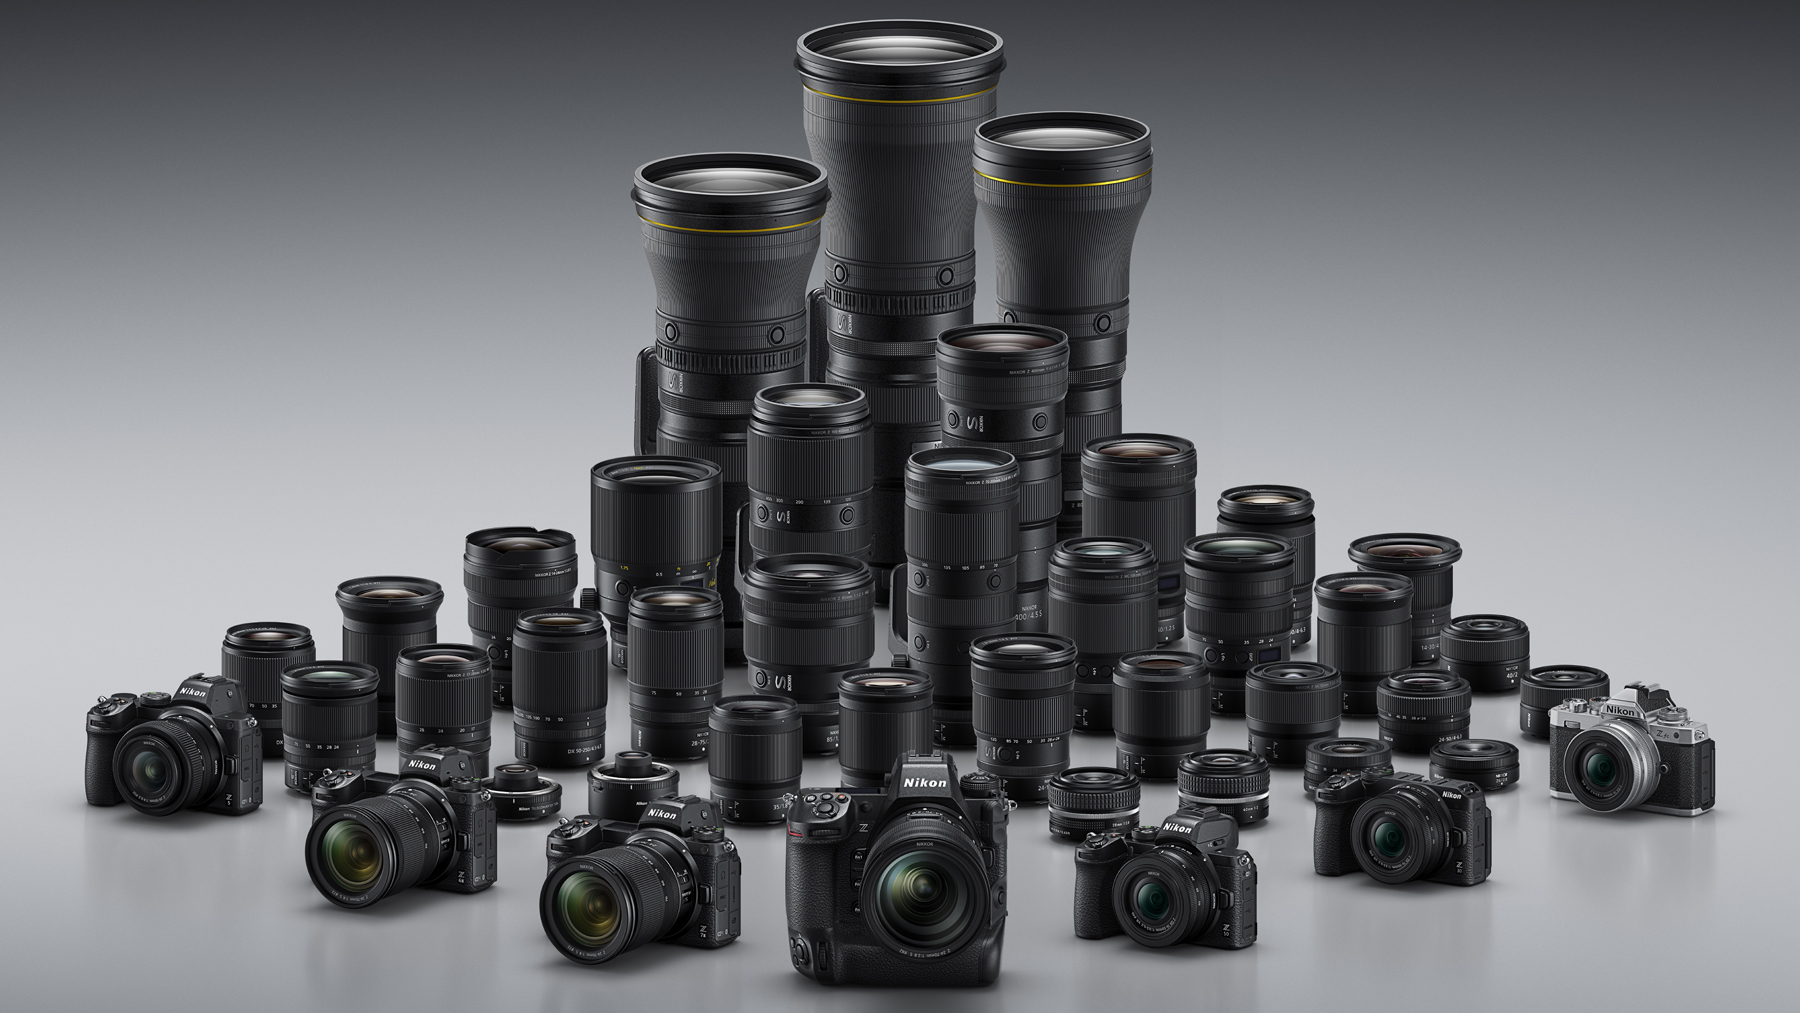
The whole concept of the Z system is excellently prepared from the beginning. This is also why the Nikon Z7II is a very successful camera. Quality of photographs, great lenses, nice controls. I only miss the same things as almost all current cameras: a sensor without Bayer mosaic, RAW files storage in 16 (48) bit color depth and, last but not least, a body without the possibility of recording movies, i.e. just a photographic camera, which was, after all, common before.
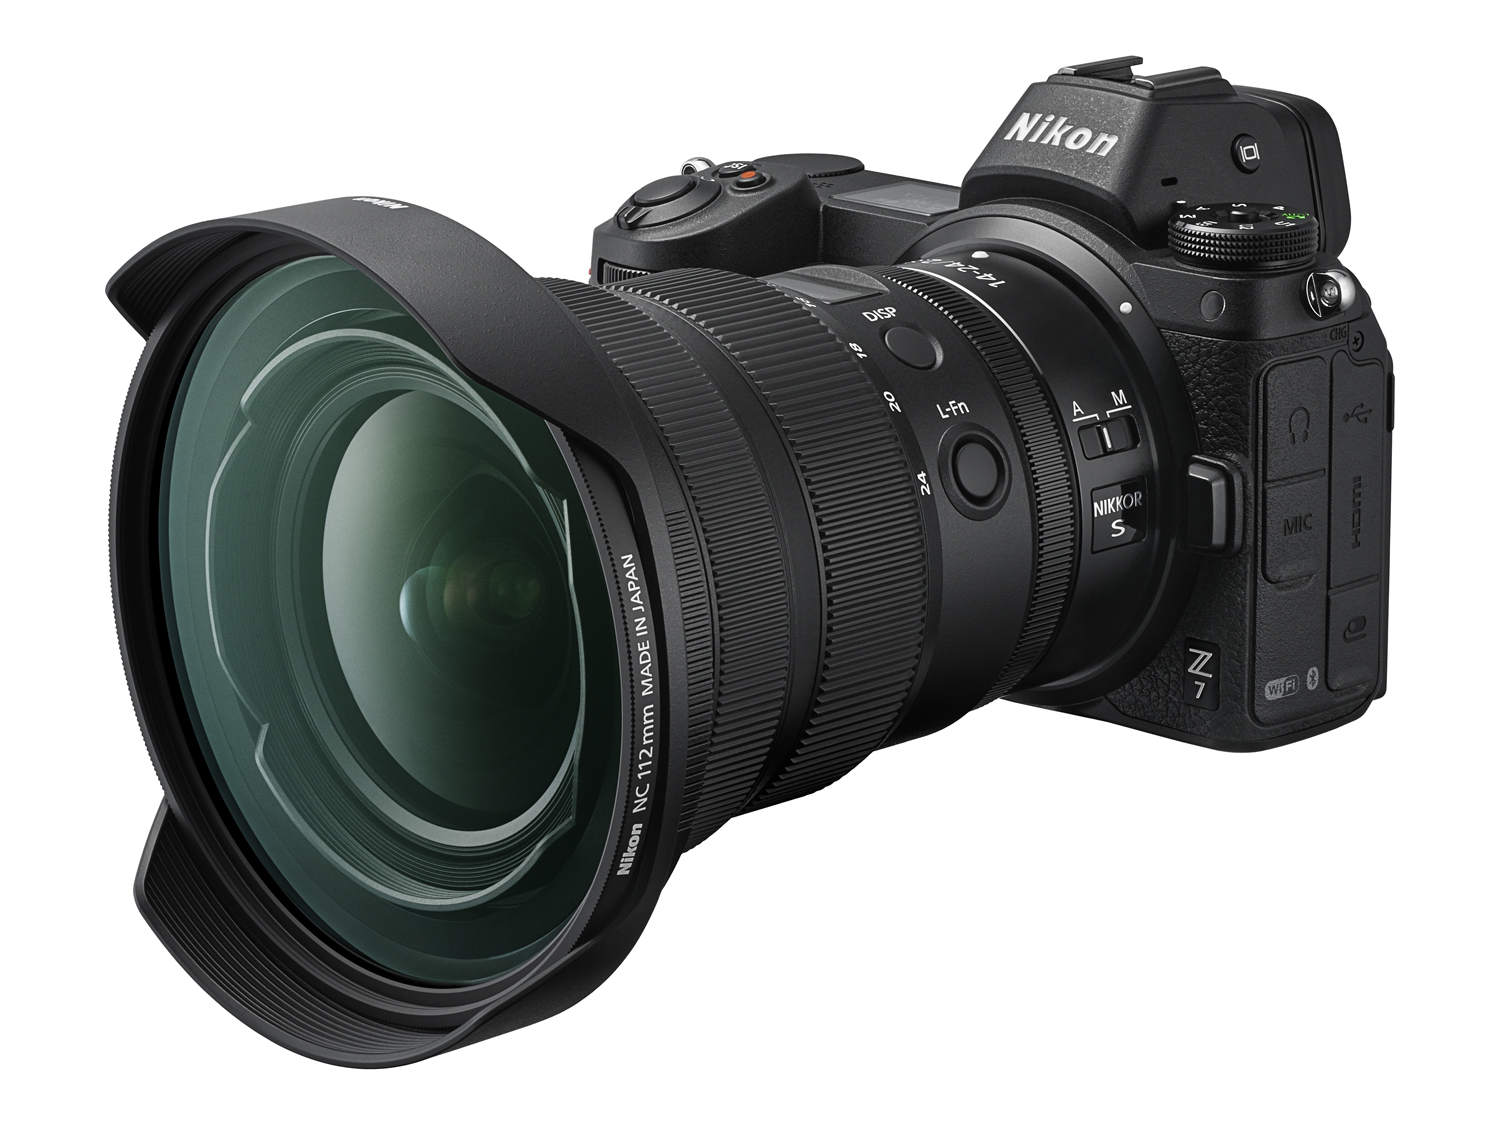
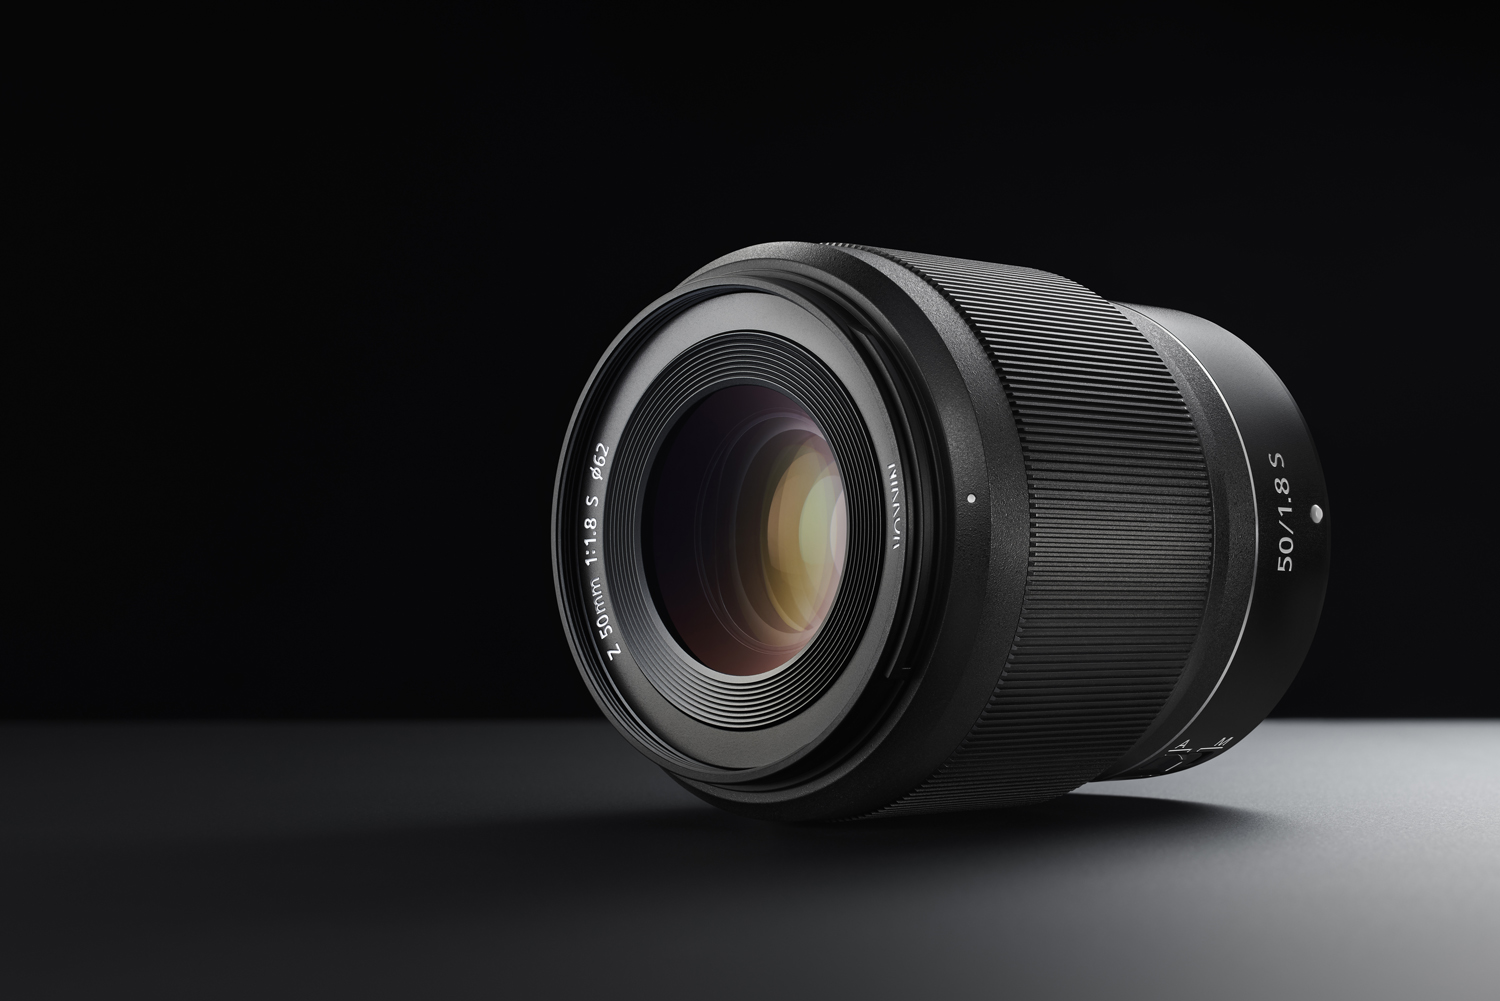
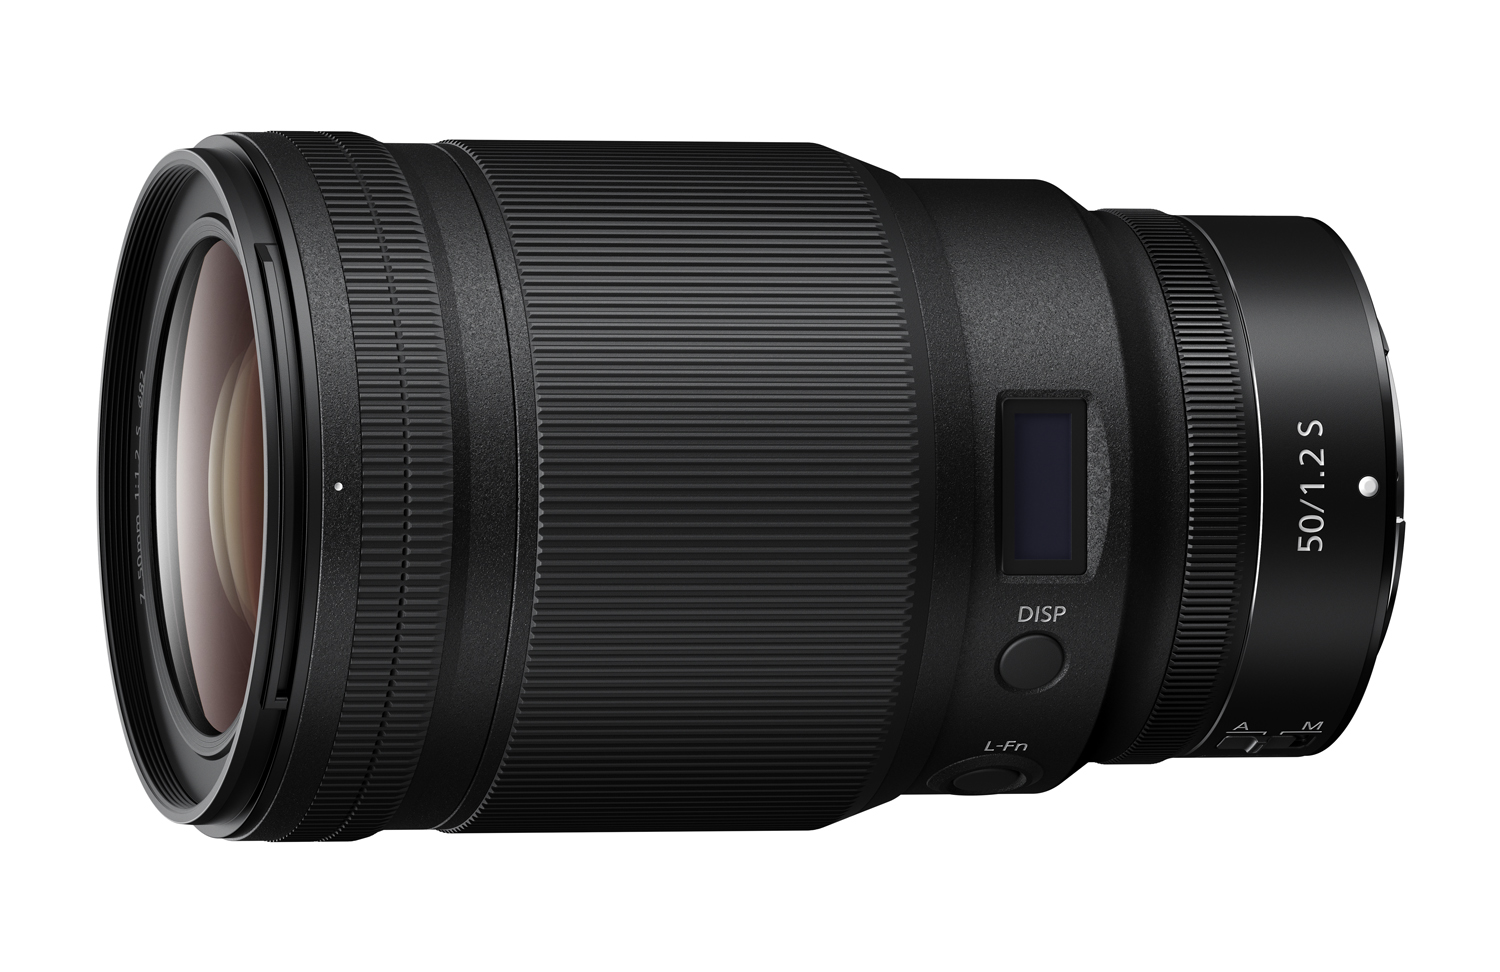
Returning to Nikon is very inspiring. I am curious about the upcoming lens with focal lengths of 200 – 600 mm, whether it will be optically high enough to be used for landscape photography. I'm also looking forward to getting the last of the planned prime lenses, the 14 – 24 mm 1:2.8 S (or the 14 – 30 mm 1:4 S, we'll see) and beginning to gradually acquire prime lenses. I'm really starting to miss them. The first will probably be fifty. How else.
© Martin Mojzis, 2023.
Photographs and graphics: © Nikon, 2023.
►To the beginning of the article.
►Overview of all articles.
►Homepage.
►Site Map.